
Tool holder wall mounted systems are one of the fastest ways to get a garage or workshop under control, because they move your daily-use tools off benches and out of piles where they get lost or damaged.
If you have the same cycle of buying duplicates, hunting for the right wrench, or stepping around buckets and cords, wall storage usually fixes the real issue, which is that your tools don’t have an assigned “home” you can reach in two seconds.
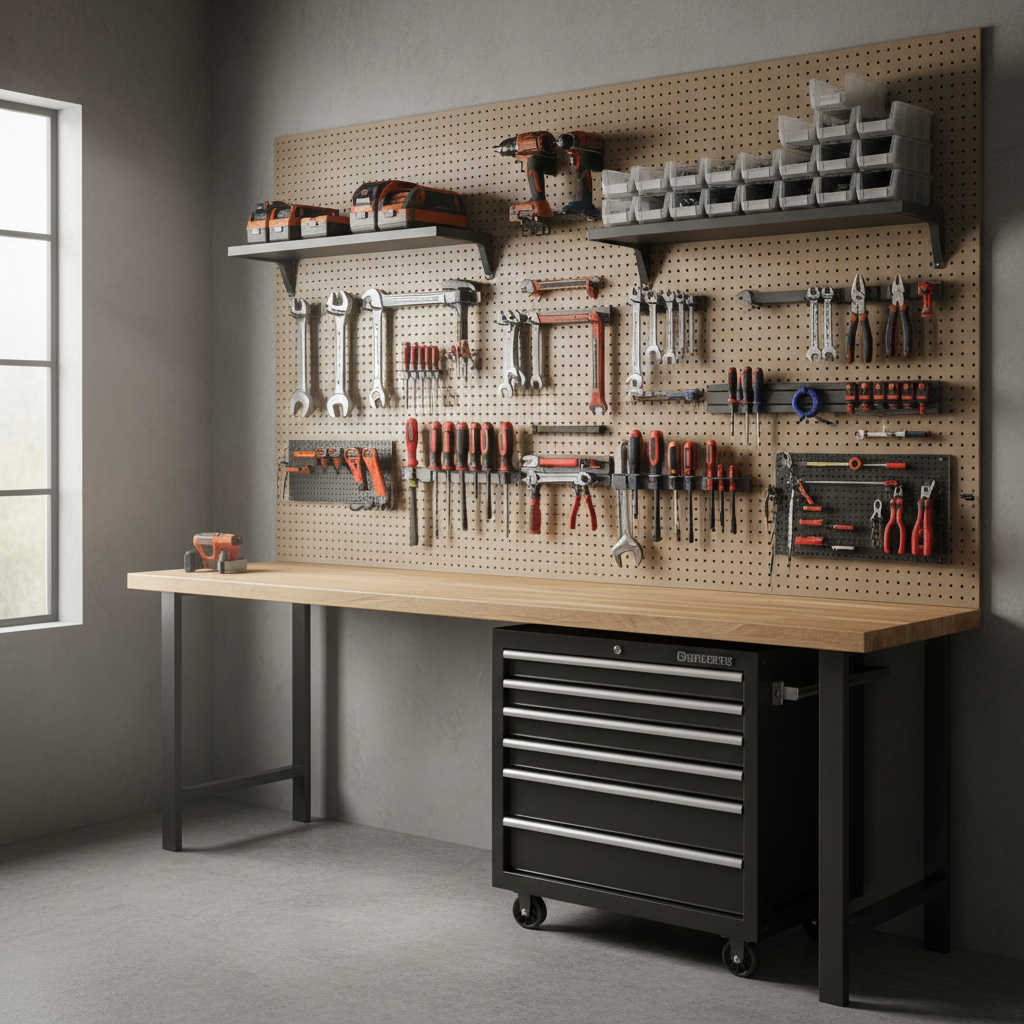
People sometimes treat “tool storage” like a decoration project, then wonder why it falls apart after two weekends. This guide stays practical: what causes the mess, how to choose the right wall-mounted holder style, and how to install it so it still works months later.
Why tools keep getting messy (and why wall storage helps)
Most garages get cluttered for boring reasons, not because you own “too many tools.” A wall-mounted setup helps because it forces a layout and makes the easiest action also the correct action: put the tool back.
- No consistent return spot, so tools land on the nearest flat surface, then migrate into boxes.
- Visibility problems, especially with small hand tools, bits, and accessories that disappear in drawers.
- Mixed-use zones, for example one bench doing repair, gardening, and sports gear at the same time.
- Floor-first storage (buckets, totes, random shelving) that blocks cleaning and invites “temporary piles.”
Wall-mounted holders solve these by making categories visible, keeping frequently used items in the “golden zone” around chest-to-eye level, and freeing up floor space for safe movement.
Quick self-check: what kind of wall-mounted tool storage do you need?
Before buying anything, take five minutes and answer these. Your answers determine whether a pegboard, a rail system, slatwall, or a simple set of hooks works best.
- Tool weight: Mostly hand tools, or do you need to hang power tools and batteries?
- Wall type: Finished drywall, exposed studs, masonry, or a shed wall?
- Change frequency: Do you rearrange often, or do you want “set it and forget it”?
- Access style: Grab-and-go from hooks, or protected storage like bins and shelves?
- Moisture/dust: Does your space get humid, or is it fairly controlled?
If you’re constantly adding tools, choose something modular. If your tool set stays stable, a simpler holder layout often feels cleaner and costs less.
Choosing the right tool holder wall mounted style
There isn’t one universal winner. The best option is the one that matches your wall, your tool mix, and how you actually work.
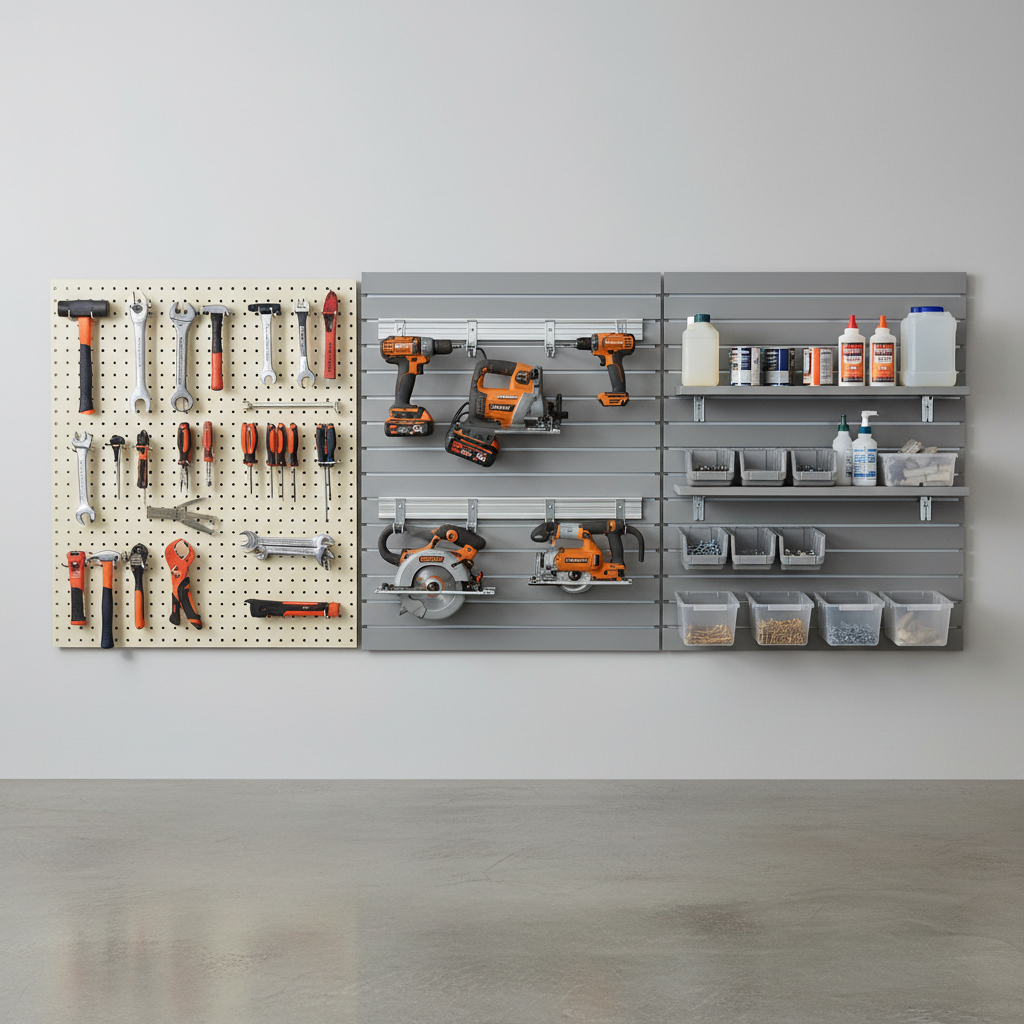
Pegboard (classic, flexible, budget-friendly)
Great for hand tools and light accessories. It’s easy to reconfigure, but hook quality matters, and heavy items can loosen over time if the board flexes.
Wall rails and track systems (strong, clean look)
Rails handle weight better, especially with purpose-built brackets for drills, batteries, and organizers. They tend to look more “finished,” but accessories cost can add up.
Slatwall panels (modular and store-like)
Slatwall works well when you want bins, shelves, and hooks that slide around quickly. It’s a solid choice for mixed storage, though panels and inserts can be pricier.
Direct-to-stud hooks and shelves (simple and sturdy)
If you mainly need shovels, rakes, cords, and a few power tools, screwed-in hooks and a small wall shelf sometimes beat any panel system for durability.
Comparison table: pick a system without overthinking it
Use this as a reality check. Your “best” option is the one that fits your tools and the way you maintain the space.
| System | Best for | Strength | Reconfiguring | Common downside |
|---|---|---|---|---|
| Pegboard | Hand tools, light parts | Low–Medium | Easy | Hooks can slip, board may flex |
| Rail/track | Power tools, heavier items | Medium–High | Moderate | Accessory ecosystem costs |
| Slatwall | Bins, shelves, mixed storage | Medium–High | Very easy | Upfront panel cost |
| Stud-mounted hooks/shelves | Long tools, cords, simple setups | High | Harder | Less “modular,” more planning needed |
Practical layout: where each tool should go (so you keep it organized)
Most “failed” garage organization projects fail at layout, not hardware. A simple rule: store tools by frequency and workflow, not by brand or by what looks nice.
1) Build three zones
- Daily zone (prime reach): screwdrivers, tape measure, pliers, utility knife, drill, bits you actually use.
- Weekly zone: sockets, wrenches, levels, clamps, small saws.
- Occasional zone (high/low): specialty tools, backup items, seasonal gear.
2) Give messy categories a container
Fasteners, sanding discs, spare blades, and odd accessories will defeat any tool holder wall mounted system unless you add small bins or labeled cases.
3) Leave “growth space” on purpose
A blank strip of wall feels wasteful on day one, then saves you from a full redo when you add a new tool.
Installation steps that prevent sagging, ripped drywall, and frustration
A wall-mounted tool holder is only as good as its attachment. If you’re unsure about your wall structure, it’s smart to consult a contractor or a qualified handyperson, especially for heavy power tools.
According to OSHA, good housekeeping and keeping work areas free of hazards reduces the risk of slips and trips, so it’s worth taking mounting seriously rather than treating it like decor.
- Find structure: Use a stud finder for drywall, or appropriate anchors for masonry. Hanging heavy gear from drywall alone often leads to failure.
- Use the right fasteners: Many kits include screws, but not always the best ones for your wall type.
- Level matters: A slightly tilted rail becomes obvious once tools hang, and it can make hooks creep.
- Test load gradually: Hang the heaviest items last, watch for flex, then adjust.
- Mind clearance: Keep swinging tools away from door tracks, car doors, and walking paths.
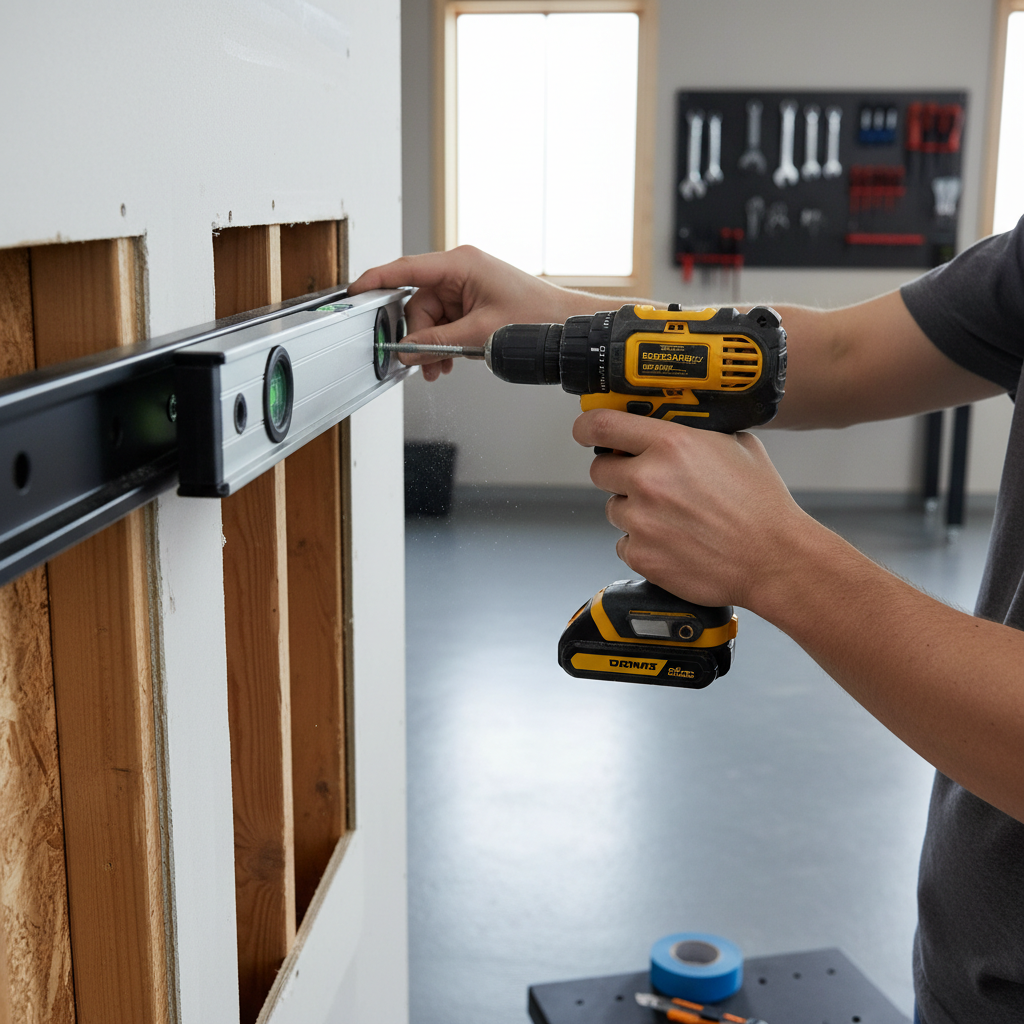
If your wall is finished drywall and you can’t hit studs where you want the system, a mounting backer board fastened to studs can give you a safer, more flexible base.
Mistakes that make wall tool organizers feel “useless”
These are the patterns that keep showing up in real garages. Fixing them usually matters more than switching brands.
- Overcrowding the panel, which makes every tool hard to grab and easy to knock down.
- Hanging everything at eye level, then constantly reaching over and around bulky items.
- No labeling for small parts, so the “organized” wall still produces clutter on the bench.
- Ignoring tool shapes, like trying to hang a leaf blower or string trimmer without a proper cradle.
- Buying before measuring, then discovering the system conflicts with outlets, windows, or shelving.
Also, don’t underestimate lighting. A well-lit wall makes it obvious what’s missing and speeds cleanup.
Key takeaways and a simple action plan
Key points: Pick a system that matches weight and wall type, design zones by frequency, and install into real structure whenever loads get heavy.
If you want a clean starting plan, do this in one afternoon: measure the wall, sort tools into daily/weekly/occasional piles, choose a mounting style, then install only the daily zone first. Live with it for a week, then expand. That small pause usually prevents the expensive “rip it out and redo it” moment.
Conclusion
A tool holder wall mounted setup works when it’s treated like a workflow upgrade, not a weekend craft project. Start with the tools you reach for most, mount safely, and leave room to evolve, your garage stays usable even when life gets busy.
Pick one wall, commit to one system, and put back the first ten tools you use next time. That’s the habit that makes the hardware worth it.
FAQ
What is the best tool holder wall mounted option for a small garage?
In many small garages, a rail system or a compact pegboard above the bench works well because it keeps tools vertical and visible. If you store heavier power tools, prioritize strength over flexibility and mount into studs.
Can I mount a tool organizer on drywall without studs?
For light hand tools, heavy-duty anchors may work, but it depends on the drywall condition and the load. For power tools or anything you don’t want falling, fastening into studs or using a backer board is the safer route.
How high should I mount a wall tool holder?
A common approach is keeping frequently used tools between chest and eye level, then placing bulky or occasional items higher or lower. The “right” height depends on who uses the space and whether you need room for a workbench underneath.
Pegboard hooks keep falling out, what should I do?
This often happens with thin hooks or boards that flex. You can try locking peg hooks, add spacers behind the pegboard for rigidity, or switch the heaviest items to direct-to-stud hooks.
Is slatwall strong enough for power tools?
Many slatwall systems handle power tools well if the panel and inserts are rated for the load and installed correctly. The weak point is usually poor mounting, not the concept, so follow the manufacturer guidance and spread weight across multiple slots.
How do I organize tools so I actually put them back?
Make the “return step” easier than setting a tool on the bench: keep the daily zone close to where you work, avoid overcrowding, and use bins for small items. If putting it back takes two hands and a puzzle, it won’t stick.
What tools should not be stored on an open wall?
If your space is humid or dusty, some tools may corrode or collect debris, and batteries may need more controlled storage. When in doubt, store sensitive items in cases or cabinets and follow the tool manufacturer’s storage guidance.
If you’re setting up a tool wall and want it to feel “done” without endless trial-and-error, it can help to map your tool categories and wall measurements first, then choose a modular system that leaves expansion space for the next project.