
how to use pliers to grip and cut wires comes down to two things most people skip: picking the right type of pliers for the job, and controlling the wire so the tool does the work instead of your wrist.
If you have ever flattened a wire, nicked the insulation by accident, or ended up with a sharp, jagged end that won’t fit into a terminal, you already know why this matters. Small mistakes add up fast, especially on electrical work where a bad cut or crushed conductor can create heat, intermittent connections, or a frustrating “why won’t this fit” moment.
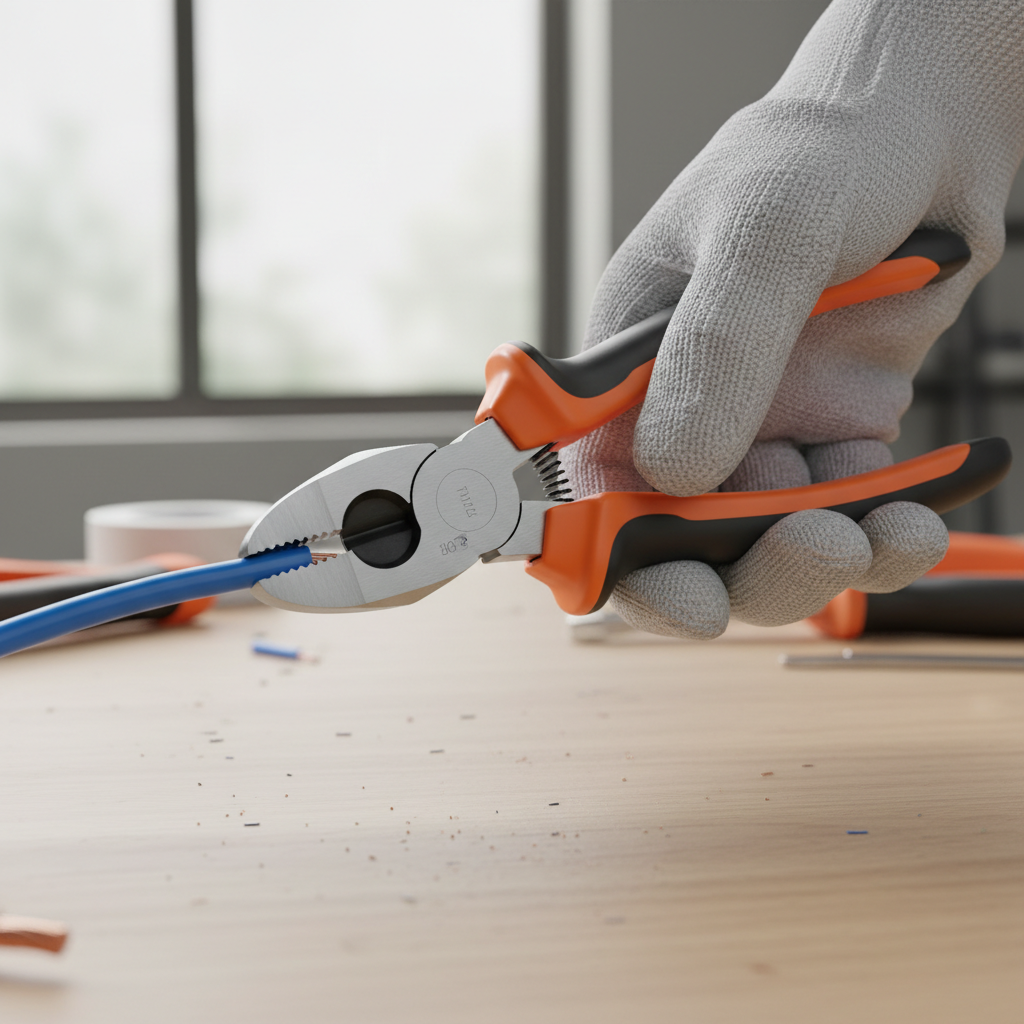
This guide focuses on practical technique: how to hold, where to place the jaws, how to cut cleanly, and when you should stop and switch tools. It also calls out common “looks fine” errors that tend to show up later.
Pick the right pliers for the wire and the cut
Not all pliers are meant to cut. Many can, but they do it poorly, and poor cuts are where most problems start. Before you squeeze, match the tool to the material and gauge.
- Lineman’s pliers: the workhorse for gripping and cutting copper wire, especially solid or thicker conductors. Good leverage, strong cutters.
- Diagonal cutters (dikes): best for clean cuts on smaller wire, zip ties, and trimming ends flush. Limited gripping ability.
- Needle-nose pliers: best for tight spaces and bending leads, light cutting only on small wire, depending on model.
- Slip-joint or tongue-and-groove pliers: good for gripping objects, usually not ideal for wire cutting because the cutters (if present) are often crude.
- End-cutting nippers: great for cutting close to a surface, like trimming a lead or pulling/cutting staples, less common for general wiring.
One more reality check: if you are working on electrical circuits, consider insulated, rated tools when appropriate. According to OSHA, employers must provide and ensure the use of appropriate personal protective equipment when hazards are present, and electrical work often falls into that category.
Set up for control: where your hands and the wire should be
A clean cut is mostly about stability. If the wire moves, the cutters pinch, twist, and tear instead of slicing.
Quick setup rules that prevent most slip-ups
- Support the wire: hold it close to the cut point, or rest it on a bench. Long, unsupported wire acts like a spring.
- Square the jaws: align cutters perpendicular to the wire so you do not create an angled, wedge-shaped end.
- Use the right spot on the cutters: the area closest to the pivot usually gives the most force and the cleanest cut.
- Mind the “snap”: when the cut finishes, the wire end can flick. Point the off-cut away from your face and others.
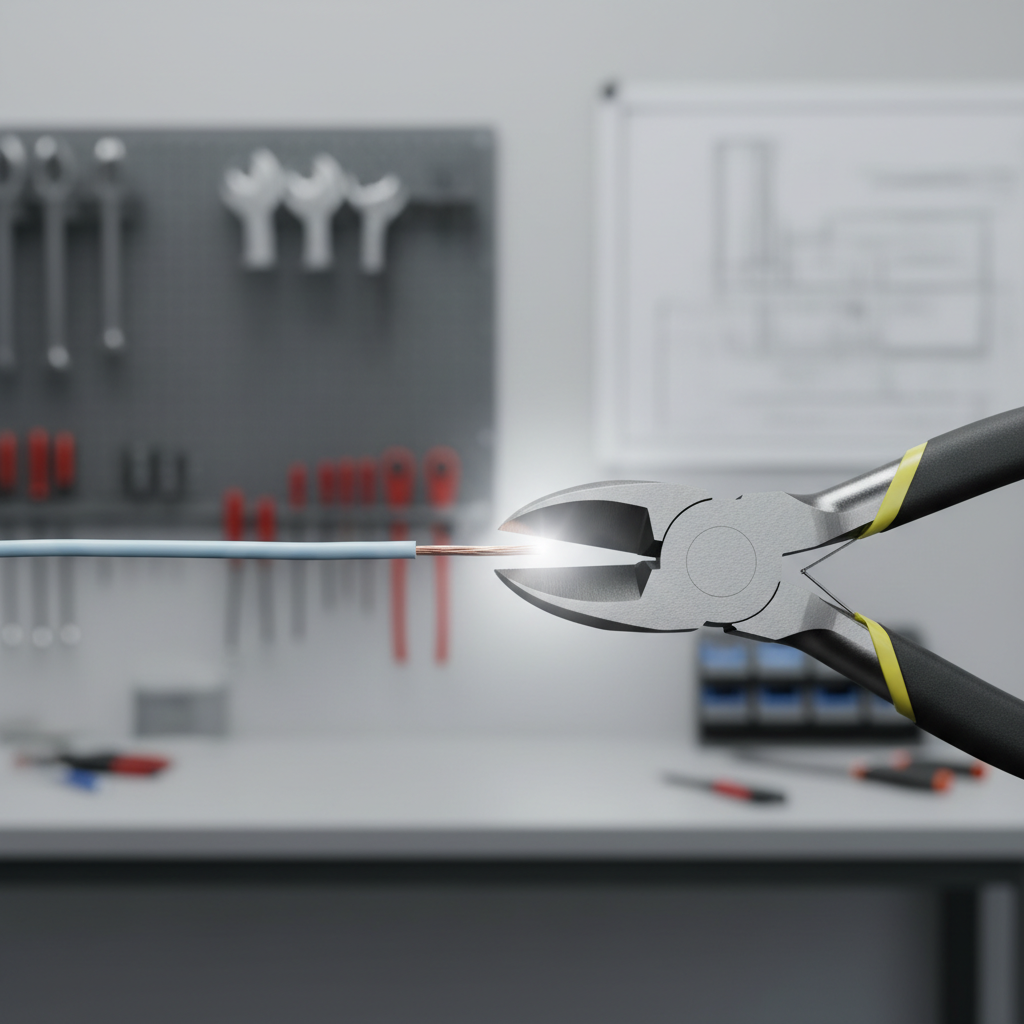
If you notice yourself “cranking” your wrist to finish the cut, that usually means the wire is too hard, too thick, or the cutters are dull, and technique will not save you.
How to grip wire without crushing it
Gripping seems simple, but a lot of damage happens here, especially with stranded wire and insulated conductors. The goal is to hold firmly enough to control the wire, without deforming copper or chewing insulation.
Grip technique that stays gentle but secure
- Use the flat gripping area, not the cutters, unless your pliers are designed for combined gripping/cutting like lineman’s pliers.
- Squeeze just to the point of control: if insulation shows deep tooth marks, you are overdoing it.
- Grip closer to the work point: holding a wire far away invites bending and kinking.
- For small-gauge stranded wire, consider needle-nose for positioning and diagonal cutters for cutting, rather than forcing a single tool to do both.
Key point: if you are preparing wire for a terminal, crushed strands reduce effective cross-section and can make the connection run warmer. In many cases it still “works,” but it is not what you want long term.
How to cut wire cleanly (step-by-step)
When people ask how to use pliers to grip and cut wires, they usually want the clean, square end that strips easily and seats well in connectors. This is the sequence that tends to give that result.
Clean-cut steps
- Confirm the wire material: copper cuts differently than steel, and hardened wire can chip cutters.
- Position the wire deep in the cutters, closer to the pivot for better leverage.
- Keep the tool square to the wire, and steady the wire with your other hand.
- Squeeze in one smooth motion: multiple partial squeezes often leave a pinched “hourglass” cut.
- Inspect the end: you want a flat face with minimal burrs and no smashed insulation.
If you must cut in a cramped spot, it can help to rotate the tool slightly to find a stable bite, but try not to “twist-cut.” Twist-cutting often leaves a tapered end that fights you during stripping.
Fast self-check: are you using the wrong tool or technique?
This mini checklist helps you decide whether to adjust your approach or switch tools entirely.
- You see deep tooth marks in insulation after gripping.
- The cut end looks oval or flattened, not round.
- You get hanging strands on stranded wire instead of a clean face.
- You need two hands to close the cutters on normal copper wire.
- The tool slides off when you start squeezing.
- You hear a crunch instead of a crisp cut, especially on copper.
Any one of these can happen once in a while, but if it keeps repeating, it is usually dull cutters, a mismatch between tool and wire type, or cutting too far out toward the tip.
Common wire types and what tends to work best (table)
Different wires behave differently under the jaws. Use this as a practical starting point, then adjust for your exact gauge and access.
| Wire / material | Typical good choice | What to watch for |
|---|---|---|
| Solid copper (house wiring) | Lineman’s pliers or quality diagonal cutters | Angled cuts that make stripping awkward |
| Stranded copper (appliance/auto) | Diagonal cutters for cut, needle-nose for positioning | Frayed strands, mashed conductor if over-gripped |
| Small hookup wire / electronics leads | Flush cutters (if available), small diagonal cutters | Leaving a spike that can short against nearby parts |
| Steel wire, fencing, hardened tie wire | Hardened diagonal cutters rated for it | Chipping cutters, premature dulling |
| Aluminum wire (special cases) | Tool varies, often better with dedicated electrical tools | Soft metal deforms easily, connections can be finicky |
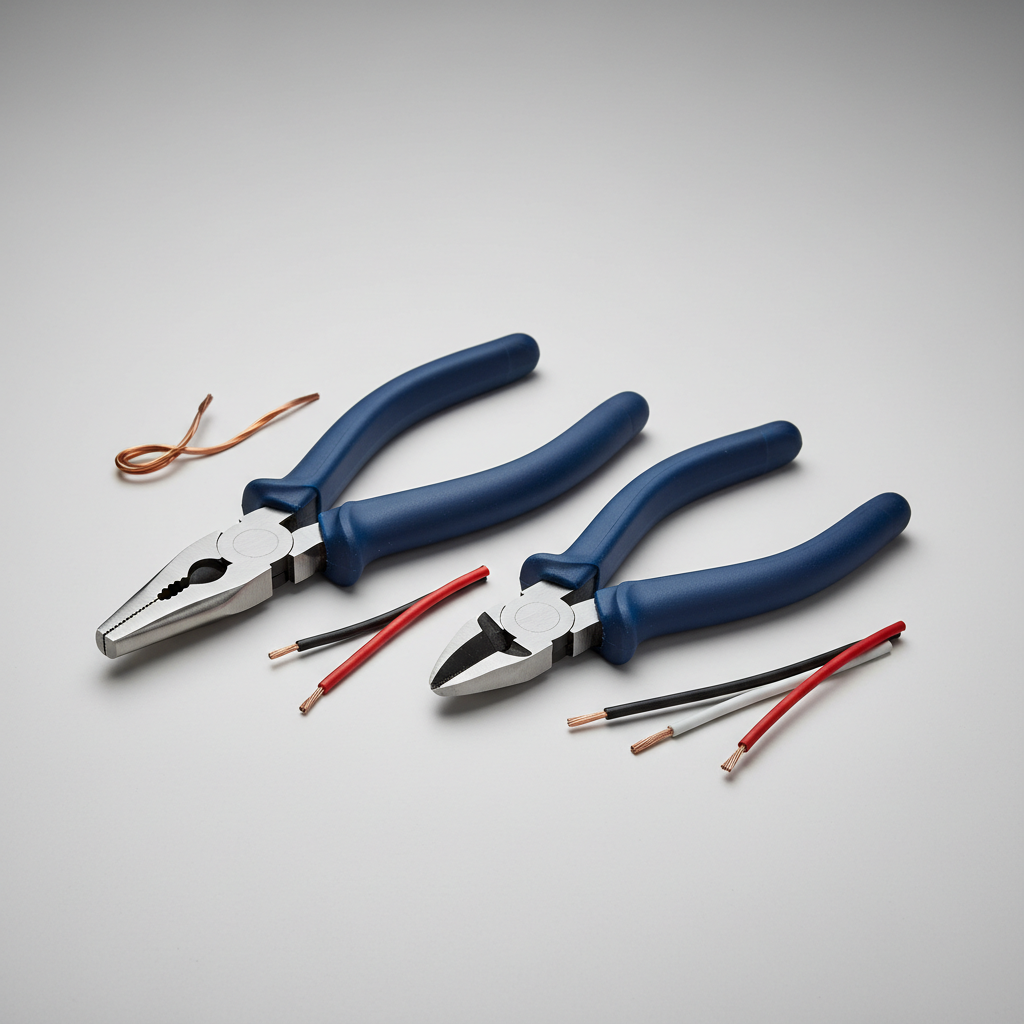
When in doubt, check the manufacturer markings or packaging. Many cutters list an approximate capacity by wire gauge and material, and that guidance is usually more reliable than guessing by feel.
Safety and “don’t learn this the hard way” mistakes
Cutting wire looks harmless until it is not. A few basic habits prevent most injuries and most damaged work.
- Do not cut live electrical wire: de-energize the circuit and verify. According to NFPA, electrical safety programs emphasize establishing an electrically safe work condition before working on conductors and circuit parts.
- Wear eye protection if there is any chance of flying off-cuts, especially with stiff wire.
- Avoid cutting unknown wire in walls or panels, you may be looking at something that is energized or part of a larger system.
- Don’t use pliers as a substitute for wire strippers: cutting insulation off with cutters often nicks copper, and that nick becomes a break point later.
- Stop if the tool is damaged: chipped cutters can create unpredictable cuts and sharp burrs.
If you are working in a panel, around service equipment, or on anything you cannot confidently identify, it is usually smarter to pause and consult a qualified electrician. That is not fear-mongering, it is just how risk works in real homes.
Practical tips for better results in real projects
These are the small moves that make how to use pliers to grip and cut wires feel easy instead of fiddly.
- Clean the jaws: gunk and adhesive reduce grip and encourage slipping.
- Sharpening is not always the answer: many modern cutters are hardened, and DIY sharpening can ruin geometry. Often replacement is the better route.
- Use two tools on purpose: grip with needle-nose, cut with dikes, and your work gets cleaner.
- Plan for the next step: if you will strip and crimp, cut square and leave enough length so you are not “short” later.
- Test-fit into the connector before you commit: if it does not seat cleanly, recut now, not after everything is bundled.
Key takeaway: clean cuts come from stability, sharp cutters, and correct placement near the pivot, not from squeezing harder.
Conclusion: a clean cut is mostly tool choice and control
If you remember one thing, remember this: the fastest way to improve results is to stop treating every plier as a cutter. Match the tool to the wire, hold the work steady, cut square near the pivot, then inspect the end before you move on.
If you are about to do a batch of connections, take two minutes to set up a comfortable position and good lighting, then practice on a scrap piece. That small warm-up often saves a lot of rework.