
pipe insulation foam tube is one of those small upgrades that rarely looks impressive, yet it can quietly fix three expensive annoyances at once: heat loss on hot lines, unwanted heat gain on cold lines, and condensation that leads to drips, corrosion, and complaints.
If you manage a building, run maintenance for a facility, or just want your home’s plumbing to behave, foam tube insulation sits in the sweet spot of low cost, fast install, and measurable comfort. The tricky part is that “foam tube” isn’t a single product, thickness and temperature rating matter, and installation details decide whether it performs or peels off in six months.
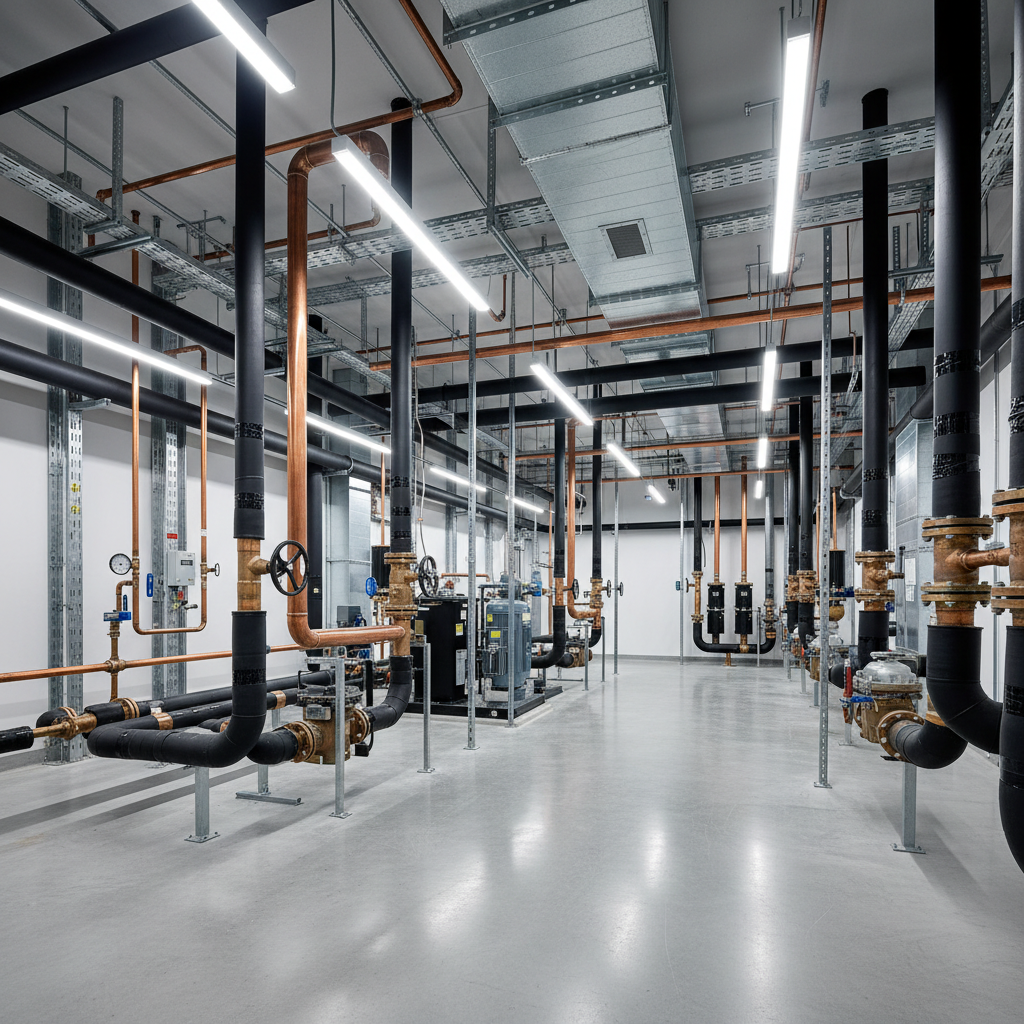
This guide focuses on what usually drives energy savings, how to pick the right foam tube for your pipe size and temperature, how to install it cleanly, and when foam is the wrong call. You’ll also get a quick checklist, a comparison table, and a few “don’t do this” lessons that save rework.
Why foam tube insulation saves energy (and prevents other headaches)
Energy savings come from one basic mechanism: insulation slows heat transfer. In real buildings, that shows up in a few very practical ways.
- Hot water and heating lines stay hotter longer, so water reaches setpoint faster and recirculation systems don’t work as hard.
- Chilled water and cold domestic lines pick up less heat, which reduces load on cooling equipment and keeps delivered water closer to target temperature.
- Condensation control on cold lines helps avoid drips onto ceilings, electrical trays, and finished surfaces, which reduces “mystery leak” calls.
- System stability: less temperature swing can reduce expansion/contraction stress at joints in some situations.
According to U.S. Department of Energy, insulating hot water pipes can reduce heat loss and may lower water heating costs; the exact outcome depends on pipe run length, temperature difference, and how consistently the system operates.
Where foam tube insulation fits best (and where it doesn’t)
Foam tubes are popular because they’re fast: slit, wrap, seal, done. But you still want to match the material to the job.
Good matches
- Indoor domestic hot water distribution and recirculation lines in basements, garages, utility rooms.
- Indoor chilled water lines where condensation risk is real and you can seal seams well.
- Short-to-medium runs with lots of fittings where pre-formed tubes save labor versus wrap insulation.
- Noise reduction (minor) on some plumbing runs, mostly by dampening vibration transfer.
Often the wrong choice
- High-temperature piping beyond the foam’s rating, this is where fiberglass/mineral wool or specialty elastomeric products are more typical.
- Outdoor exposure without UV protection and jacketing, many foams degrade in sun and weather.
- Areas requiring fire-rated assemblies or specific smoke/flame requirements, you may need a listed product and documented installation method.
- Grease/chemical exposure in industrial settings where the foam can swell or break down.
How to choose the right foam tube: size, thickness, temp, and vapor barrier
Buying “whatever fits the pipe” is how people end up with gaps, sweating lines, and insulation that slides. A better approach is to decide based on service temperature, humidity, and mechanical abuse risk.
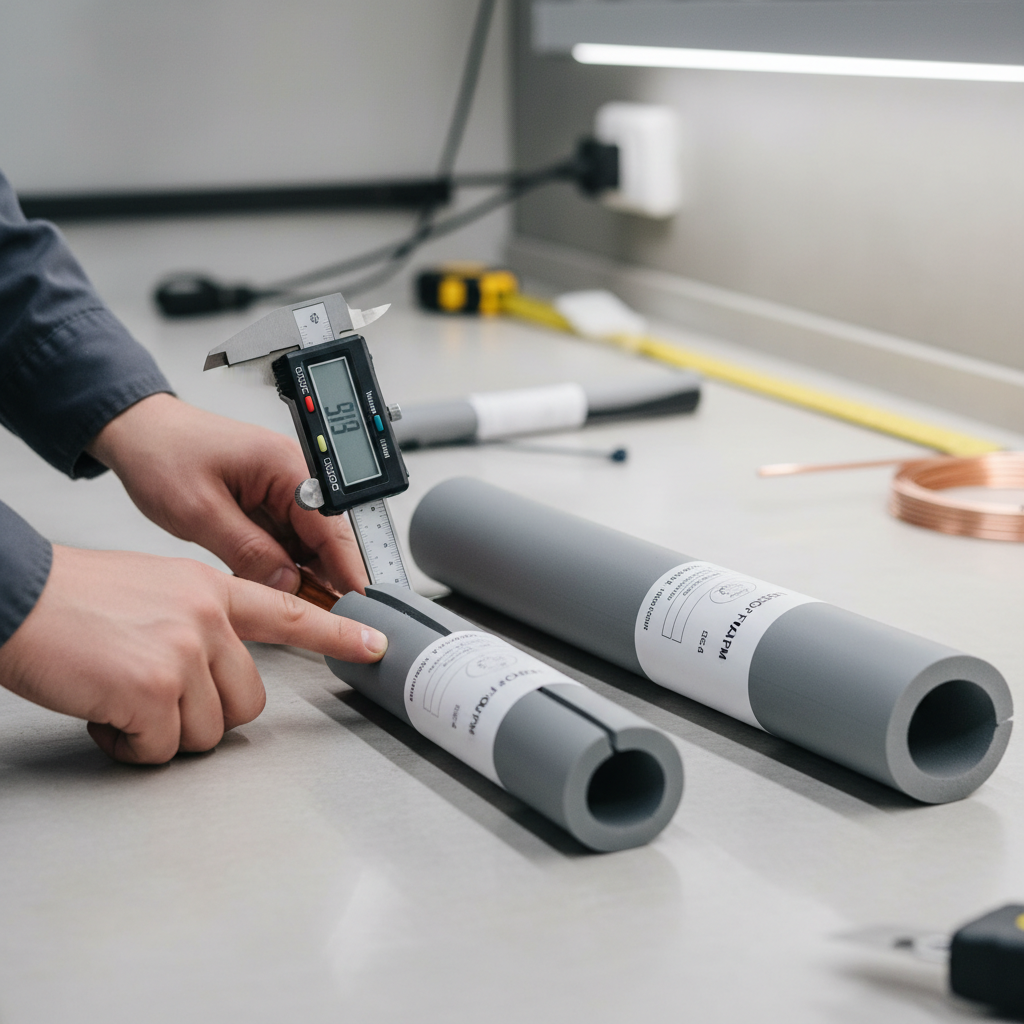
Selection checklist (quick but useful)
- Pipe size match: confirm you’re matching the foam tube’s inner diameter to the pipe’s outer diameter (common mismatch on copper vs iron pipe naming).
- Insulation thickness: thicker usually saves more energy and controls condensation better, but may create clearance issues at hangers and penetrations.
- Temperature rating: verify the product’s stated service temperature range for hot water, steam-adjacent runs, or very cold lines.
- Vapor barrier: for cold pipes, a good vapor barrier and sealed seams matter as much as thickness.
- Code and spec requirements: in commercial work, check the project spec and local energy code requirements before purchasing.
Foam tube vs other common insulation (at a glance)
| Option | Strengths | Trade-offs | Typical use |
|---|---|---|---|
| Foam tube (polyethylene / elastomeric) | Fast install, clean look, good for condensation control when sealed | Temp limits vary, UV/weather exposure issues, seams must be sealed well | Indoor hot/cold plumbing, some HVAC lines |
| Fiberglass pipe wrap/sections | Handles higher temps, widely specified | Messier install, needs jacket/vapor barrier for cold lines | Hot water, heating, some industrial piping |
| Mineral wool | High-temp capability, good fire performance in many products | Bulkier, needs jacketing, not a quick “slit-and-go” solution | Mechanical rooms, high-temp applications |
Self-test: are you losing energy, getting condensation, or both?
Most people buy insulation because someone complained, not because they ran numbers. Here’s a simple way to classify your situation so you don’t overbuy or underbuy.
- If hot water takes too long at fixtures far from the heater, uninsulated trunk lines and recirc loops are a common contributor.
- If the mechanical room feels like a sauna while hot lines run, that “free heat” is usually wasted energy and can increase cooling needs.
- If you see sweating/drips on cold lines, elbows, valves, or near hangers, seam sealing and vapor barrier quality matter more than people expect.
- If paint bubbles or ceiling tiles stain below cold pipes, treat it like a moisture-control job, not just an energy job.
- If insulation keeps falling off, you likely have size mismatch, dirty/oily pipe surface, poor tape/adhesive choice, or repeated mechanical impacts.
According to ASHRAE, condensation control depends on surface temperature relative to indoor dew point, in plain English, humid air plus cold pipe equals water unless the insulation and vapor seal keep the surface warm enough and airtight enough.
Installation that actually works: step-by-step for clean seams
Foam tubes are easy to put on and easy to install poorly. The performance difference is usually at seams, fittings, and terminations.
Tools and materials you’ll likely want
- Measuring tape and marker
- Sharp insulation knife (or fine-tooth blade), a dull blade tears foam
- Approved seam tape or adhesive (match to insulation type)
- Pre-formed elbows/tees if available, otherwise plan for miter cuts
- Optional: UV jacket or protective wrap for exposed areas
Step-by-step
- Measure the pipe OD and confirm tube ID, don’t rely on “nominal” pipe size when you’re mixing copper, PEX, and steel.
- Dry-fit sections before peeling adhesive strips or taping, check clearance at hangers, valves, and wall penetrations.
- Clean the surface where adhesion matters, dust and oil reduce bond strength in many cases.
- Install tight, not stretched, stretching can thin the foam and open seams over time.
- Seal every seam on cold lines, continuous vapor sealing reduces sweating risk more than “spot taping.”
- Detail fittings: use pre-formed pieces when possible; if cutting miters, keep edges clean and fully closed before taping.
- Terminate cleanly at valves and unions, leave serviceable access where needed, but avoid exposed bare pipe collars that become condensation points.
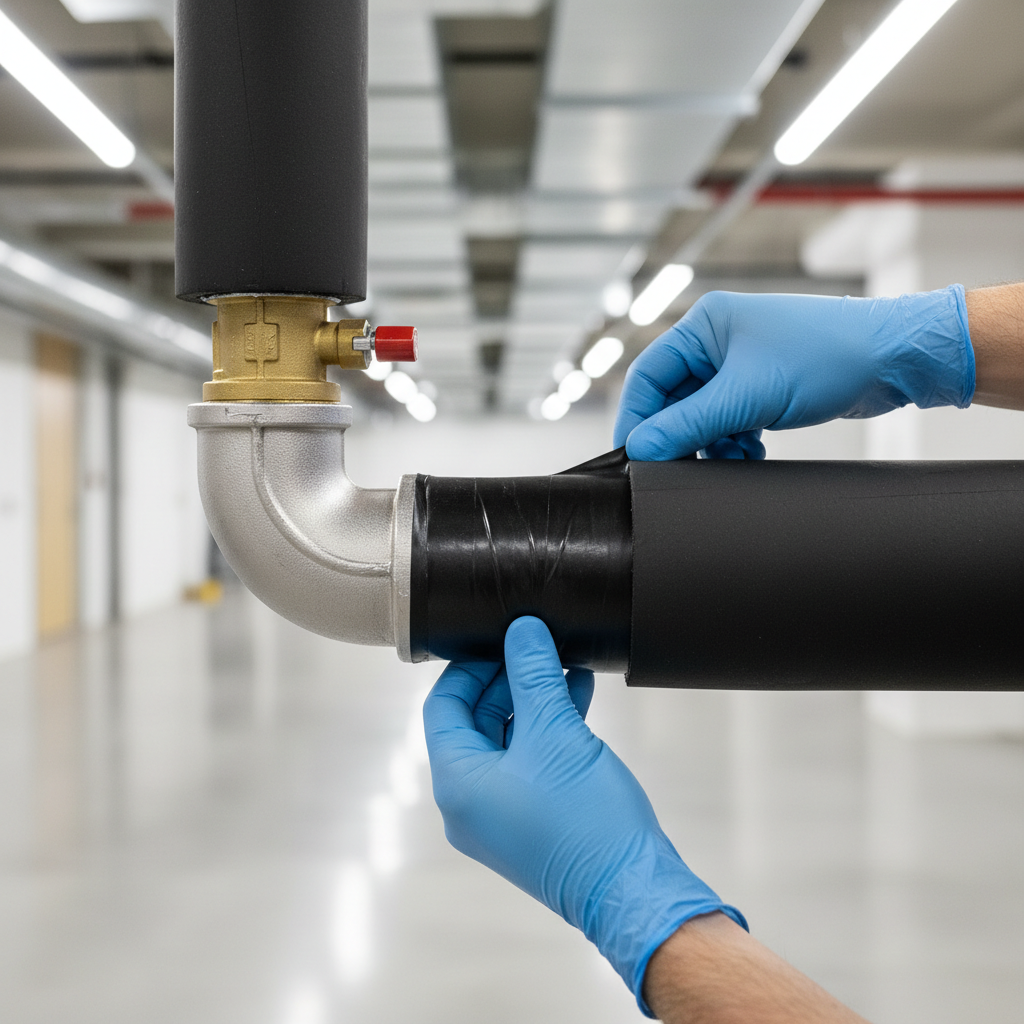
Key takeaway: on cold lines, an unsealed seam can turn good insulation into a moisture trap. You may still “have insulation,” but you don’t have effective condensation control.
Practical energy-saving tactics (beyond “wrap everything”)
If your goal is energy savings, targeting matters. A few feet in the right place can beat a sloppy whole-building install.
- Start with the first 6–10 feet from water heaters, boilers, and storage tanks, these sections often run hottest.
- Prioritize long runs in unconditioned spaces like garages, crawlspaces, and vented basements.
- Insulate recirculation loops if you have them, they can bleed heat continuously depending on schedule and controls.
- Don’t ignore valves and flanges in mechanical rooms, they’re common “hot spots.”
- Pair insulation with controls: timer, aquastat settings, and demand recirc strategies can compound savings, depending on system type.
According to U.S. Environmental Protection Agency, improving energy efficiency often works best as a package of measures, insulation helps, but controls and maintenance can change results significantly across homes and buildings.
Mistakes that waste money (and how to avoid them)
- Buying the wrong diameter: a loose tube leaves air gaps and opens seams. Measure, then buy.
- Using thin insulation on sweating lines: in humid climates, thin wall thickness may not keep the surface above dew point, even if it “looks insulated.”
- Skipping seam sealing on chilled or cold domestic water: condensation often appears exactly along the slit line.
- Forgetting mechanical protection: in busy areas, foam tears. Consider protective jacketing or rerouting if impacts are common.
- Ignoring code/spec language: commercial projects often require certain thickness, smoke/flame ratings, or labeling. Confirm before installation.
When to involve a pro (or at least ask for a second opinion)
Foam tubes are DIY-friendly, but some scenarios deserve a more careful approach.
- Recurring moldy smells, wet insulation, or hidden leaks: moisture problems can be misdiagnosed as “condensation.” A plumber or HVAC technician can help confirm cause.
- Large commercial chilled water systems: insulation spec, vapor sealing, and penetrations can be detail-heavy, an insulation contractor may prevent callbacks.
- High-temperature or specialty piping: choose materials rated for the service temperature and environment, and follow manufacturer instructions.
- Code compliance questions: if you’re unsure about local energy code or fire performance requirements, checking with your inspector or design professional saves rework.
If you’re in doubt, it’s reasonable to bring a sample and the product datasheet to your contractor or supplier and ask, “Is this appropriate for my line temperature and location?” That simple step avoids many wrong-material installs.
Conclusion: a small job that can pay off if you do the details right
Foam tube insulation is a practical way to reduce heat loss, limit unwanted heat gain, and cut down on condensation complaints, but the value comes from matching the right product to the pipe and taking seams and fittings seriously. If you want a simple next step, measure your pipe OD, identify hot vs cold runs, then start with the longest unconditioned sections and the areas that sweat.
If you’re trying to decide between thicknesses or materials, bring your pipe size, approximate temperatures, and installation location to a supplier or contractor, a five-minute conversation often prevents buying the wrong foam tube insulation.
FAQ
What thickness of pipe insulation foam tube should I use?
It depends on pipe temperature, ambient temperature, and humidity. Thicker insulation generally reduces heat transfer more, and for cold lines it can help keep the outer surface above dew point when seams are sealed.
Does foam tube insulation work for both hot and cold water pipes?
Often yes, but check the product’s service temperature range and whether it has a good vapor barrier. Cold applications are less forgiving because small gaps can still sweat.
Why is my insulated cold pipe still sweating?
Common causes include unsealed seams, compressed insulation at hangers, exposed fittings, or insulation that’s too thin for the humidity level. Sometimes the real issue is unusually humid air or a leak nearby, so verifying the source matters.
Is pipe insulation foam tube safe around electrical wiring?
Many mechanical rooms have pipes near wiring, but safety depends on clearances, local code, and the insulation’s fire performance ratings. If you’re insulating near electrical panels or heat sources, it’s smart to consult a qualified professional.
Can I use foam insulation outdoors?
Some products can, but many need UV protection and weather-resistant jacketing. Without protection, foam can crack or degrade in sunlight and rain, which reduces performance.
How do I insulate valves and elbows with foam tubes?
Pre-formed fittings make the cleanest job when available. If you’re cutting and mitering, take time to get tight joints and seal the edges, fittings are where heat loss and condensation problems often concentrate.
Do I need to insulate both the hot line and the hot water return line?
If you have a recirculation loop, insulating both supply and return is usually where savings show up, because the loop can run frequently. The exact impact varies by run length and control strategy.
Quick, low-pressure next step
If you’re trying to pick pipe insulation foam tube for a specific job and want fewer surprises, it helps to list pipe material, measured OD, line temperature (even approximate), and whether the space is humid or unconditioned, then match that to a rated product and the right seam sealing method so you don’t end up redoing sweating sections later.