
How to cut thick branches with pruning saw comes down to three things most people skip: choosing the right saw, setting up a safe cut plan, and using a controlled cutting sequence that prevents tearing and pinching.
If you have ever leaned into a cut until the blade binds, or watched bark rip down the trunk after the branch finally drops, you already know why this matters, one bad cut can damage the tree for years and one bad stance can hurt you fast.
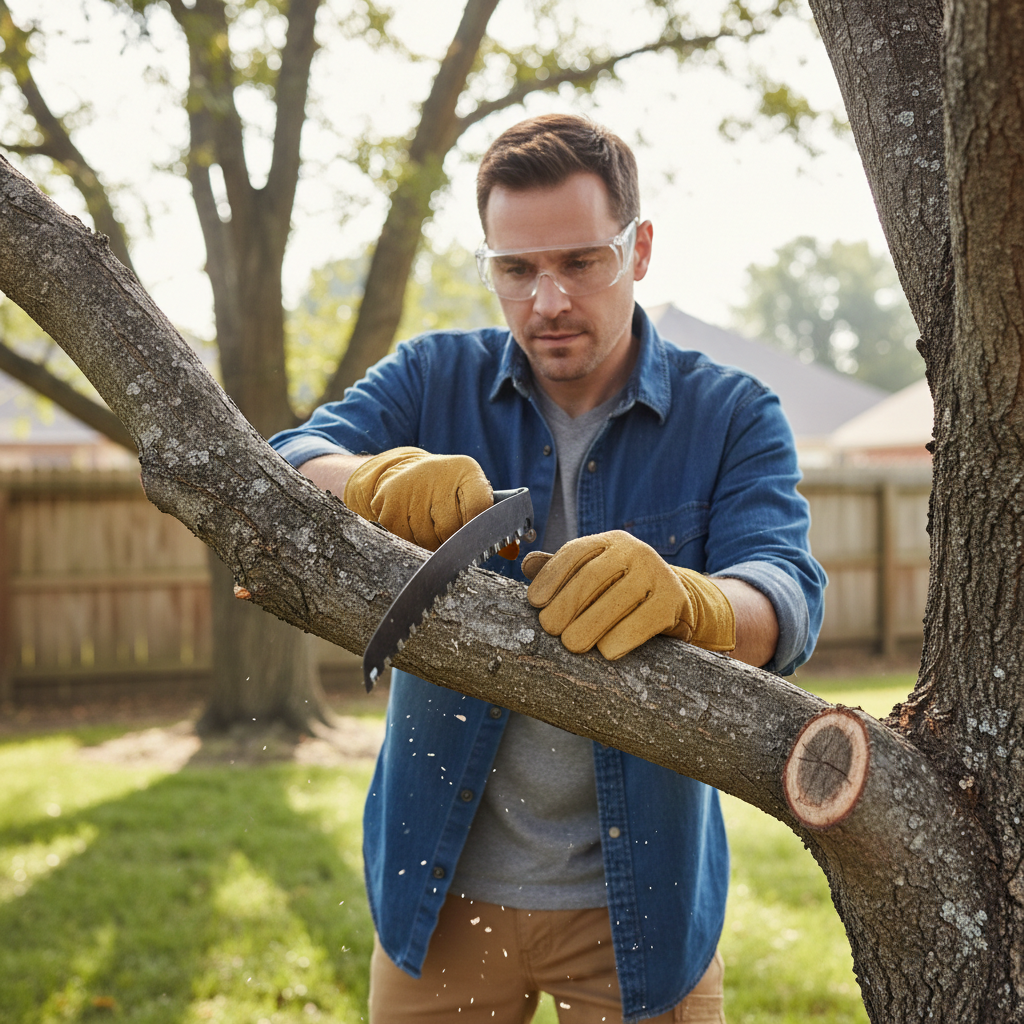
This guide keeps it practical, you will learn how to judge whether a pruning saw is the right tool, how to make a clean cut without bark tearing, and what to do when the branch is just heavy enough to fight you.
Pick the right pruning saw for thick branches
Not every “pruning saw” behaves the same, and thick wood exposes weak teeth, flexible blades, and uncomfortable grips pretty quickly. For most yard work, you want a saw that cuts on the pull stroke, stays stiff, and clears chips well.
What usually works best
- Blade length: 10–14 inches is a solid range for many thick limbs, longer blades help if you need longer strokes.
- Tooth style: Coarse teeth bite faster in green wood, finer teeth feel smoother but cut slower.
- Curved blade: Often grips the branch better, especially overhead or at awkward angles.
- Fixed vs folding: Fixed feels sturdier, folding is convenient but can flex more under pressure.
Quick tool match table
| Branch size (approx.) | Pruning saw setup | Notes |
|---|---|---|
| 1–3 in | Folding or fixed saw, medium teeth | Most homeowners can handle this safely with good technique |
| 3–6 in | Stiff fixed saw, longer blade, coarse teeth | Use a 3-cut method to prevent bark tearing |
| 6+ in | Long fixed saw or alternative tool | Often better with a chainsaw or an arborist, depending on height/weight |
Safety and setup: what to check before you cut
Most cutting problems start before the first stroke, the branch is under tension, you are standing in the drop zone, or the ladder is a little too “probably fine.” Tighten the setup and the cut becomes easy.
According to OSHA, ladder use should include stable placement and maintaining safe positioning, if you are not confident on a ladder, it is smarter to cut from the ground or call a professional.
- Look up and out: power lines, fences, roofs, cars, and anything the branch can bounce into.
- Find the drop zone: imagine where the branch lands, then stand somewhere else.
- Wear basics: eye protection and gloves are a good baseline, add a helmet if you are under a canopy.
- Clear your feet: remove tripping hazards so you can step back as the branch releases.
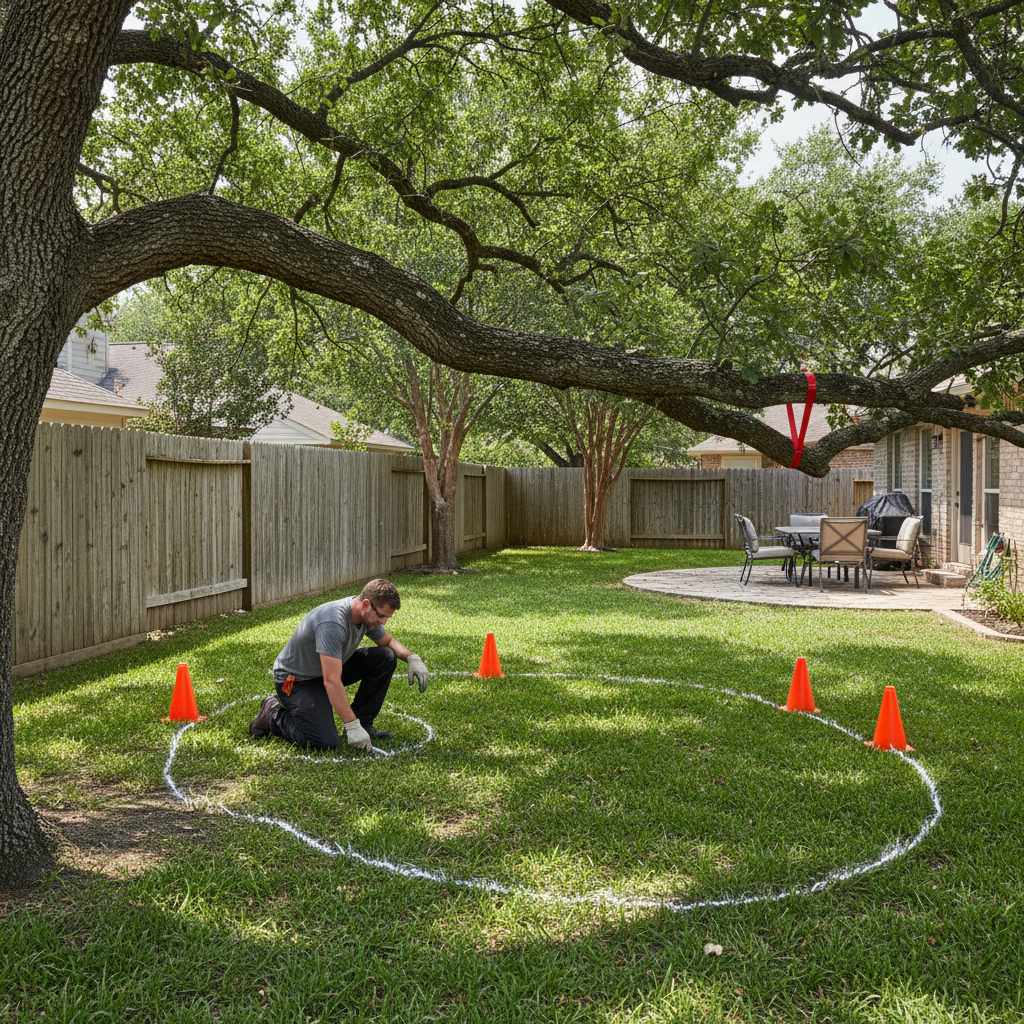
If you are trimming above shoulder height, pause and reassess, many injuries happen when people overreach, lose balance, or try to “catch” a falling limb. Let gravity do its thing, just not onto you.
Self-check: is a pruning saw the right tool here?
Before you commit, do a quick reality check, because how to cut thick branches with pruning saw changes a lot when the limb is high, heavy, or loaded with tension.
- You can reach the branch from the ground without leaning your body into it.
- The branch diameter matches your saw, if you need tiny strokes because the blade is short, you will fight it.
- The limb is not supporting other weight such as a large hanging section that can swing.
- No signs of severe rot or splitting, weak wood can fail unpredictably.
- You have a clear retreat path and can step back without tripping.
If two or more of these feel shaky, it is not “being cautious,” it is being accurate, this is where a pole saw, a different tool, or a certified arborist often makes more sense.
The core technique: the 3-cut method for thick branches
The cleanest way to remove a thick limb is usually the 3-cut method, it reduces bark tearing and prevents the branch weight from pinching your blade. If you only remember one thing, remember this sequence.
Cut 1: the undercut (prevents tearing)
Make a small cut on the underside of the branch, about 6–12 inches out from the trunk, usually a 20–30% depth cut is enough. This is your “stop line” that blocks a rip when the branch drops.
Cut 2: the top cut (drops the weight)
Move a couple inches farther out from the undercut and saw from the top. When the branch breaks, it should snap cleanly at the undercut instead of peeling bark down the trunk.
Cut 3: the final cut at the branch collar
Now remove the remaining stub with a careful cut just outside the branch collar, that slightly swollen area where the branch meets the trunk. Cutting flush into the trunk is a common mistake and can slow healing.
According to USDA Forest Service guidance on tree care, proper pruning cuts avoid damaging the branch collar to support better wound closure and reduce decay risk.
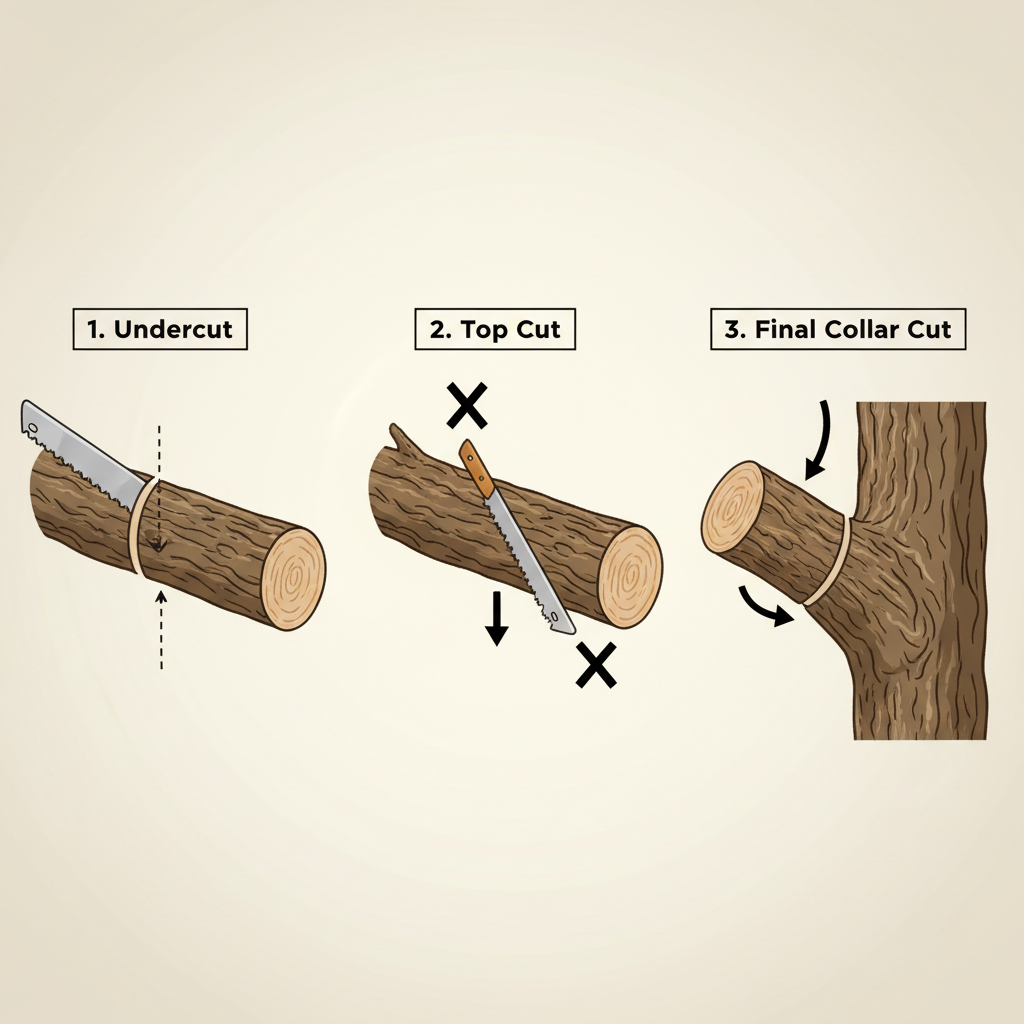
Key point: the final cut is about tree health, not speed, if you rush it, you usually get a jagged surface that holds moisture and invites problems.
How to actually saw thick wood without binding the blade
Once you are in the cut, most trouble comes from forcing the saw. Thick branches cut faster with rhythm and long strokes, not with brute pressure.
- Start with a notch: a few light pull strokes create a track so the blade does not skate.
- Use long strokes: let more teeth do work, short choppy strokes heat the cut and waste energy.
- Keep the kerf open: if you see the cut closing, the branch weight is pinching, pause and change your plan.
- Do not twist the blade: bending sideways dulls teeth and can snap folding saws.
If binding starts anyway, back the blade out gently, then reduce load by removing smaller side branches first, or shift the cut location so the branch weight is not closing the kerf.
Practical scenarios and fixes (because real branches are messy)
Here are the situations that usually trip people up, and what tends to work without turning the job into a wrestling match.
Scenario: branch is heavy and wants to tear
- Extend the distance of Cut 2 farther out, so the drop section is lighter.
- Remove weight in chunks by cutting smaller offshoots before the main limb.
- Consider a rope and a helper to control swing, if you have the skill to do it safely.
Scenario: branch is above your head
- Use a pole saw when possible, it keeps you out of the drop zone.
- If a ladder is unavoidable, keep your belt buckle between ladder rails, no reaching sideways.
- When it feels sketchy, stop, awkward overhead cuts are where a pro earns the fee.
Scenario: dead wood feels unpredictable
- Expect brittleness, dead limbs can snap early and fall in odd directions.
- Wear eye protection and keep extra distance.
- If the limb is large, consider professional help, especially near structures.
Common mistakes that ruin the cut (or the tree)
Many people try to “finish fast,” and that is exactly how you get ragged bark, a stuck saw, or a stressed tree that struggles after pruning.
- Cutting flush to the trunk: you risk damaging the branch collar and slowing closure.
- Skipping the undercut: thick limbs tear more often than you think.
- Over-pruning at once: removing too much canopy can stress the tree, especially in heat.
- Using a dull blade: it invites extra force, which invites slips.
- Painting the wound by default: many cases do not need it, and recommendations vary by region and tree type, ask a local extension office if unsure.
When to stop and call a certified arborist
There is no shame in handing off a cut that carries real risk. If the branch can hit a roof, power line, or neighbor’s fence, the cost of a mistake is usually higher than the cost of a visit.
- Branches near electrical lines, even “just close,” call the utility or a qualified professional.
- Large limbs with visible cracks, included bark, or heavy lean.
- Any cut requiring you to climb into the tree canopy.
- If you suspect the tree is diseased and you want to keep it healthy long-term.
According to International Society of Arboriculture (ISA), using a credentialed arborist helps align pruning work with tree biology and safety practices, which matters more as branch size and complexity increase.
Wrap-up: clean cuts, less drama
When you treat thick limbs as a planning problem, not a strength contest, how to cut thick branches with pruning saw becomes pretty repeatable, pick a stiff saw that matches the wood, set your drop zone, then use the 3-cut method so the tree and your blade both stay intact.
If you want one action to take today, inspect your pruning saw and replace the blade if it feels dull, then practice the undercut and top cut sequence on a low branch before you tackle anything heavy or overhead.
Key takeaways (save this for the next weekend project)
- Use the 3-cut method for thick limbs to prevent bark tearing and blade pinch.
- Cut outside the branch collar, not flush to the trunk.
- Long, controlled strokes beat heavy pushing, most pruning saws cut on the pull.
- When height, weight, or hazards increase, consider a pole saw or a certified arborist.