
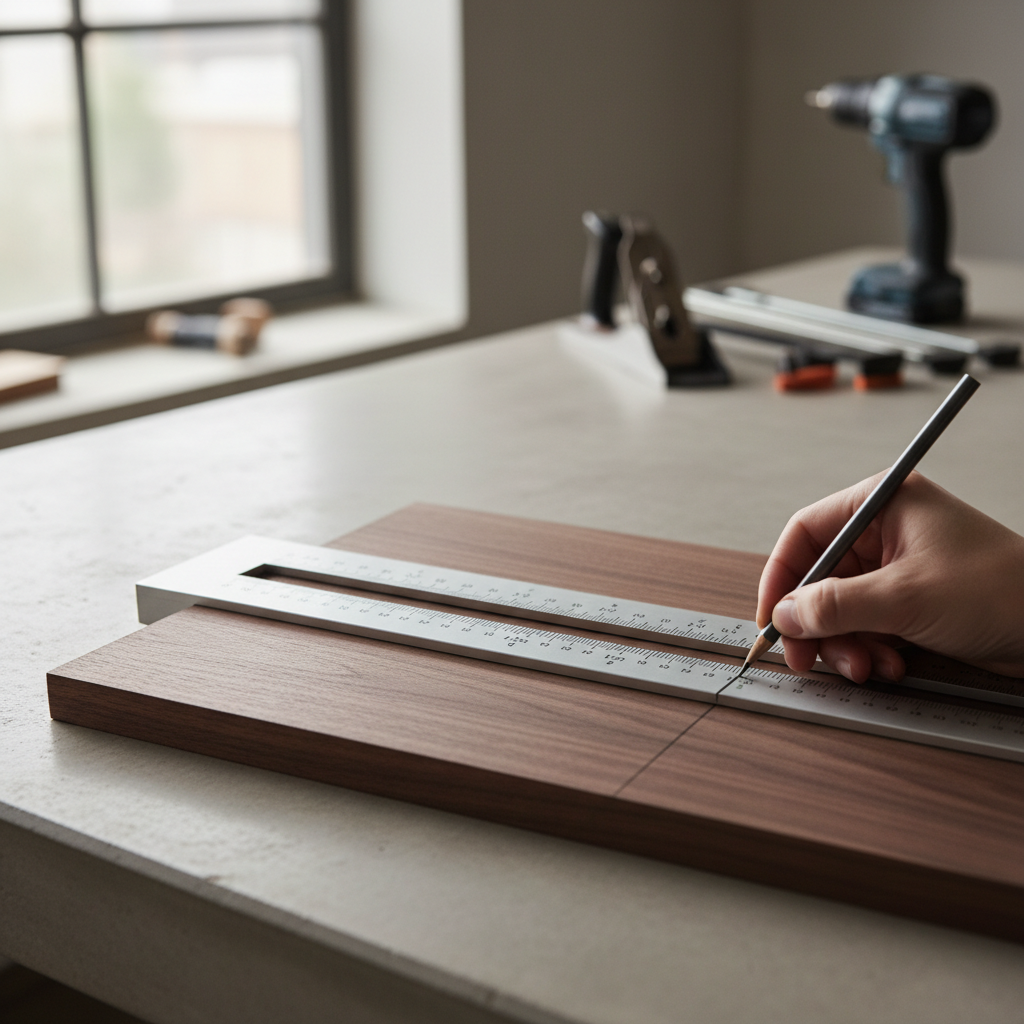
A center rule measuring tool is one of those simple shop tools that quietly saves time when you need perfectly symmetrical layout, drilling, or marking, especially on parts where “close enough” turns into visible misalignment.
If you do woodworking, metalworking, drafting, sewing, or even basic fabrication, symmetry usually fails for one of two reasons: you’re referencing the wrong edge, or you’re stacking small measurement errors until they show up in the final assembly. A center rule reduces both problems by letting you work from the centerline instead of chasing offsets from the sides.
People also confuse a center rule with a center-finding ruler, a center square, or a standard tape measure. They overlap, but they solve different problems. This guide clears that up, then walks through practical setups you can copy the next time you need mirrored measurements.
What a center rule is (and why it works for symmetry)
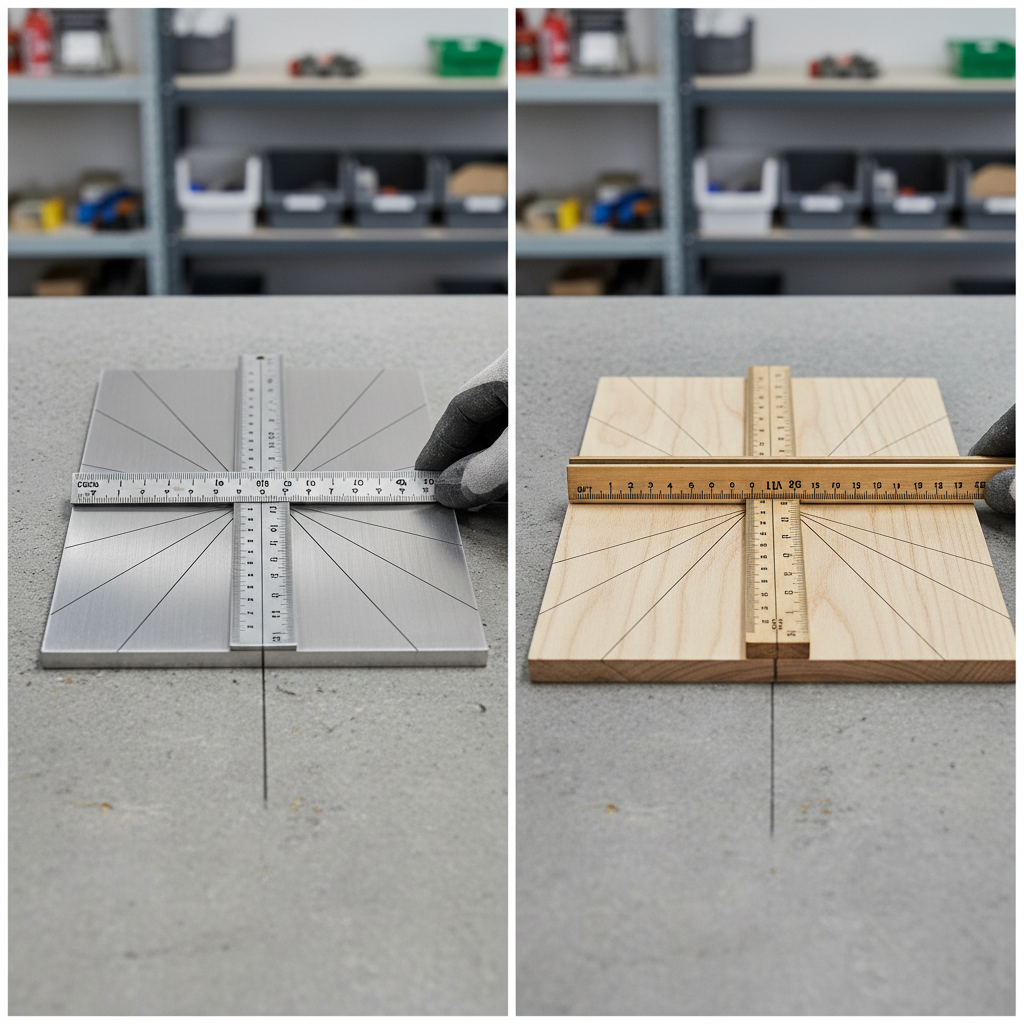
A center rule is a ruler marked with zero in the middle, and measurements increase outward to the left and right. Instead of measuring “from the left edge,” you place the zero at the centerline and measure out equally.
That sounds minor, but it changes your workflow. Symmetry work is less about “measuring twice” and more about choosing a reference that can’t drift. A centerline reference is usually more stable than two outside edges that may not be perfectly parallel.
- Fast mirroring: You can mark +2 in on the right and -2 in on the left without doing mental math.
- Fewer compounding errors: Small offsets don’t stack as easily as they do when you keep re-referencing edges.
- Cleaner layout thinking: Your marks naturally “wrap around” the centerline, which is how many parts are designed.
When a center rule measuring tool is the right choice
You don’t need a center rule for every job. It shines when the final look depends on balance and matching spacing.
Common “this is a center rule job” situations:
- Holes that must mirror: drawer pulls, hinge plates, brackets, faceplates
- Even spacing around a midpoint: slats, vents, decorative grooves, stitch lines
- Parts that vary slightly in width: hand-cut stock, reclaimed boards, formed sheet metal
- Centering hardware: handles, knobs, nameplates where eyeballing looks off
It’s also useful when you’re working alone and can’t easily hold a tape, keep a square, and mark at the same time. The center reference makes setup more forgiving.
Center rule vs. other measuring tools (quick comparison)
In shops, “center rule” sometimes gets used as shorthand for any tool that helps you find center. Here’s a practical way to separate them.
| Tool | Best for | Where it can disappoint |
|---|---|---|
| Center rule | Mirroring measurements from a known centerline | Needs a reliable centerline to start from |
| Center-finding ruler (edge center scale) | Finding the center of a given width fast | Less convenient for repeated mirrored spacing |
| Combination square / center head | Marking center on round stock, setting 90°/45° | Bulkier; slower for multiple symmetric marks |
| Tape measure | Long measurements, rough layout | Hook play and bend can introduce small errors |
| Calipers | High-precision internal/external dimensions | Not great for long layout lines |
According to NIST (National Institute of Standards and Technology), measurement confidence depends heavily on proper calibration and traceability. In plain terms, the “best” tool is the one you can verify and use consistently for the tolerance your project needs.
A quick self-check: are your symmetry issues measurement or setup?
Before you buy a new ruler or re-do a layout, figure out where the drift starts. These checks are fast and usually reveal the real culprit.
- Your edges aren’t true: If left and right edges aren’t parallel, measuring from edges makes symmetric marks look wrong even when the numbers are correct.
- You’re switching references midstream: One mark from the left edge, another from the right edge, then you “average” by eye.
- Line thickness is doing damage: A fat pencil line can be wider than your tolerance.
- Your rule slides during marking: Small movement at the tool becomes visible at the part.
- Center isn’t actually defined: People assume center based on a rough width measurement, then everything mirrors off a bad midpoint.
If two or more of those sound familiar, a center rule measuring tool can help, but only if you pair it with a repeatable centerline method.
How to use a center rule for symmetrical layout (step-by-step)
This is the workflow that tends to hold up across materials. The details change, the logic stays the same: establish center, lock reference, mirror outward.
1) Establish a trustworthy centerline
- For flat stock: measure width at the specific station you’re working on, mark half, then use a square to strike a centerline.
- For parts that vary: don’t assume the center at one end equals the center everywhere, mark center at multiple points and connect.
- For round stock: use a center head on a combination square, or a V-block method if precision matters.
Tip that avoids rework: use a sharp marking knife for joinery-level accuracy, or a mechanical pencil for general layout, then keep the same marking method for the whole part.

2) Place zero on the centerline and lock it in
- Align the 0 mark exactly on the centerline intersection you care about.
- Hold the rule down close to the marking point, not at the far end.
- If the surface is slick, use a bit of painter’s tape to keep the rule from skating.
3) Mark mirrored points and label them
- Mark your right-side positions: +1, +2, +3 (whatever your design calls for).
- Without moving the tool, mark the matching left-side positions at the same numbers.
- Add tiny labels if there are multiple features, it prevents “which dot was which?” later.
4) Transfer marks into real geometry
- Use a square to turn dots into perpendicular lines.
- For holes, center punch lightly before drilling so the bit doesn’t wander.
- For saw or router work, define the waste side clearly.
If you’re working with power tools, keep safety in mind: clamping and stable workholding matter more than the measuring tool. If you’re unsure about a setup, it’s sensible to ask an experienced operator or a qualified professional.
Practical tips that make a center rule feel “worth it”
The tool itself is simple, but the small habits around it determine whether symmetry actually shows up in the finished piece.
- Choose the right length: Too short forces re-indexing, too long is awkward on small parts.
- Prefer crisp graduations: High-contrast marks reduce misreads under shop lighting.
- Mind the units: If you mix metric and imperial across tools, symmetry mistakes happen in boring, predictable ways.
- Control parallax: Keep your eye directly over the tick mark, especially under task lights.
- Standardize your “center”: For assemblies, decide whether center is visual center, functional center, or datum-based center.
Key takeaway: A center rule isn’t magic, it’s a reference strategy. Most “symmetry problems” are really “reference problems.”
Troubleshooting common symmetry mistakes
When mirrored marks still look off, it usually comes down to one of these practical issues.
- The part isn’t actually symmetrical: A bowed board, a tapered cut, or a formed flange changes perceived spacing.
- Hole size exaggerates error: A 1/16 in drift can look big on a large fastener head.
- Drill wander: Even perfect layout can fail if you skip center punching or use the wrong bit for the material.
- Finishing reveals everything: Paint lines, brushed grain, or polish reflect asymmetry that looked “fine” in raw stock.
When the finish will highlight alignment, do a dry fit and sight from multiple angles. It’s faster than fixing an already-mounted handle that “looks crooked” after the fact.
Conclusion: a small tool that changes your layout mindset
When symmetry matters, a center rule measuring tool helps you stop fighting edges and start working from a centerline that stays consistent across steps. If you adopt one habit, make it this: define the center clearly, then do all mirrored layout from that single reference.
Your next move can be simple: pick one upcoming project with mirrored holes or spacing, lay it out from the centerline, and compare the fit and visual balance against your usual edge-based method.