
flap disc sanding set 40 80 120 is one of those simple tool combos that can either make your workflow feel effortless or waste an afternoon if you pick the wrong grit at the wrong time.
If you have ever watched a 40-grit disc chew grooves into metal, or tried to “save time” by finishing with 80 and calling it done, you already know the pain: extra rework, uneven sheen, and edges that look rough no matter how many passes you make.
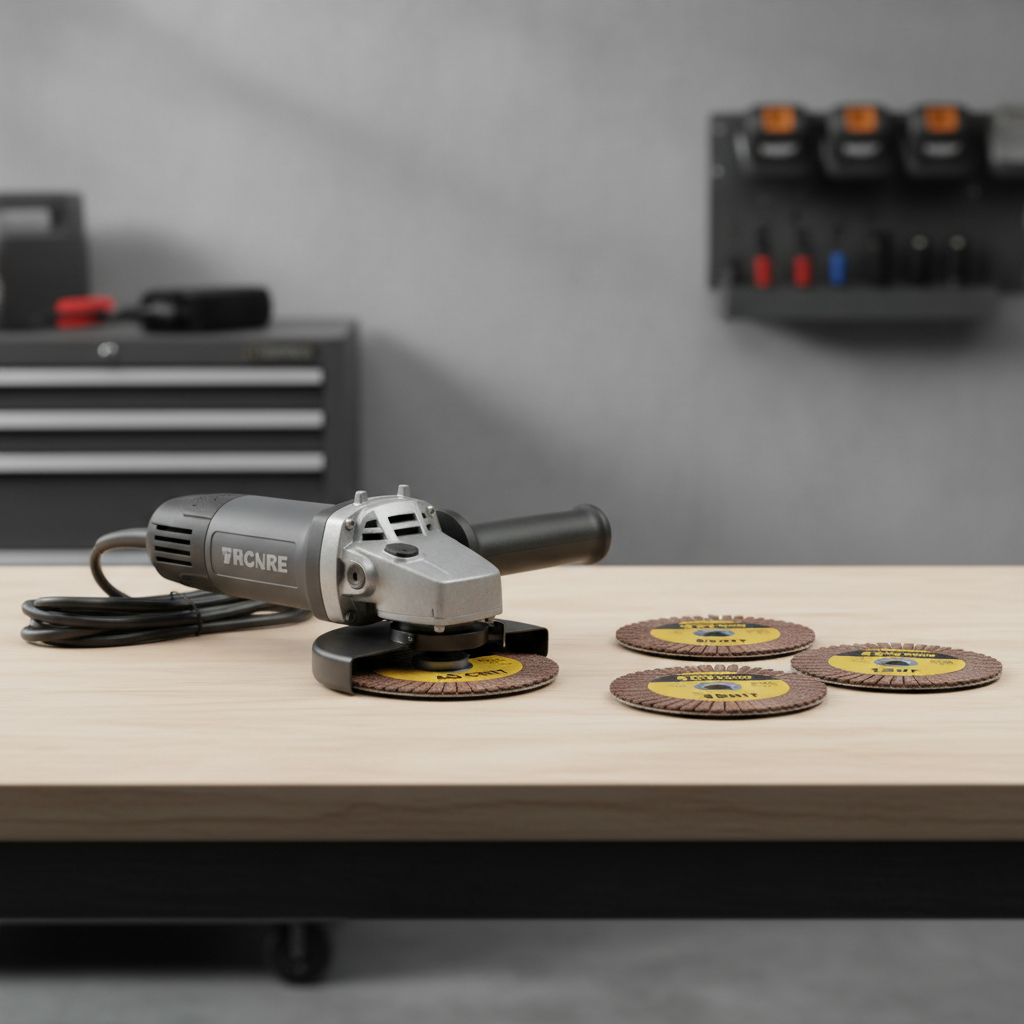
This guide breaks down what each grit is actually good for, how to “step” between grits without leaving surprise scratches, and how to choose a disc type that matches your material. You will also get a quick decision checklist, a grit selection table, and a few real-world guardrails that people usually learn the hard way.
What 40, 80, and 120 grit really do (and why it matters)
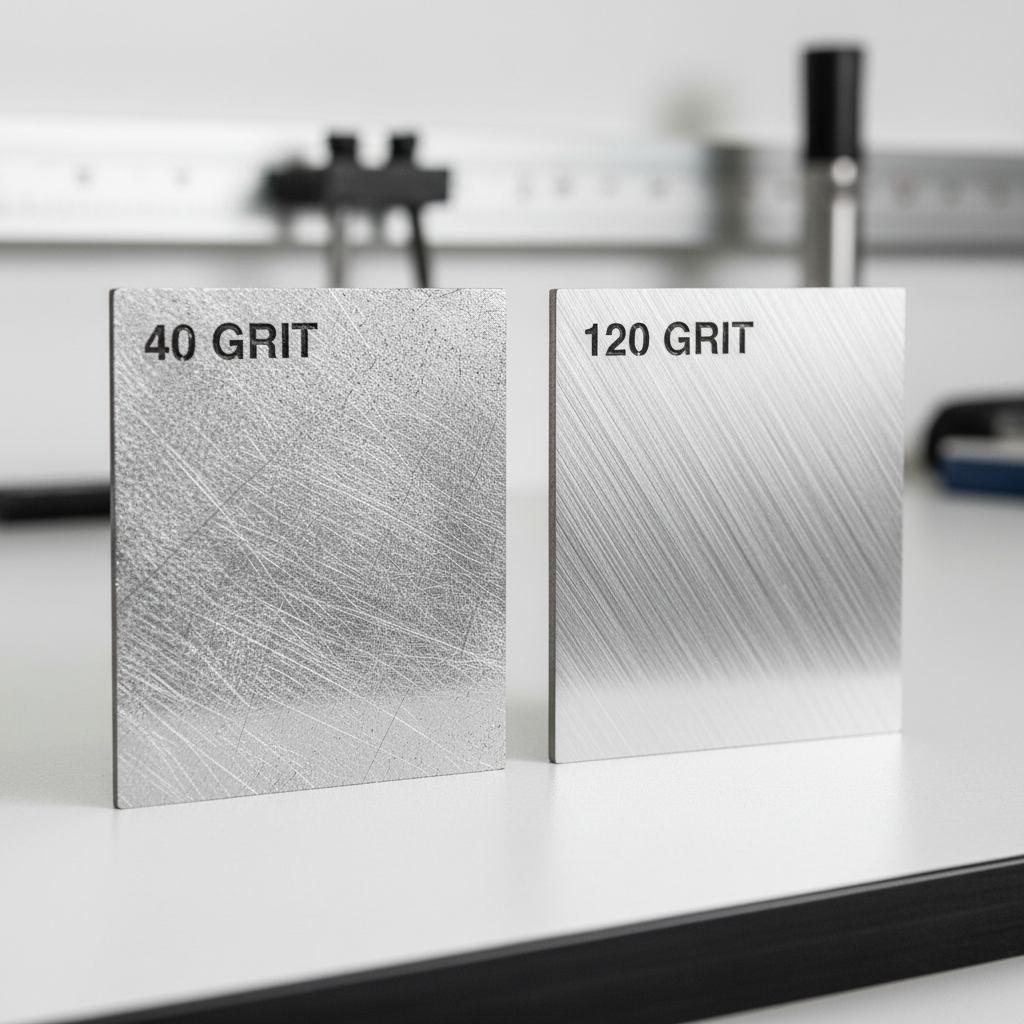
Think of grit as your level of aggression, not your “quality level.” A coarser grit removes material faster, but it also leaves deeper scratch patterns that you must erase later if you want a cleaner finish.
- 40 grit: fast stock removal, heavy weld blending, removing mill scale, flattening proud welds. It is also the easiest way to create low spots if you linger.
- 80 grit: general shaping and cleanup, refining 40-grit scratches, smoothing weld transitions. For many shop tasks, 80 is the “workhorse.”
- 120 grit: surface refining before paint or powder coat, reducing visible scratch depth, light blending on stainless before moving to non-woven or polishing steps.
The catch is that a grit only works as intended if you use it for the right job and stop at the right time. Many bad finishes come from using 40 grit too long, then trying to “fix” it with 120 grit without doing enough 80-grit refinement in between.
Common reasons people struggle with flap discs (even with the right grits)
Most problems are not about the grinder being “too strong.” They come from a few predictable habits and mismatches.
- Skipping grit steps: jumping from 40 straight to 120 often leaves ghost scratches that show up after paint, especially on flat panels.
- Too much pressure: flap discs cut with abrasive contact, not brute force. Excess pressure can glaze the disc, overheat metal, or dig edges.
- Wrong angle: using a steep angle turns the disc into a gouging tool. A shallow, controlled angle usually gives a more even scratch.
- Material mismatch: aluminum loads up many discs quickly, stainless may need different abrasive chemistry, and mild steel welds behave differently than sheet.
- Chasing “perfect” too early: polishing mindset at the 40-grit stage wastes discs and creates uneven surfaces.
Also, flap discs are not all built the same. Backing stiffness, flap density, and abrasive type can make “80 grit” feel surprisingly different across brands and product lines.
Quick self-check: which grit should you start with?
If you only remember one thing, remember this: start as fine as you reasonably can, then go coarser only when progress becomes painfully slow.
- You see a tall weld bead or heavy mill scale → start at 40 grit
- You need to blend a weld and smooth transitions, not remove a lot of metal → start at 80 grit
- You are prepping for paint and just need to refine scratches or remove light oxidation → start at 120 grit
- You are working on thin sheet and heat distortion worries you → often 80 or 120 is safer than 40
If your goal is a visible, presentable surface (not hidden under heavy texture), plan on using at least two steps. A flap disc sanding set 40 80 120 makes that workflow easy, but only if you treat it like a sequence, not three random options.
Grit selection table: job-to-grit mapping (realistic expectations)
This table is not a rulebook, but it will keep you out of the most common trouble.
| Task | Start grit | Next grit | What “done” looks like |
|---|---|---|---|
| Knocking down a weld bead on mild steel | 40 | 80 → 120 | Weld transitions smooth, no sharp ridge, scratch pattern consistent |
| Blending welds on a bracket (general fab) | 80 | 120 | Edges softened, no obvious deep scratches under shop lighting |
| Prep for primer/paint on steel | 120 | Optional scuff pad | Uniform scratch, clean surface, no glossy patches |
| Removing rust pits (light to moderate) | 40 or 80 | 80 → 120 | Loose rust gone, base metal even, pit depth assessed honestly |
| Stainless cosmetic blending (not mirror) | 80 | 120 → non-woven | Directionally consistent finish, reduced swirl marks |
One more reality check: deep gouges or heavy pitting sometimes will not “sand out” cleanly without removing more material than you want. At that point the choice becomes design and safety, not grit selection.
How to use a 40/80/120 flap disc set step-by-step (without rework)
A clean progression is mostly about discipline. The grind itself is the easy part.
1) Set your goal before you start
Are you trying to make a weld invisible, or just knock down sharpness and prep for coating? If you do not decide up front, you will keep switching grits hoping the surface “suddenly” looks right.
2) Use the lowest effective pressure and control the angle
A shallow approach angle often helps the disc “float” and blend rather than dig. If the grinder bogs down, that is a hint you are pushing too hard or using too coarse a disc for a delicate spot.
3) Do not move on until the scratch pattern is consistent
When you finish a pass with 40 grit, your surface should look consistently 40-grit everywhere you touched, no shiny islands, no random deep trenches. Then 80 grit can remove those scratches evenly. Same logic from 80 to 120.
4) Clean between steps when loading is likely
On softer metals or painted surfaces, debris can load the flaps and smear. A quick inspection and cleaning can prevent you from dragging contamination into the next grit and scratching what you just refined.

Key takeaway: most “mystery scratches” are just leftover scratches from the previous grit that never got fully removed.
Safety and quality tips people tend to overlook
Angle grinders are fast, loud, and not very forgiving. Small choices make a big difference.
- Wear eye and face protection: flying grit and broken abrasive fragments can cause serious injury. According to OSHA, eye and face protection is recommended when tasks create flying particles.
- Check RPM ratings: make sure the disc is rated for your grinder speed. If you are unsure, pause and verify before mounting.
- Let the disc do the work: excessive heat can discolor stainless and can warp thin sheet metal in some cases.
- Mind the edges: catching an edge can cause kickback. A more controlled angle and lighter touch often reduce that risk.
- Inspect before each use: if the disc looks damaged, deformed, or contaminated with something hard, swap it out.
If you are working near coatings, unknown metals, or old paint, consider that dust exposure can be a health concern. Ventilation and a suitable respirator may help, and for specific exposure questions it is reasonable to consult a safety professional.
Choosing the right flap disc type for your set (material matters)
Even if your set includes 40, 80, and 120, the abrasive grain and construction still drive performance.
- Zirconia alumina: common for steel, durable, typically a solid pick for general fabrication.
- Ceramic: often cuts cooler and faster on tougher jobs, but cost can be higher and benefits vary by application.
- Aluminum oxide: fine for light-duty work, but may wear faster on heavy grinding.
Backing also matters. A stiffer backing can keep surfaces flatter, while a more flexible disc can conform to curves. If your projects bounce between flat stock and tubing, that flexibility difference becomes obvious quickly.
When you shop, look for clear labeling, RPM rating, and intended material. A flap disc sanding set 40 80 120 is most useful when each disc behaves predictably and you can trust the step-to-step progression.
Conclusion: a simple grit plan beats “more sanding”
If your finish keeps disappointing you, it is usually not because you need a more powerful grinder, it is because your grit progression is messy. Use 40 grit only when you truly need fast removal, let 80 do the real refinement work, and use 120 to prep for coating or a cleaner visual finish.
If you want a practical next step, pick one project piece and run a controlled test: do a small area with 40 → 80 → 120, then compare it under bright light to an area where you skipped a step. That side-by-side comparison teaches more than any spec sheet.
If you need a more hassle-free approach, look for sets that clearly match your material and include consistent disc construction across grits, so your 40-to-80-to-120 progression feels predictable instead of random.
FAQ
What is a flap disc sanding set 40 80 120 used for?
It is commonly used to remove material quickly with 40 grit, refine and blend with 80, then smooth and prep surfaces with 120 for paint, powder coat, or a cleaner appearance.
Can I skip 80 grit and go from 40 to 120?
Sometimes you can, but many jobs end up showing leftover deep scratches. If the surface matters visually, 80 grit usually saves time because it removes 40-grit marks faster than 120 can.
Is 120 grit enough before painting metal?
Often it is a reasonable prep step, but paint systems vary. For critical coatings, follow the coating manufacturer surface-prep guidance and do a small test area if you are unsure.
Why is my flap disc leaving swirl marks?
Swirls often come from changing angles, uneven pressure, or moving too fast across edges. Keeping a steady angle and finishing with a consistent pass pattern can help.
Do flap discs work on stainless steel?
Yes, but stainless is sensitive to heat and cosmetic scratching. Many people use 80 and 120 for blending, then switch to non-woven for a more uniform finish.
How long should a flap disc last?
It depends on material, pressure, and abrasive type. If cut rate drops sharply or the disc loads up and smears, it may be time to replace it rather than forcing it.
What grinder speed is safe for these discs?
Use discs rated at or above your grinder’s RPM. Check the disc label and your grinder specs; if anything looks mismatched, do not run it until you confirm compatibility.