
The best magnetic tool holder for wall use is the one that matches your tools’ weight, your wall type, and how you actually work in your garage or shop, not just the one with the highest “lbs” number on a listing.
If you’ve ever had a bar that slowly slides down drywall, or a “strong” strip that can’t hold a set of pliers without twisting, you already know the pain: clutter returns fast, and you stop trusting the setup. A good wall-mounted magnetic holder should feel boring in the best way, meaning it stays put, tools snap on cleanly, and you can grab them one-handed.
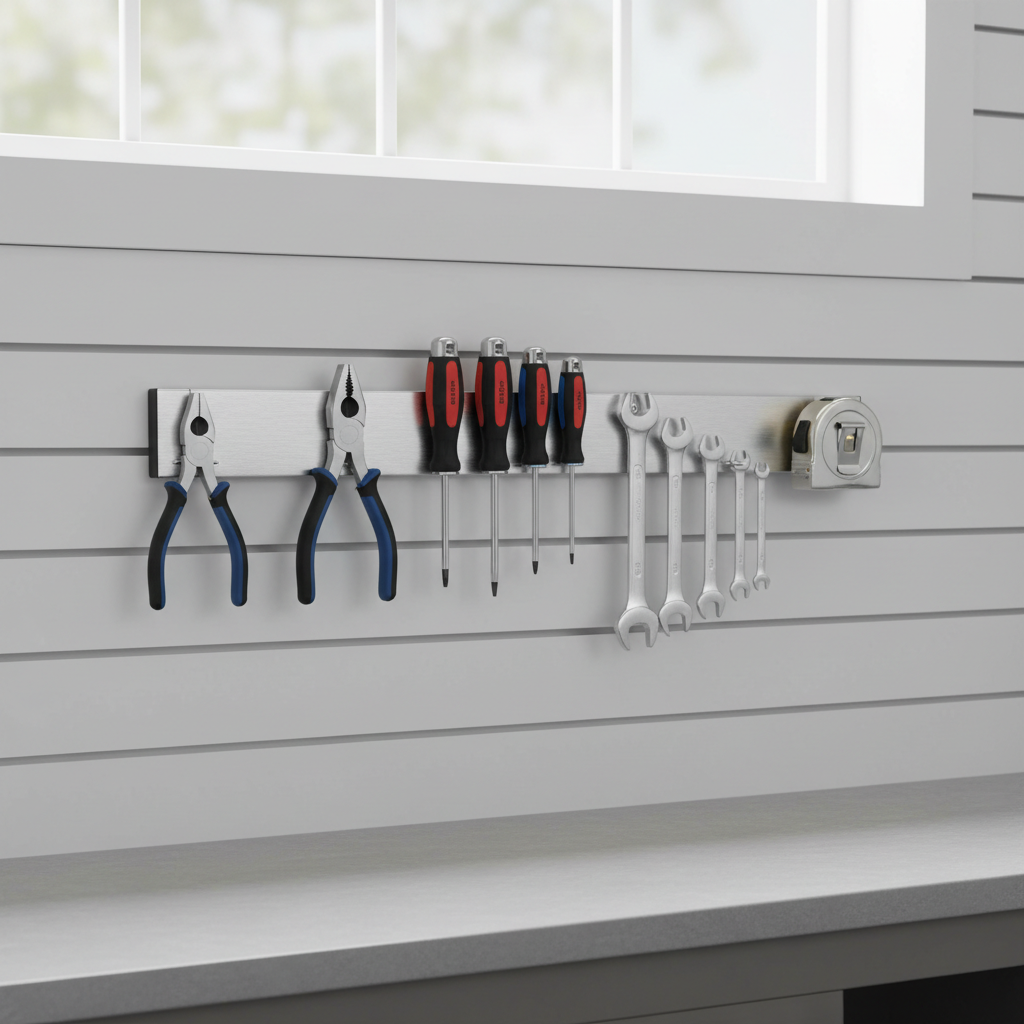
This guide focuses on what usually matters in 2026 product lines: real holding behavior (not marketing), mount reliability, magnet style, and a few small details that decide whether you love it for years or replace it next month.
What makes a magnetic tool holder “best” on a wall (in real life)
Most people shop by length and claimed pull force, then get surprised by sagging, tool rotation, or chipped tool finishes. In a wall setup, a holder performs as a system: magnet type, steel backing, and mounting all interact.
- Usable holding strength: Not just “strong,” but stable when tools bump into each other and when you pull one tool off.
- Mounting confidence: Screws into studs feels different from anchors in drywall, and both are different from masonry hardware.
- Magnet pattern: Alternating polarity (common in better strips) tends to reduce sliding, especially for longer tools.
- Surface protection: A rubberized or coated face can reduce scratches, but it may slightly reduce grip, so it’s a trade.
- Spacing and access: If tools are too close, you’ll bang knuckles and stop using the strip.
According to OSHA (Occupational Safety and Health Administration), good housekeeping and organized work areas help reduce hazards; in practice, a secure wall storage method is part of that, especially where sharp tools or heavy items could fall.
Quick comparison table: pick the right style for your wall and tools
Not every “magnetic bar” behaves the same. Here’s a practical comparison to narrow your options before you overthink brands.
| Type | Best for | Pros | Watch-outs |
|---|---|---|---|
| Standard magnetic strip (steel housing) | Everyday hand tools | Affordable, simple, scalable | Some have weak “dead zones” between magnets |
| Heavy-duty rare-earth bar | Heavier tools, fewer pieces | High grip, less sliding | Can pinch fingers, may mark polished tools |
| Rubber-coated magnetic holder | Finish-sensitive tools | Less scratching, quieter | Sometimes lower holding power on small contact points |
| Magnetic tool rack with hooks/bins | Mixed storage (tools + accessories) | More versatile layout | Bulkier, may need more wall space |
Why some wall-mounted magnetic holders fail (and it’s not always the magnet)
When a strip “doesn’t work,” the magnet is often fine; the installation or tool contact area is the real culprit.
- Drywall anchors mismatch: Light-duty anchors in gypsum can creep under vibration, temperature changes, or repeated pulling.
- No stud, no luck: Long bars loaded with steel tools create leverage. Without studs, even good anchors can loosen over time.
- Tool geometry: Hammers, ratchets, and some pliers have limited flat steel contact, so they rotate or slide.
- Paint, dust, oil: A slick face plus oily tools reduces friction, so the tool “walks” down.
- Overloading the ends: Many strips hold strongest near internal magnets; edges sometimes feel weaker depending on design.
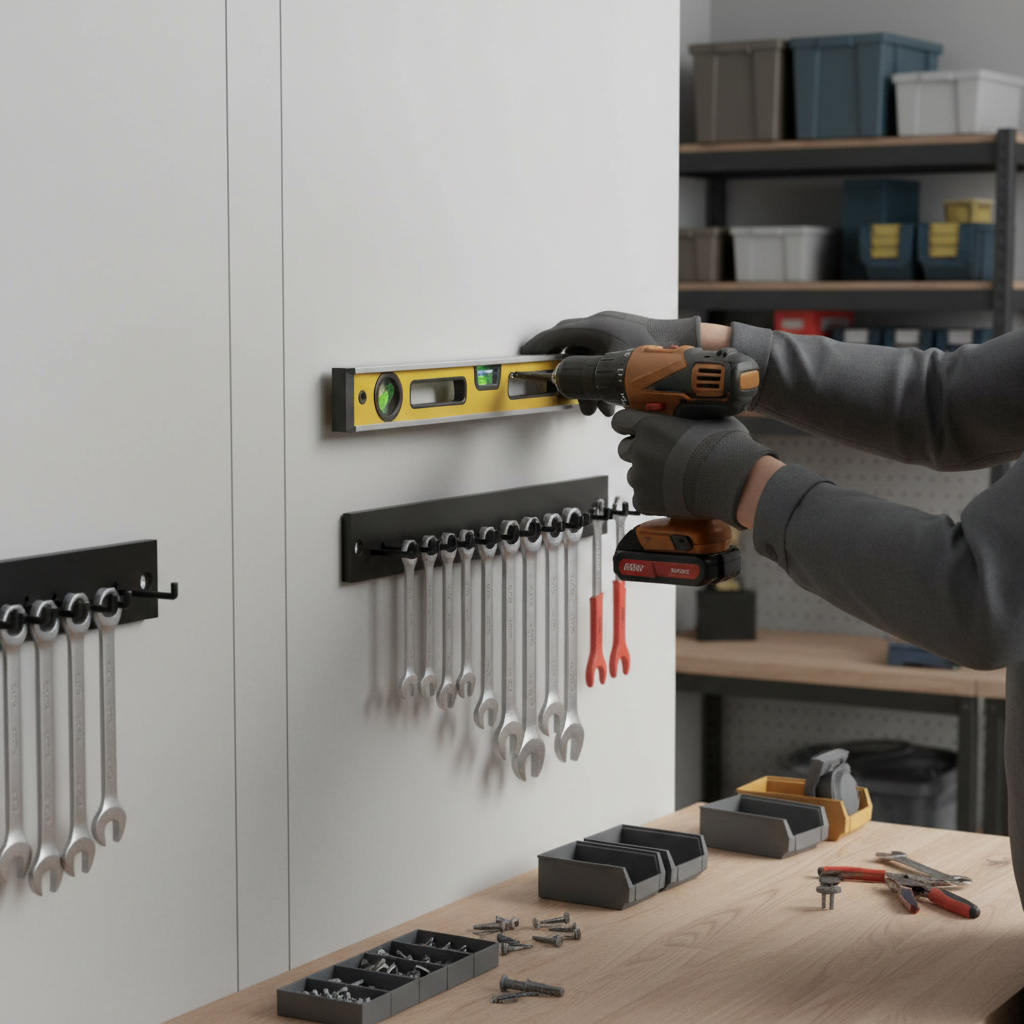
If you’re trying to choose the best magnetic tool holder for wall storage, treat “mounting plan” as part of the product. A mid-priced bar installed well often beats a premium bar installed poorly.
Self-check: what you should measure before you buy
This takes five minutes and saves you from buying twice.
Tools and load
- List your top 10 tools you’ll hang, then identify the two heaviest items.
- Note which tools have a flat steel area (easy) versus rounded handles or short contact patches (trickier).
- If you want to store sharp items (chisels, awls), plan spacing so edges don’t face outward at eye level.
Wall and location
- Wall type: drywall, plywood, concrete block, brick, metal panel.
- Can you hit studs, or are you relying on anchors?
- Is the area exposed to vibration (near a garage door), humidity, or dust?
Workflow
- Do you grab tools one-handed while holding parts in the other hand?
- Do you want a “parking spot” for a tool mid-project, or long-term storage only?
How to choose the best option for common 2026 use cases
Rather than pushing one “winner,” here’s how experienced users usually match a holder to the job.
Garage DIY wall (drywall, mixed hand tools)
- Look for a strip with multiple mounting holes across the length, not just two at the ends.
- A medium to heavy-duty bar works well if you can anchor into at least one stud, ideally two.
- Prefer a face that’s easy to wipe, since garage tools pick up oil and dust.
Wood shop (chisels, measuring tools, blades)
- Consider a coated or rubber-faced holder to reduce marring, especially on rulers and squares.
- Keep sharp edges turned inward or use blade guards; magnets can hold, but safety still matters.
- Shorter bars spaced apart often feel better than one long strip where tools collide.
Mechanic bay or high-use bench (frequent grab-and-go)
- Rare-earth styles with strong grip tend to resist the “tool slide” effect from repeated bumps.
- Mount into studs or a solid backer board; constant pulling is what loosens mediocre installs.
- Leave breathing room for ratchets and extensions, they snag easily when crowded.
If you’re shopping specifically for the best magnetic tool holder for wall organization, it’s usually smarter to buy two shorter, stronger strips than one long weak strip, because you can place them where studs and workflow make sense.
Installation steps that actually hold up (drywall, studs, masonry)
Even good products fail with rushed mounting. Keep it simple and sturdy.
Stud mounting (preferred)
- Find studs and mark center lines.
- Use the bar as a template, pre-drill if needed.
- Use quality screws long enough to bite solid wood; avoid tiny hardware if you plan heavy tools.
Drywall without studs (works, but be realistic)
- Use anchors rated for your wall type; many people prefer toggle-style anchors for higher loads.
- Reduce leverage: keep heavy tools near mounting points, not at the very ends.
- Limit what you hang; if you find yourself “testing” the strip by yanking on it, it’s probably overloaded.
Concrete block/brick
- Use the right masonry bit and appropriate anchors.
- If the wall crumbles, stop and reassess; a backer board can be easier and cleaner.
Safety note: heavy tools falling can cause injury. If you’re unsure about wall condition or fasteners, it may be worth asking a contractor or handyman, especially in older homes or where the wall substrate is inconsistent.
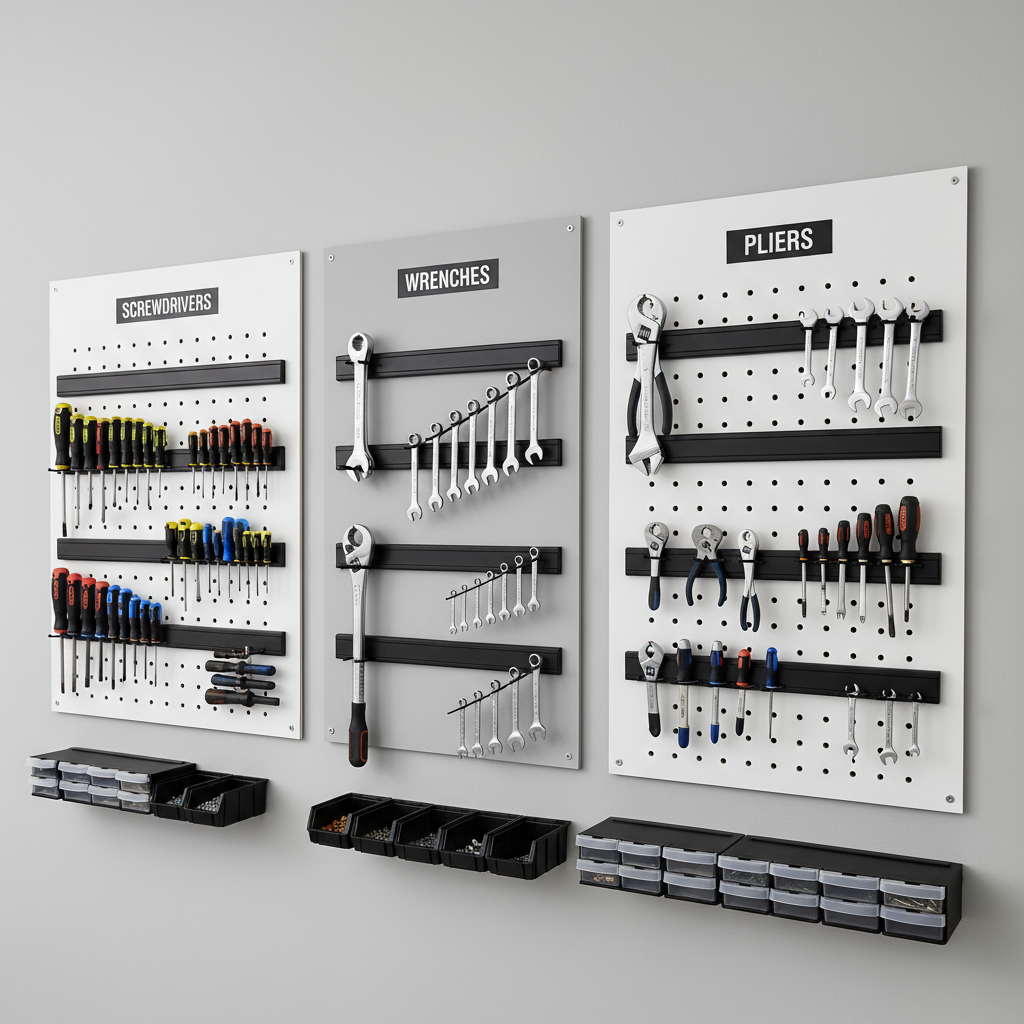
Mistakes to avoid (these waste money fast)
- Buying based on length only: If it flexes or mounts poorly, extra inches don’t help.
- Assuming “rare-earth” means perfect: Very strong magnets can be annoying for small bits and may pinch skin.
- Hanging non-magnetic tools: Stainless, aluminum, and some coated tools won’t stick well; test with a fridge magnet if unsure.
- Crowding everything: A dense row looks efficient, then you stop using it because tools tangle.
- Ignoring corrosion: In humid garages, bare steel housings can rust; a coated finish helps.
Key takeaways + recommendation logic for 2026 shopping
Here’s the practical “editor’s filter” I’d use while browsing listings in 2026, when specs look similar and reviews are noisy.
- Prioritize mounting design: multiple holes, solid hardware, clear instructions.
- Match magnet style to tool mix: strong bars for heavy steel tools, coated faces for finish-sensitive tools.
- Plan layout before checkout: two strips placed well often outperform one strip placed wherever it fits.
- Don’t overload day one: mount it, load it gradually, then adjust spacing.
If you want a safe default, the best magnetic tool holder for wall setups is usually a medium-to-heavy duty steel-housed strip, 12–18 inches, mounted into at least one stud, with enough spacing to keep your top tools accessible.
Conclusion: your next move
You don’t need the fanciest strip to get a wall that stays organized, but you do need a holder that matches your wall, your heaviest tools, and your install method. Pick the style using the table above, mount into studs when possible, and treat spacing as part of the “purchase.”
If you’re deciding today, choose one strip for your most-used tools, install it properly, live with it for a week, then expand the system. That approach usually beats buying a whole wall of bars and hoping it works out.
FAQ
- How strong should a wall magnetic tool holder be?
Strong enough that tools don’t slide when you remove a neighboring tool. For heavier tools, stability matters more than headline pull ratings, so look for designs that resist rotation. - Will a magnetic tool holder damage my tools?
It can, depending on the face material and how you mount tools. Coated faces reduce scratching, and leaving a little spacing prevents metal-to-metal contact between tools. - Can I mount a magnetic tool strip on drywall only?
Often yes, but results vary with anchor type and load. If you can’t hit studs, keep heavy tools near fasteners and avoid long overloaded bars. - What tools should not go on a magnetic wall holder?
Non-ferrous tools (aluminum, many stainless alloys) may not stick well. Also be cautious with sharp tools unless you can orient edges safely or use guards. - Is a longer magnetic strip always better?
Not really. Longer strips invite overcrowding and can sag if mounting is weak; multiple shorter strips let you align with studs and keep zones cleaner. - Where should I place a magnetic tool holder in a garage?
Near the work surface at comfortable reach height, away from areas where people brush past. If kids access the area, keep sharp or heavy tools higher and consider additional safety measures.
If you’re building a cleaner wall setup and want a more “set it and forget it” result, make a short list of your heaviest tools and your wall type first, then choose a holder that includes solid hardware and a mounting pattern that matches studs or proper anchors, it’s usually the simplest way to avoid redoing the whole thing.