
The best miter saw for trim and molding is the one that cuts cleanly, repeats angles without drama, and fits how you actually work, not just what looks good on a spec sheet.
If you’re fighting gaps at inside corners, chipped paint-grade trim, or miters that drift after a few cuts, the saw is often part of the problem, but the blade, fence alignment, and support setup usually decide whether your finish work looks “pro” or “close enough.” This guide focuses on what matters for 2026-era tools, without pretending everyone needs the biggest slider.
You’ll get a quick decision framework, a comparison table, and a practical setup checklist you can use the same day, whether you’re a DIY homeowner doing baseboards or a contractor running casing and crown week after week.
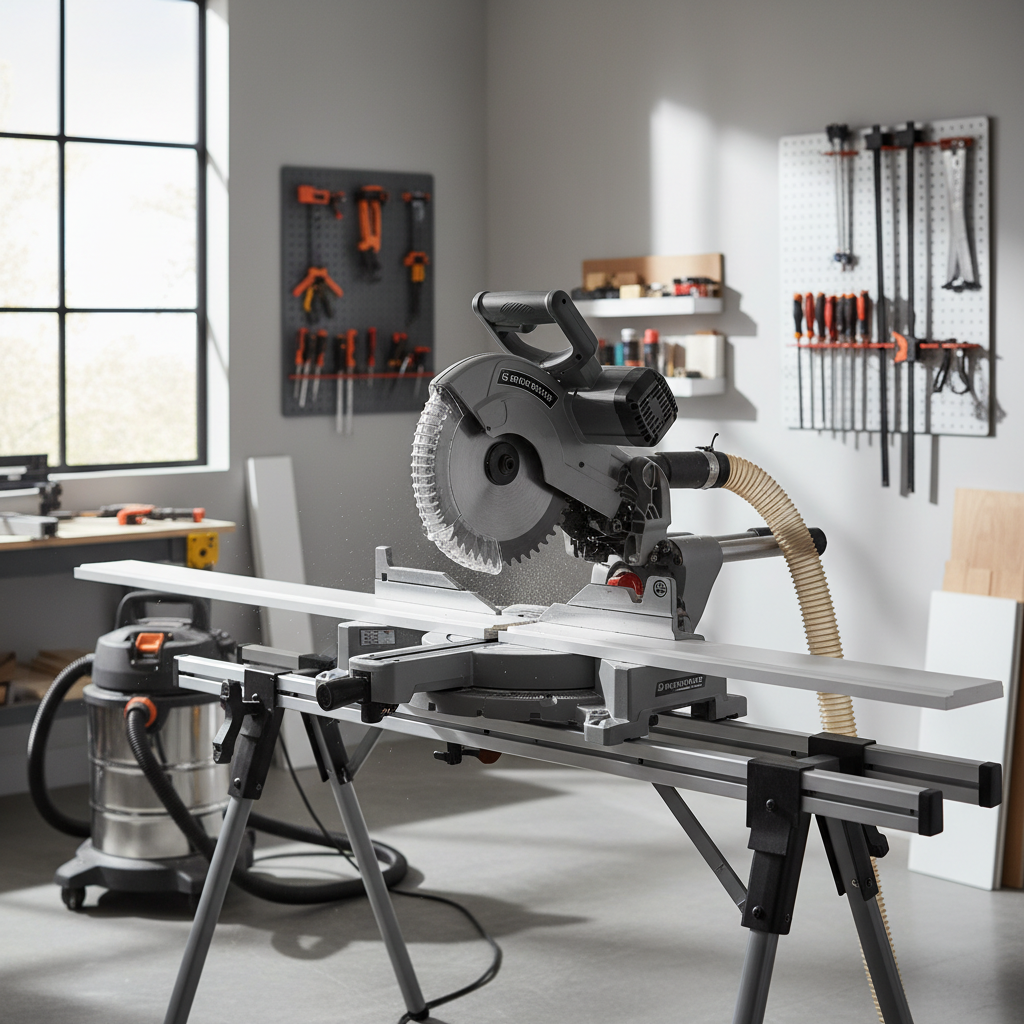
What “best” means for trim and molding (not framing)
Trim work punishes slop. A saw can be powerful and still be annoying for finish carpentry if it flexes, has a rough detent plate, or tears fibers on delicate profiles.
- Cut quality: smooth starts, minimal vibration, and a blade suited for fine crosscuts.
- Repeatability: miters return to 0° and common angles without hunting.
- Capacity that matches your trim: baseboard and casing differ from crown and wide MDF.
- Visibility and control: clear line-of-cut system, solid clamp options, predictable slide action.
- Dust management: not perfection, but “not a snowstorm” in a finished room.
According to OSHA (Occupational Safety and Health Administration), employers should ensure saws are properly guarded and workers use appropriate PPE; in practice, for homeowners too, eye protection and stable material support are the non-negotiables.
Quick comparison: which miter saw type fits your trim jobs?
If you only remember one thing, remember this: a smaller, tighter saw often beats a bigger one for finish accuracy, unless your material forces the bigger capacity.
| Type | Best for | Typical downsides | What to look for |
|---|---|---|---|
| 10" compound miter (non-sliding) | Baseboard, casing, small crown (nested) | Limited width capacity | Stiff arm, precise detents, tall fence for nesting |
| 10" sliding compound | Wider baseboards, some stair treads, mixed trim | More parts to flex, needs calibration | Smooth rails, minimal play, good shadow/laser line |
| 12" sliding compound | Wide crown, thick stock, bigger remodel mix | Heavier, more tear-out risk, pricier blades | Rigid slide, soft start, adjustable stops, strong fence |
| Dual-bevel slider | High-volume trim, frequent compound cuts | Cost and weight | Accurate bevel scales, positive stops, easy bevel lock |
| Cordless slider | Punch-list trim, occupied homes, quick setups | Battery management, weight varies | Consistent power under load, common battery platform |
Key specs that actually affect trim fit (and what to ignore)
Spec sheets rarely tell you if miters close tight, but a few details correlate strongly with real-world finish work.
Angle accuracy and detents
Detents should land cleanly at 0°, 15°, 22.5°, 31.6°, 45° and often 50° on modern saws. The bigger deal is how easily you can micro-adjust off a detent for out-of-square rooms.
- Better: firm detent engagement, minimal “wiggle” at the handle
- Watch for: detent plates that feel gritty, handles that shift when you lock down
Fence height and table flatness
For crown molding nested against the fence, a taller, straighter fence makes your day easier. Table flatness matters for thin trim that can rock and open a gap.
Slide mechanism (if you go sliding)
Some sliders cut beautifully, others develop tiny side play that shows up as open miters. If you can, test by pulling the head out, locking the angle, and gently checking for lateral movement.
Blade quality matters more than people want to admit
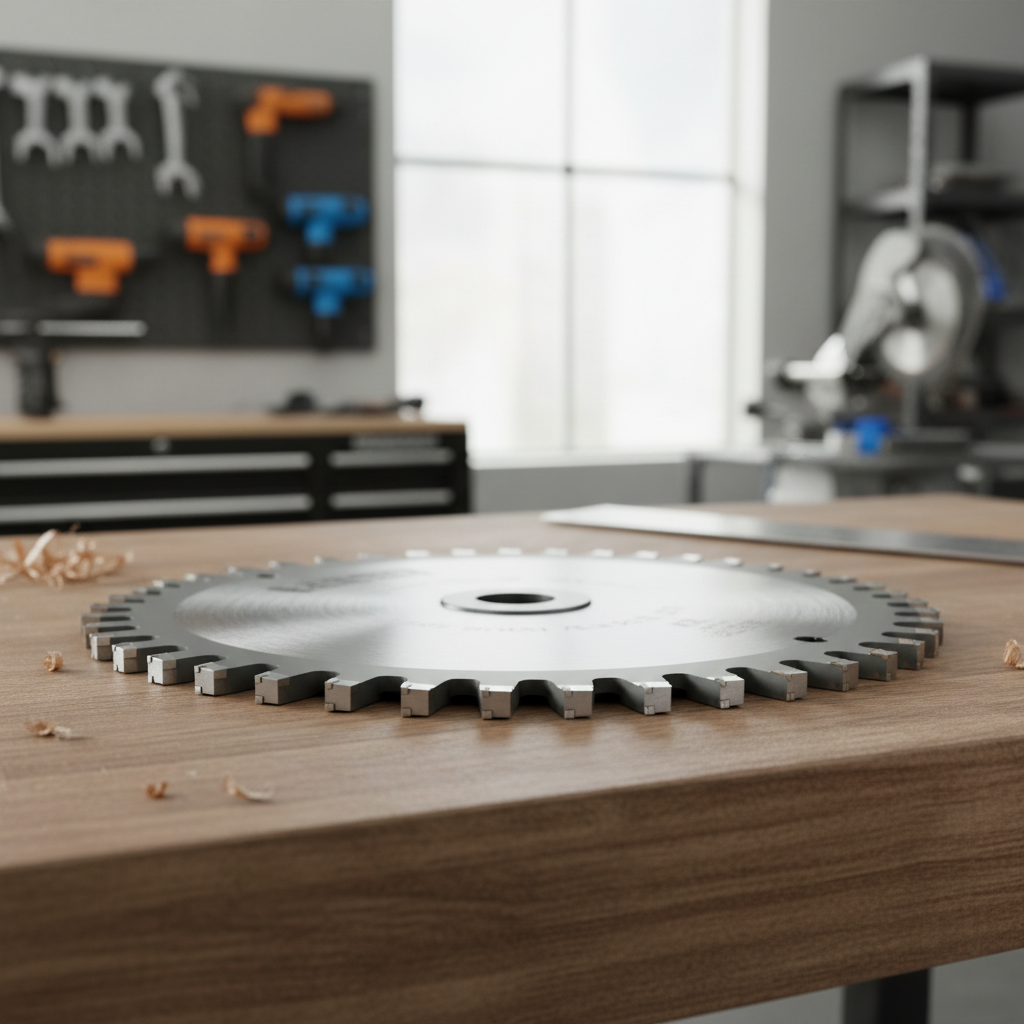
The best miter saw for trim and molding paired with a framing blade still gives you fuzzy edges. For paint-grade MDF and pre-primed trim, a fine-finish blade is usually the cheapest “upgrade.” If you’re unsure, a 60–80T crosscut blade (10") or 80–100T (12") is a common starting point, but tooth count isn’t the whole story.
Self-check: how to choose the right saw size for your projects
Before you buy, answer these fast. Your “yes” answers steer you toward slider vs non-slider, and 10" vs 12".
- Will you cut 5 1/4" to 7 1/4" baseboards flat often?
- Do you plan to cut crown molding nested (against the fence) rather than flat with compound angles?
- Are you working in older homes where corners are rarely 90°?
- Do you need to move the saw room-to-room, up stairs, or into finished spaces?
- Do you already own a battery platform and want to stay on it?
Rule of thumb: if you mostly cut standard casing and 3 1/4" baseboard, a quality 10" compound (non-sliding) often feels more precise and less fussy. If wide baseboard is your norm, a 10" slider is the practical middle ground.
Setup steps that make any miter saw “feel” like a finish saw
Many complaints about trim cuts come down to setup. This is the part people skip because it feels boring, then they spend two weekends blaming the tool.
1) Square the saw, then lock it in
- Check miter at 0° with a reliable square against the fence and blade (unplugged, blade stopped).
- Check bevel at 0° the same way, then verify at common bevel stops.
- Cut two pieces, flip one, and check for a gap. A flip-test reveals tiny errors faster than staring at scales.
2) Upgrade the support, not just the saw
Long trim acts like a lever. If the offcut droops, your miters open. Use a stand, rollers, or even a temporary outfeed built from scrap that matches table height.
3) Add a sacrificial fence and zero-clearance backer
A thin backer board tight to the fence helps reduce tear-out, especially on stained trim and brittle MDF profiles.
4) Use the right cutting technique for molding
- Let the blade reach full speed before entering the cut.
- On sliders, many users get cleaner results by pulling forward, then pushing through steadily, but saw design varies, test on scrap.
- Clamp small pieces whenever they feel “twitchy.”
According to CPSC (U.S. Consumer Product Safety Commission), power saw injuries are a common DIY risk category; keeping hands away from the blade path and using clamps when practical is a sensible baseline, and in uncertain situations it’s worth asking a qualified pro for guidance.

Practical recommendations by scenario (what usually works)
Rather than naming one “winner,” here are the setups that tend to satisfy people after the novelty wears off.
- DIY baseboards + casing in one home: a 10" compound miter saw, high-tooth blade, simple stand or benchtop wings, plus a coping saw for inside corners.
- Wide baseboards, mixed remodel tasks: a 10" sliding compound with a good stop system, so repeated lengths stay consistent.
- Crown-heavy jobs: a rigid dual-bevel slider with a tall fence, crown stops, and time spent dialing in bevel stops.
- Occupied homes and punch lists: cordless slider on your existing battery platform, paired with a vacuum or dust extractor if possible.
If your priority is the cleanest possible finish, budget for a premium trim blade and a stable stand before paying extra for maximum cutting capacity you rarely use.
Common mistakes that cause gaps, chip-out, and wasted trim
These show up constantly, even with expensive saws.
- Trusting factory calibration: many saws ship close, not perfect, and shipping can knock things out.
- Cutting crown “flat” without a plan: compound angles work, but you need consistent spring angle assumptions and test pieces.
- Ignoring wall reality: houses aren’t square, so perfect 45° cuts can still fail. This is why coping inside corners often saves time.
- Letting trim move: even slight rotation against the fence changes the miter face.
- Chasing dust-free perfection: dust collection on miter saws is often “better” not “perfect,” focus on capture plus cleanup strategy.
When to get more help (or switch tools)
If you keep getting gaps after calibrating the saw and improving support, the issue may be measurement workflow, room geometry, or material movement. At that point, it’s reasonable to bring in a finish carpenter for an hour or two, or at least have someone experienced watch your process.
Also consider switching methods: for inside corners, many pros prefer coping over perfect miters, and for delicate profiles a sharp hand plane or sanding block can tune a joint faster than recutting.
Conclusion: a “trim-ready” choice you won’t regret in 2026
The best miter saw for trim and molding is usually the one that stays square, feels rigid, and pairs with a finish blade and stable support. If you’re mostly doing baseboards and casing, don’t overlook a high-quality 10" non-slider, it’s often the calmest path to tight joints.
Action steps: pick the saw style that matches your widest trim, buy a finish blade immediately, then spend 30 minutes on calibration and support, that combo pays back on the first room.