
nail set punch 4 piece set sounds simple, but it’s one of those small tool choices that decides whether your trim looks clean or looks like “weekend repair.” If you’ve ever tried to sink a finish nail with a hammer and left a shiny half-moon dent in wood, you already know the pain.
The value of a 4-piece kit is flexibility, different nail sizes and tight spots demand different tip diameters and lengths, and forcing “one punch for everything” is where most beginners waste time and damage material.
This guide breaks down what’s usually inside a 4-piece nail set kit, how to match each punch to the job, and a practical workflow that keeps your work crisp without overthinking it.
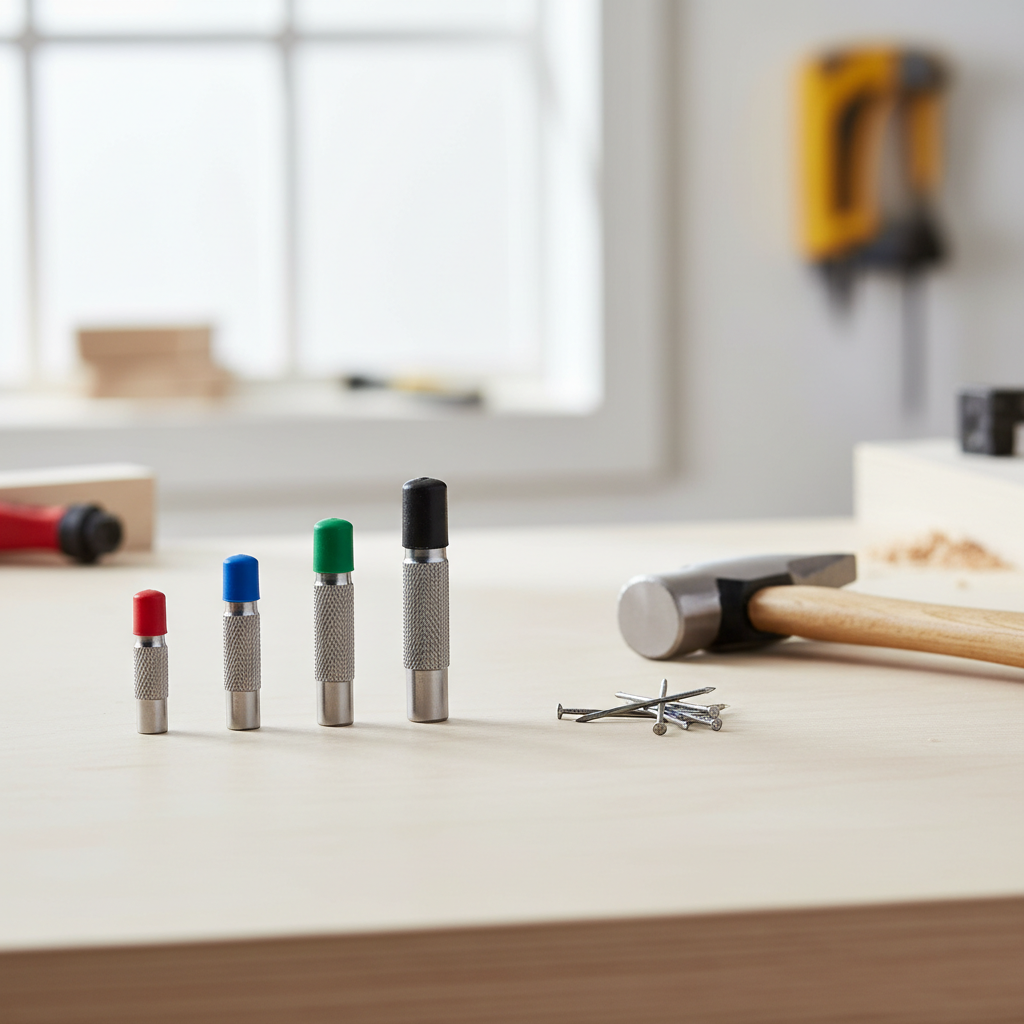
What a 4-piece nail set punch kit is (and what it isn’t)
A nail set punch is a hardened steel tool that transfers hammer force onto a nail head, letting you drive the nail slightly below the wood surface so you can fill the hole and finish cleanly.
What it is not, in most cases, is a substitute for a center punch used in metalworking, or a roll-pin punch used for pins. Tool names blur online, so reading the listing carefully matters.
Typical sizes you’ll see in a 4-piece set
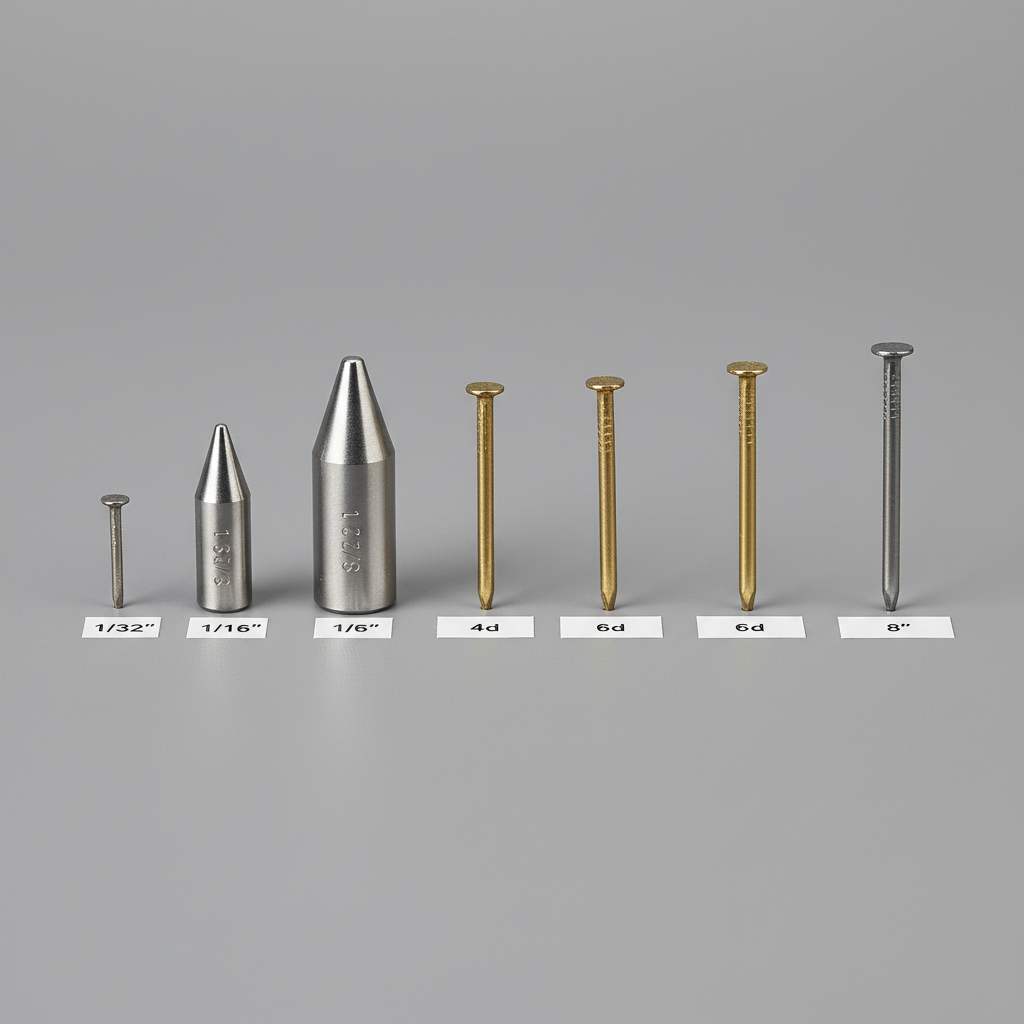
Sets vary by brand, but many include tip sizes around 1/32 in, 2/32 in (1/16), 3/32 in, and 4/32 in (1/8). Some kits use metric equivalents.
- Smaller tips work better for brads and small finish nails where the head is tiny.
- Medium tips cover most baseboard, casing, and light furniture work.
- Larger tips help with thicker finish nails and situations where a small tip would slip.
Why nail heads sit proud (and why the hammer keeps denting wood)
Proud nail heads usually come from one of three real-world issues, not a lack of strength. In trim work especially, the last 1/16 inch is where things go sideways.
- The hammer face hits wood before the nail is fully seated, common with short swings near corners.
- Finish nail heads are small and easy to miss, the hammer glances off and chews up the area around the nail.
- Wood species and density fight you, harder woods or knots stop the nail early, then the next hit leaves a crater.
According to OSHA, hand tools should be maintained and used as intended to reduce injury risk, which is a polite way of saying mushroomed tool ends, slipping punches, and chipped metal are avoidable problems.
Quick self-check: do you actually need a 4-piece set?
Not everyone needs four sizes, but a multi-piece kit makes sense in a few common scenarios. Use this as a quick read on your situation.
- You work on both trim and furniture, different nail sizes show up constantly.
- You run into tight clearances where a longer punch reaches better.
- You care about minimal fill work, meaning fewer dents and cleaner holes.
- You sometimes switch between brad nails and finish nails and hate guessing.
If you only do occasional picture-hanging or a rare baseboard repair, a single mid-size nail set can still work, you’ll just accept a little more “fiddling.”
Choosing the right punch from the set (the part most people guess wrong)
Matching tip size to nail head size is the whole game. If the tip is too small, it can skate off the nail head and leave a crescent dent. Too large, and it may crush surrounding fibers or fail to seat cleanly.
A practical matching table
| Job type | Common fastener | What usually works | What to watch for |
|---|---|---|---|
| Delicate trim, small molding | 18-gauge brads | Smallest tip in the kit | Tip slipping if you rush |
| Baseboard & door casing | 15–16 gauge finish nails | Medium tip | Overdriving and making a wide crater |
| Furniture touch-ups | Small finish nails | Small to medium tip | Visible dents on stained wood |
| Hardwood or knotty spots | Finish nails | Medium to larger tip | Splitting if nail placement is too close to edge |
If you’re unsure, test on scrap. It saves real time because repairing dents takes longer than a 30-second test.
How to use a nail set punch without damaging trim
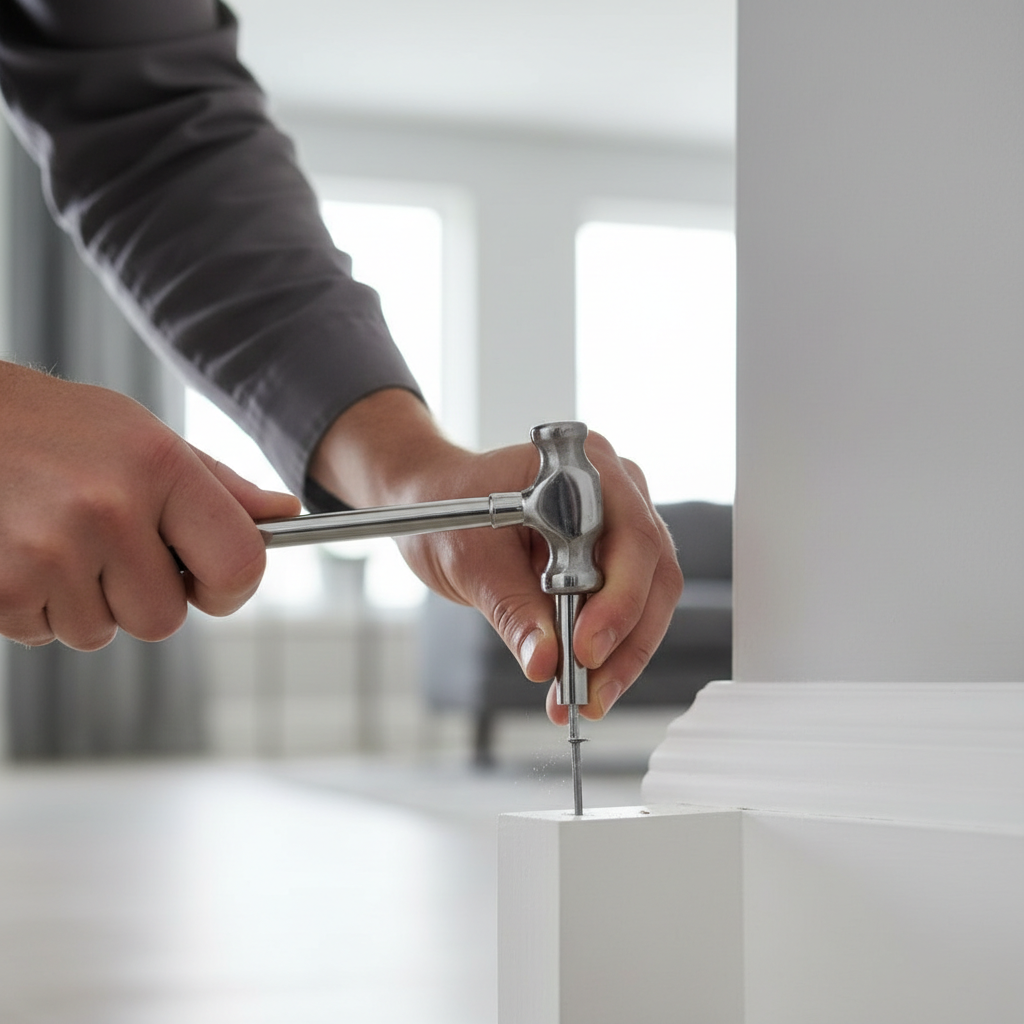
Using a nail set punch 4 piece set is mostly about control, not force. You’re aiming for a clean countersink, usually just below the surface so filler can sit flush.
Step-by-step workflow
- Seat the nail first: tap until the head is close to flush but not below the surface.
- Pick the tip that “cups” the head: it should feel stable when you place it, not wobbly.
- Hold the punch straight: if it leans, it tends to skid or create an oval dent.
- Use light taps: one to three controlled hits beats one heavy hit.
- Stop early on stain-grade wood: a shallow countersink is easier to hide than a deep crater.
Key point: if you see the punch mark getting wider than the nail head, you’re either using the wrong size or hitting too hard.
Mistakes that make a good kit feel “bad”
Most complaints about a nail set kit come down to technique or using the wrong punch for the fastener, not the concept itself. A few issues are genuinely tool-related though.
- Mushroomed strike end: after lots of hits, the top can deform, creating sharp edges. If that happens, it’s safer to replace or dress the tool carefully. If you’re not comfortable, ask a pro or use a tool service.
- Trying to set nails below surface in one blow: fast, but it increases dents and can split trim near edges.
- Using the smallest punch for everything: it’s tempting, it also slips more.
- Ignoring wood movement and finish needs: paint-grade trim is forgiving, stain-grade is not.
According to CPSC, eye protection is recommended for tasks where flying particles are possible. A nail set and hammer combo can chip metal or wood, so safety glasses are a reasonable baseline.
When to ask for help or switch tools
If you’re consistently cracking trim, denting stain-grade surfaces, or working around electrical runs you can’t see, it’s worth slowing down and asking someone experienced on site, or consulting a contractor. In some cases, a brad nailer with correct depth setting, or pre-drilling for certain hardwoods, causes fewer headaches.
Also, if a punch shows cracks, severe chipping, or the tip is misshapen, replacing it is usually the safer move than “making it work.”
Key takeaways and a simple next step
A nail set punch 4 piece set earns its keep when you stop guessing and start matching tip size to nail head, then use lighter taps than you think you need. That’s what keeps trim clean and filler work minimal.
If you want one action item, pick a small scrap of the same wood, test two punch sizes, and choose the one that seats the nail with the smallest visible ring. That tiny test usually prevents the big regret.
FAQ
What is included in a nail set punch 4 piece set?
Most kits include four hardened steel punches with different tip diameters, meant to match different finish nail and brad head sizes. Exact sizes vary, so it’s smart to confirm the tip measurements in the listing.
Can I use a nail set punch on brad nails?
Usually yes, as long as the tip is small enough to sit on the brad head without slipping. If the brad head is extremely small, a too-large tip can bruise the wood around it.
How deep should I countersink finish nails in trim?
For paint-grade trim, many people go slightly below the surface so filler sits flush. For stain-grade work, shallower is often easier to hide, deep holes can telegraph through finish.
Why does my nail set punch keep slipping off the nail head?
The common causes are a tip that’s too small, a punch held at a slight angle, or hitting too hard. Slowing down and switching to the next size up often fixes it.
Do I need a 4-piece kit if I already own a nailer?
Many nailers still leave an occasional proud nail, especially when the air pressure is off, you hit a knot, or you’re shooting into mixed materials. Keeping a small set around is a low-effort backup.
How do I know when to replace a nail set punch?
If the tip is chipped or deformed enough that it mars wood, or the strike end mushrooms with sharp edges, replacement is typically the safer route. If you’re unsure, a hardware pro can often sanity-check it quickly.
Is there a difference between a nail set and a center punch?
Yes, in many cases. A nail set is designed to contact a nail head cleanly, while a center punch is meant to create a starting dimple in metal. Some tools blur the line, but they’re not always interchangeable.
If you’re building a small trim or woodworking toolkit and want a more “grab-and-go” setup, a nail set kit paired with a compact hammer and a small filler/putty routine is often a smoother path than chasing perfect results with one tool.