
pop rivet tool with nose pieces sounds simple, until you’re mid-job and the rivet won’t seat, the mandrel snaps early, or the tool keeps jamming because the nose tip isn’t the right size.
If you work on sheet metal, HVAC, gutters, automotive panels, or even home repairs, interchangeable nose pieces are one of those small features that quietly decide whether the job feels smooth or frustrating. The right tip gives cleaner pulls, better rivet head fit, and less tool wear over time.
This guide breaks down what nose pieces actually change, how to match them to rivet sizes, what to look for when buying, and the quick checks that prevent most “my rivet gun is broken” moments.
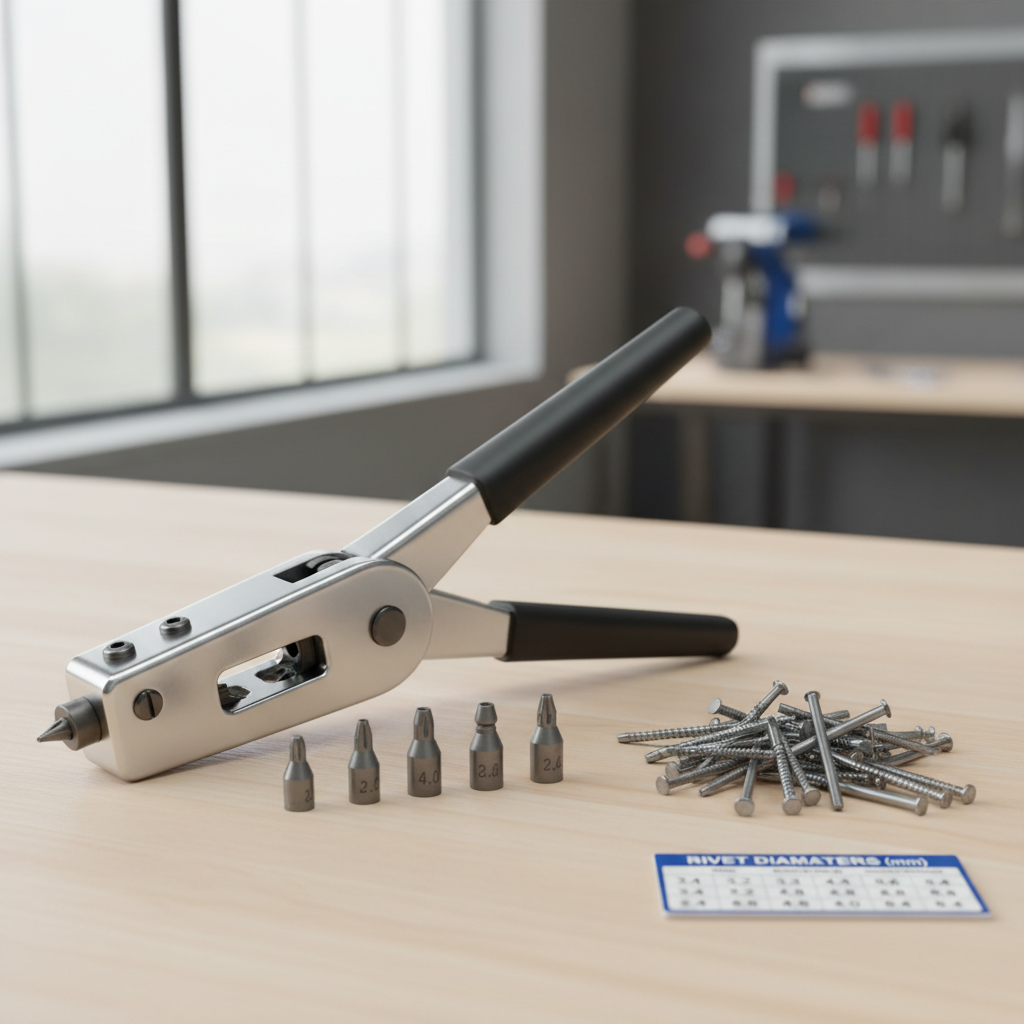
What interchangeable nose pieces really do
The nose piece is the front tip that guides the rivet mandrel into the tool’s jaws and supports the rivet head while you pull. When it fits the rivet size, alignment stays straight and the pull force transfers cleanly into the rivet body.
Interchangeable tips matter most because blind rivets come in multiple diameters, and the “one tip fits all” approach usually creates sloppy seating or jams. In real use, the nose piece affects three things more than people expect:
- Mandrel guidance: the correct bore keeps the mandrel centered so the jaws grip consistently.
- Rivet head support: a properly matched face helps the rivet head sit flat, reducing wobble.
- Wear and maintenance: oversized tips can encourage jaw slip and metal shavings, which turns into sticking pulls later.
Common reasons a rivet “won’t set” (and why the nose piece is often involved)
When a rivet fails, many people blame the rivet quality or assume the tool is worn out. Sometimes that’s true, but a mismatch at the front end is a frequent culprit, especially when you switch rivet sizes during the same project.
- Wrong nose size: too large lets the rivet tilt, too small prevents the rivet from seating fully against the nose.
- Mixed rivet standards: inch and metric sizes can look “close enough” but behave differently in the tip.
- Mandrel not fully inserted: if the rivet stops early because the bore is tight or dirty, jaws may only half-grip.
- Jaw debris: tiny mandrel fragments and aluminum dust increase slip, which feels like weak pulling.
- Material stack too thick: correct rivet diameter but wrong grip range, so it deforms poorly and pops early.
According to OSHA, tool condition and proper setup are part of safe hand and power tool use, and damaged or poorly maintained tools can increase injury risk. If your tool starts requiring “extra force,” treat that as a signal to stop and check setup before muscling through.
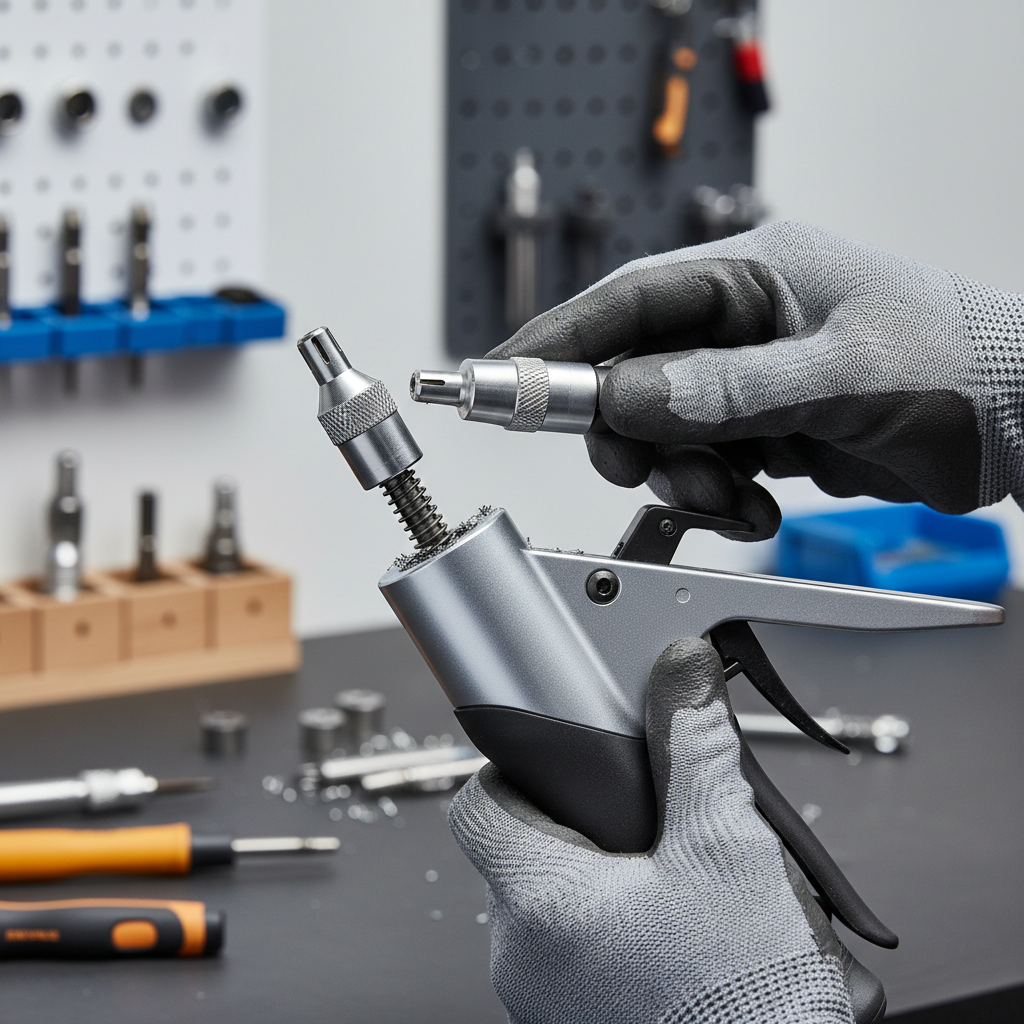
Quick self-check: are you using the right nose piece?
If you want a fast “am I in the right ballpark” check, this list catches most size and setup mistakes without overthinking it.
- The rivet mandrel slides in smoothly and bottoms out without forcing.
- The rivet head sits flush against the nose face, without rocking side to side.
- When you squeeze, the tool doesn’t “spit” the mandrel back out.
- The set rivet head looks centered, not pulled to one edge.
- The broken mandrel snaps at the expected point and ejects cleanly.
If two or more of those feel off, swap to the correct tip size and clean the jaws area before you change anything else. It’s the simplest reset.
Nose piece size guide (table) and what to verify on your rivets
Manufacturers vary, but most interchangeable sets cover common blind rivet diameters. The easiest habit is to match the rivet’s stated diameter to the nose piece marking, then confirm by feel.
Common mappings you’ll see
| Rivet diameter (common) | Nose piece marking (typical) | Where it shows up a lot |
|---|---|---|
| 3/32 in (2.4 mm) | 3/32 or 2.4 | Light sheet metal, crafts, thin brackets |
| 1/8 in (3.2 mm) | 1/8 or 3.2 | General repair, gutters, HVAC panels |
| 5/32 in (4.0 mm) | 5/32 or 4.0 | Thicker sheet, automotive, small structural |
| 3/16 in (4.8 mm) | 3/16 or 4.8 | Heavier duty fastening, trailers, equipment skins |
Two extra checks prevent wasted rivets: confirm the grip range (total material thickness the rivet can clamp) and confirm the rivet type, since large flange or specialty heads may seat differently even when diameter matches.
How to swap nose pieces and set a rivet cleanly (practical steps)
This is the workflow that usually keeps projects moving. It’s not fancy, but it avoids the common “half-set rivet” problem.
- Pick the rivet first, based on diameter and grip range, then choose the nose piece to match that diameter.
- Thread the nose piece fully until snug. Don’t over-torque, many tips are small and can strip.
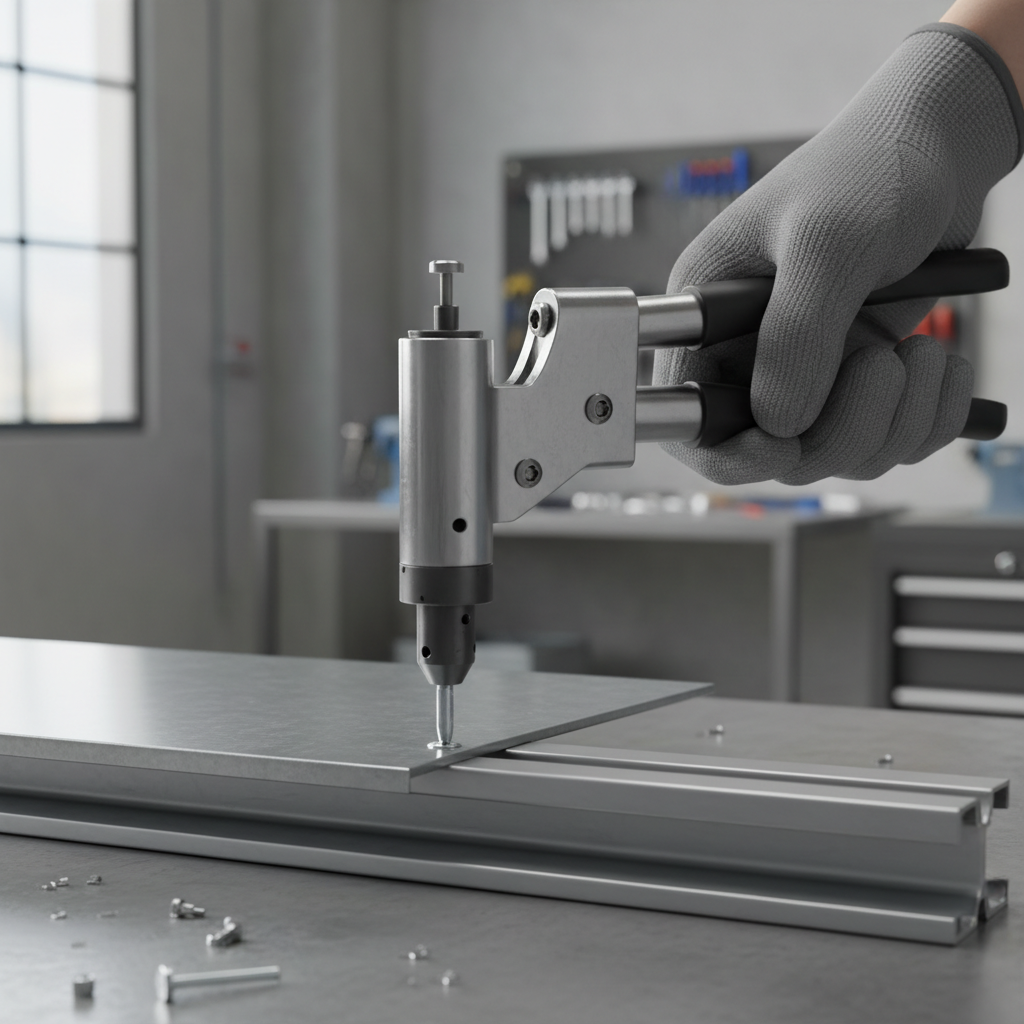
- Insert the mandrel straight and push until the rivet head sits flat against the nose.
- Hold the tool square to the work. A slight angle can distort the rivet body and stress the mandrel.
- Squeeze in controlled pulls until the mandrel breaks. If the handle force spikes suddenly, pause and check alignment.
- Confirm the back-side bulb if you can access it. A good set usually looks evenly expanded, not folded or split.
If you’re using a pop rivet tool with nose pieces on mixed materials like aluminum over steel, consider the rivet material pairing too, because corrosion and galvanic issues can show up later depending on the environment. If you’re unsure, a fast sanity check with your supplier or a qualified tradesperson can save rework.
Buying tips: what a good nose-piece system looks like
Not all interchangeable sets feel the same in daily use. A cheap kit can still work, but the friction shows up when you’re switching sizes often or working overhead.
- Clear size markings on each tip, ideally both inch and metric where relevant.
- Secure storage for tips, because losing the 3/32 or 3/16 piece always happens at the wrong time.
- Decent thread quality so tips don’t cross-thread and seize after a few swaps.
- Compatibility with the rivet range you actually use, not just “includes 4 tips” on the box.
- Easy serviceability, meaning you can access jaws for cleaning and replace wear parts if needed.
If you’re comparing manual versus battery-powered, interchangeable nose pieces still matter on both. The difference is that powered tools can mask poor fit by brute force, which sometimes produces uglier sets and faster jaw wear.
Mistakes that waste rivets (and how to avoid them)
A few patterns show up repeatedly in shop and field work. Most are quick fixes, but people tend to repeat them because the first couple rivets “kind of worked.”
- Using the closest-looking tip: if the correct nose piece is missing, stop and replace it rather than forcing a near match.
- Skipping tool cleaning: a sticky jaw area often looks like a nose-piece issue, so clean before blaming the tips.
- Wrong hole size: an oversized drilled hole makes the rivet expand poorly, even with the right tip.
- Tilting under load: especially on thin sheet, keep the tool square and support the work to reduce flex.
- Assuming all rivets behave the same: structural rivets, sealed rivets, and large flange rivets can need different technique.
Key takeaway if you only remember one thing: match diameter, confirm grip range, keep the tool square. That combination prevents most do-overs.
When to get help or upgrade tools
If your pulls feel inconsistent across multiple rivet sizes, and swapping the nose piece plus cleaning doesn’t fix it, the jaws may be worn or the tool body may be out of spec. At that point, parts availability matters more than clever troubleshooting.
If you’re doing safety-critical work, load-bearing assemblies, or anything regulated, it’s smart to consult a qualified professional and follow manufacturer instructions for both rivets and the tool. According to ANSI, workplace hand tool safety relies on proper selection, maintenance, and correct use; if the application has consequences, treat it like a system, not a quick fix.
Conclusion: a small tip that makes the whole tool feel “right”
Interchangeable nose pieces are not just a convenience, they’re the difference between clean, repeatable sets and that nagging feeling that something is off every time you squeeze. If your results look messy, start with the nose size, then check grip range and tool cleanliness before you replace the whole riveter.
If you want a simple next step, sort your rivets by diameter, label the matching tips, and do two test rivets on scrap before you move to the real part. That tiny routine prevents most mid-project surprises.
FAQ
How do I know which nose piece to use for my rivet size?
Match the rivet diameter printed on the package to the marking on the nose piece, then do a feel-check: the mandrel should slide in smoothly and the rivet head should sit flat against the tip.
Why does my rivet tool keep jamming even with the right nose piece?
Jams often come from jaw debris or a partially broken mandrel fragment inside the tool. Clean the jaw area and make sure the spent mandrel ejects fully before loading the next rivet.
Can I use one nose piece for multiple rivet diameters?
Sometimes a slightly larger tip will “work,” but it often increases tilt and inconsistency, especially on thin sheet. For repeatable results, use the correct tip for the rivet diameter.
Do interchangeable nose pieces affect rivet strength?
Indirectly, yes. A better fit usually produces a more centered set and a more uniform backside bulb, which tends to be more reliable. Strength still depends heavily on rivet type, grip range, and material stack.
What if my rivet head sits proud and won’t pull tight?
Check that the rivet is fully seated into the hole, the hole diameter isn’t too small, and the nose piece face is clean. If the grip range is wrong, the rivet may deform before pulling the materials together.
Are nose pieces universal across brands?
Not always. Thread patterns and lengths vary, so tips from one tool may not fit another even if the diameter marking matches. Confirm compatibility in the tool manual or product listing.
Is a battery rivet tool better than a manual one for mixed sizes?
Battery tools reduce effort and speed up repetitive work, but you still need the correct nose piece and rivet selection. If your jobs are occasional, a solid manual tool with a good tip set often makes more sense.
If you’re switching rivet sizes a lot and want fewer misfires, a pop rivet tool with nose pieces that are clearly marked, easy to swap, and easy to store tends to be the most “set it and forget it” upgrade, especially for maintenance crews and busy DIYers.