
Best router for woodworking signs usually means one thing in real shops, clean letters, crisp edges, and predictable depth without fighting chatter or tear-out.
If you’ve ever had a sign look great in layout but rough in the carve, the router choice is often part of the problem, not your design. Power, base style, speed control, collet size, and even dust collection all show up on the wood.
This guide breaks down what actually matters for sign work in 2026, how to pick by your workflow, and a short decision table so you can stop guessing and start cutting cleaner.

What “sign routing” demands (it’s not the same as edge profiling)
Routing signs is mostly about control. You’re spending more time inside the field of the board, changing direction, plunging, and making shallow passes, often with small diameter bits that complain when the router isn’t stable.
- Stable depth control: Clean V-carves and pocketed letters depend on repeatable depth, especially on longer quotes where small drift becomes obvious.
- Variable speed: You’ll likely switch between V-bits, straight bits, and round-nose bits, and each has a sweet spot for RPM.
- Low vibration: Chatter makes letters look fuzzy, and sanding inside carved grooves is slow, sometimes impossible without changing the look.
- Visibility: You need to see the line, the bit, and the chips, particularly when following templates.
- Dust management: Fine dust loves to pack into letters, and it can hide burn marks until the finish goes on.
According to OSHA, wood dust can be a respiratory hazard, so a router that supports effective extraction, plus a proper respirator, tends to be more than a “nice to have” for frequent sign work.
Router types for signs: trim, plunge, fixed-base, and CNC spindles
There isn’t one best router for woodworking signs for everyone, because “sign making” ranges from occasional house numbers to daily production runs. Here’s the practical breakdown.
Trim (compact) routers
These shine for small signs, roundovers, light inlays, and template work where you want one-hand control. They can struggle with larger bits and deep pockets in hardwood.
- Best for: small lettering, shallow relief, softwood or smaller hardwood work
- Watch for: limited power, shorter plunge range unless you add a plunge base
Plunge routers
If you hand-route letters, a plunge router is often the most forgiving choice. You can start cuts cleanly inside the board, then lock depth and make repeat passes.
- Best for: V-carving with templates, pocketed lettering, recesses for nameplates
- Watch for: weight and balance, especially on narrow stock
Fixed-base routers (full size)
Fixed-base models can do sign work well, but they’re more “set your depth and commit.” They’re great when you use jigs, router tables for edges, or you do repeatable shallow passes.
- Best for: production-style workflows, edge treatments, consistent depth cuts
- Watch for: plunge start is awkward without a lift or separate plunge base
CNC routers/spindles (for sign production)
If your “sign routing” really means CNC carving, the router decision becomes about spindle quality, collets, and speed control. The best router for woodworking signs in this lane is the one that runs smoothly at lower RPM without overheating and accepts quality collets.
According to the U.S. Forest Service, grain direction and species strongly affect machining behavior, which is why consistent spindle speed and sharp tooling matter so much when you switch between pine, cedar, maple, and oak.
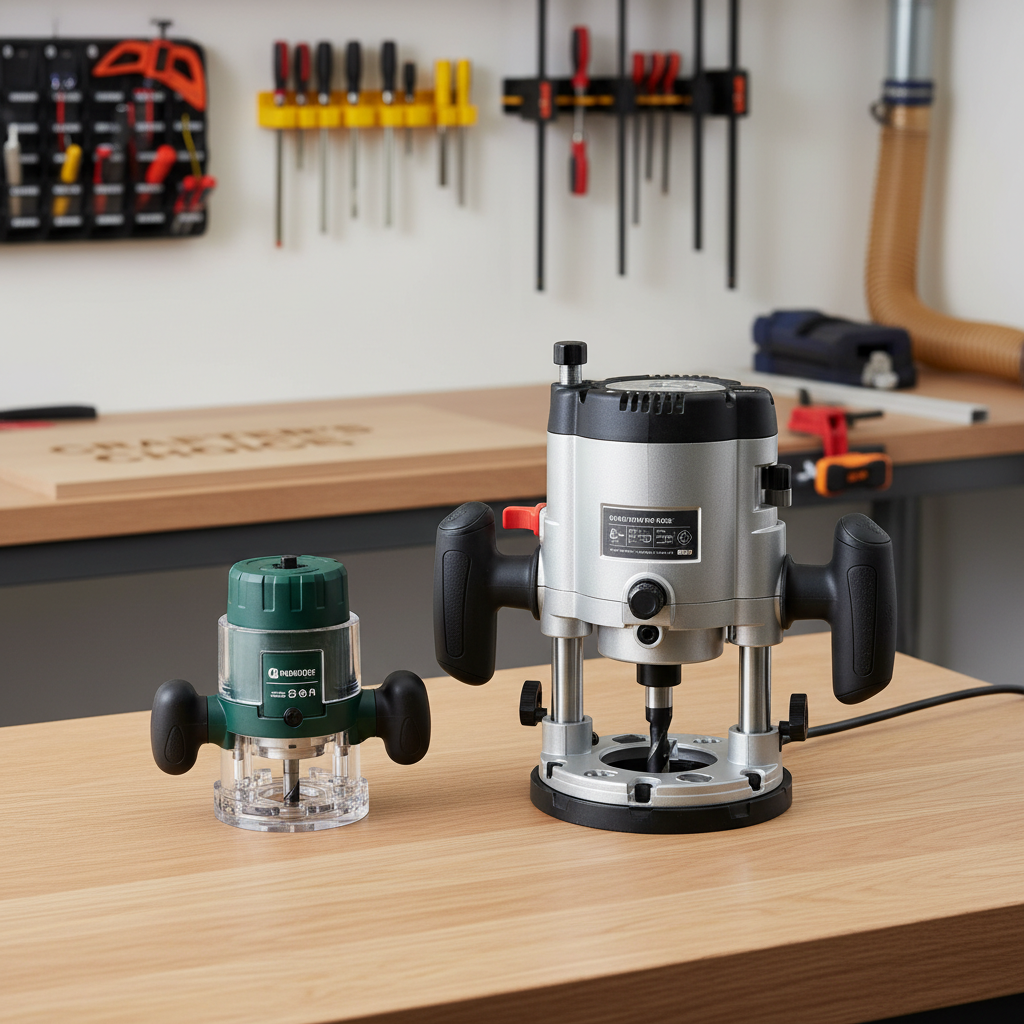
Quick decision table: match the router to your sign workflow
If you want a fast answer, use this table to narrow the “best router for woodworking signs” for your situation, then sanity-check it with the spec list in the next section.
| Sign workflow | Router style to prioritize | Why it tends to work | Nice-to-have features |
|---|---|---|---|
| Small house numbers, simple logos | Trim router (with plunge base if possible) | Light, easy to steer, good visibility | Variable speed, LED, dust port |
| Template-guided lettering, V-carve by hand | Mid/full-size plunge router | Clean plunge starts, repeatable depth locks | Soft start, clear sub-base, turret stop |
| Deep pockets, hardwood signs | Full-size plunge or fixed-base (3+ HP class) | Torque helps maintain RPM under load | Electronic feedback, good handles |
| Lots of edge profiles plus occasional lettering | Fixed-base + router table compatibility | Depth consistency and repeatability | Through-the-table adjustment |
| CNC sign production | CNC-rated router or spindle system | Runs for long cycles with stable speed | Quality collets, low runout, cooling |
Specs that matter most for clean letters (and what to ignore)
Marketing lists get noisy. For sign routing, a few specs consistently predict whether the tool feels calm or chaotic.
1) Power and torque (realistic ranges)
For softwood signs, many people do fine with compact routers, but hardwood pockets and larger straight bits usually feel better with a mid to full-size model. Torque matters because small bits still bog when you push too hard, and bogging often turns into burn marks.
- Trim: good for light cuts and smaller bits
- Mid-size plunge/fixed: versatile for most hobby sign work
- Full-size: better when you do deeper pockets or production runs
2) Variable speed and soft start
Variable speed helps you match RPM to bit diameter and wood species, which can reduce burning and fuzzing. Soft start is less glamorous, but it keeps the router from jumping at startup, a small detail that saves lines on a finished face.
3) Collet size and runout control
Many sign bits come in 1/4-inch shanks, but having a solid 1/2-inch collet option can open better straight bits for pocketing. Low runout, meaning the bit spins true, usually shows up as smoother walls and less vibration.
4) Base style, visibility, and ergonomics
Comfort is performance here. If your wrists tire, your lines wander. Look for stable handles, a clear base plate, and an easy-to-read depth scale. This is one area where “try it in person” can be worth the time.
5) Dust collection compatibility
Dust ports that actually fit common shop-vac sizes matter, and clear chip paths matter more. A router that constantly clogs will make you lift mid-cut, which often leaves witness marks.
Self-check: which “best router for woodworking signs” category are you in?
This quick checklist helps you avoid buying too much router, or worse, buying the wrong kind and fighting it for years.
- I mostly do small plaques and name signs, and I want one-hand control more than brute power.
- I use templates or letters, and I need clean plunge starts inside the board.
- I pocket backgrounds behind raised letters, often in hardwood.
- I do batches, and I care about repeatability more than portability.
- I already own a router table or plan to add one soon.
- I run a CNC, so duty cycle and collet quality matter more than handles.
If two or more of those feel true, pick the router type that matches the heavier requirement. People usually regret under-buying power for hardwood pockets more than they regret a slightly heavier tool.
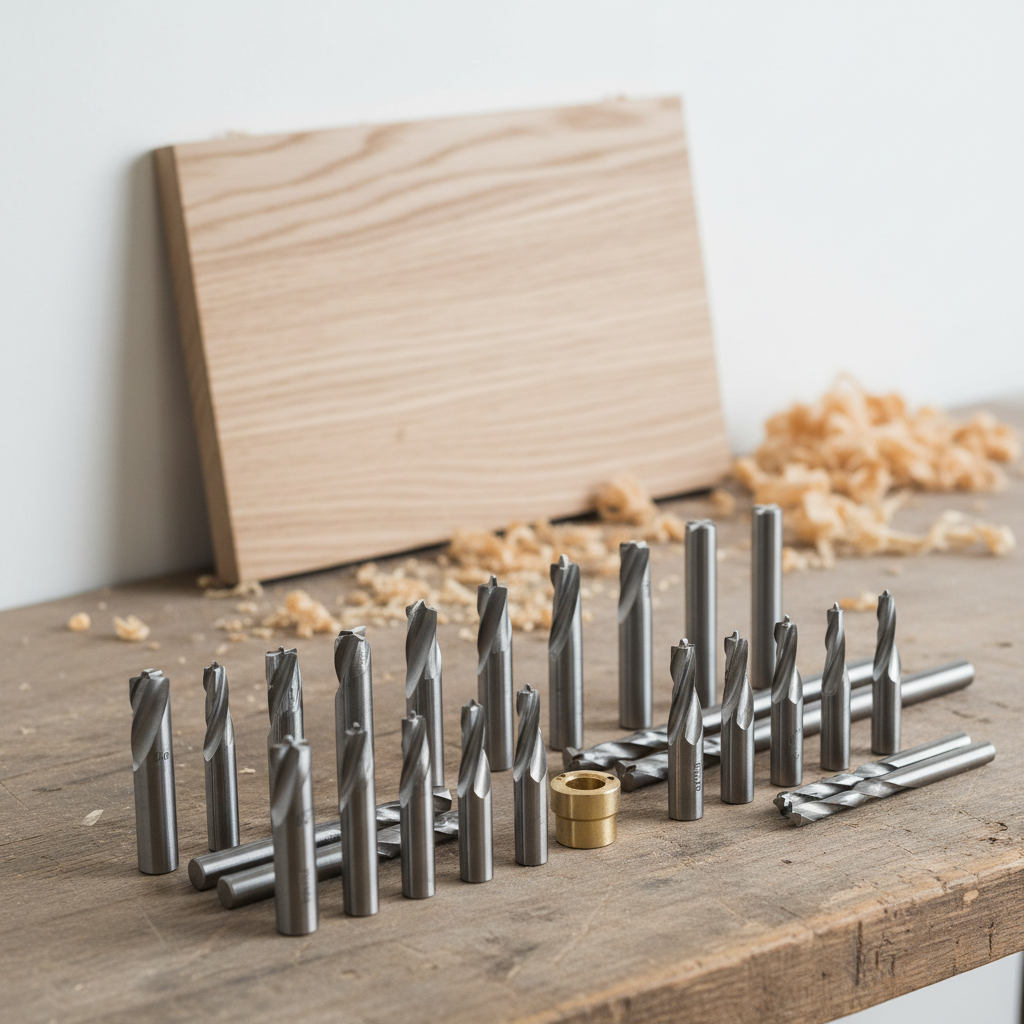
Bit choices and settings that make a bigger difference than you expect
Router selection matters, but the bit and setup can make an average tool look great, or a great tool look messy. If you’re chasing cleaner sign letters, spend attention here.
Common sign bits (and what they’re good at)
- V-bits: classic carved lettering, sharp corners, works well with templates and CNC.
- Straight bits: pocketing backgrounds, flat-bottom recesses for inlays or plates.
- Round-nose bits: softer carved look, good for 3D effects and smooth channels.
- Spiral upcut/downcut: better chip control; downcut can reduce top-edge fuzz but may pack chips in deep pockets.
Speed and pass depth, the boring stuff that saves projects
Bigger bit diameter generally likes lower RPM, and hardwood often prefers lighter passes. When burning shows up, many people slow feed rate first, but it’s often better to check bit sharpness, then adjust RPM and take shallower passes.
According to the U.S. Consumer Product Safety Commission, power tools require careful use and following manufacturer instructions, so if you’re unsure about RPM ranges for a specific bit, it’s smarter to follow the bit maker’s guidance or ask a qualified instructor.
Practical setups: three ways to route signs with fewer surprises
Below are setups that tend to work in real garages and small shops, with steps you can copy without turning your process upside down.
Setup A: Template + guide bushing (clean, repeatable letters)
- Use a stable plunge base or a plunge router for consistent starts.
- Secure the template firmly, double-sided tape plus clamps reduces shifting.
- Make a light first pass to score fibers, then deepen in 2–4 passes.
- Vacuum chips between passes, packed chips can push the bushing off-line.
Setup B: Freehand carving for rustic signs (fast, but requires control)
- Choose a compact router with a clear base for visibility.
- Sketch bold lines, then remove background with a straight bit, keeping the letter forms proud.
- Accept that “perfect” isn’t the look, aim for consistent depth and intentional texture.
Setup C: Pocket background + raised letters (the pro look)
- Start with a straight or spiral bit for bulk removal, then refine edges with a smaller bit.
- Leave a small margin near edges, then do a final cleanup pass.
- Test your finish schedule on scrap, because end grain inside pockets can drink stain.
Mistakes that make sign letters look rough (even with a good router)
- Taking one deep pass: it looks faster, but it invites chatter and tear-out.
- Dull bits: you can sometimes “muscle through,” but the surface quality tells on you.
- Wrong bit direction for the grain: climb cuts can help in tricky spots, but they increase kickback risk, so many woodworkers avoid them unless they really understand the behavior.
- Ignoring base stability: narrow rails or uneven blanks make the router tip, and letters get wavy.
- Skipping dust control: packed chips create heat, heat creates burn, burn shows up under clear coat.
For safety, keep guards and bases installed as intended, and if you’re not confident about technique choices like climb cutting, it’s worth learning from a qualified woodworking instructor.
Conclusion: how to choose with confidence in 2026
If you want the best router for woodworking signs, start by choosing the right router type for your workflow, then insist on variable speed, stable depth control, and decent dust collection. Bits and pass strategy will do the rest.
Key takeaways:
- Template lettering usually favors a plunge router, especially if you care about repeatability.
- Small signs and quick work often favor a trim router, ideally with a plunge base option.
- Hardwood pockets push you toward more torque, sharp spiral bits, and lighter passes.
- Dust control is a quality issue and a health issue, not just shop cleanliness.
If you’re shopping this week, pick one project you do most, then choose the router that makes that job feel calm and controllable, because that’s what shows up in the finished sign.