
How to cut 45 degrees with a miter saw comes down to two things: a trustworthy saw setup and a repeatable process that keeps the workpiece from shifting.
If your corners keep opening up, the cut looks “almost right” but not quite, or your two pieces don’t meet cleanly, it’s usually not your hands, it’s the calibration, the support, or the way the board sits against the fence.
This guide walks through the practical steps pros rely on: checking your saw, locking in the angle, controlling tear-out, and confirming the cut before you burn through expensive trim.
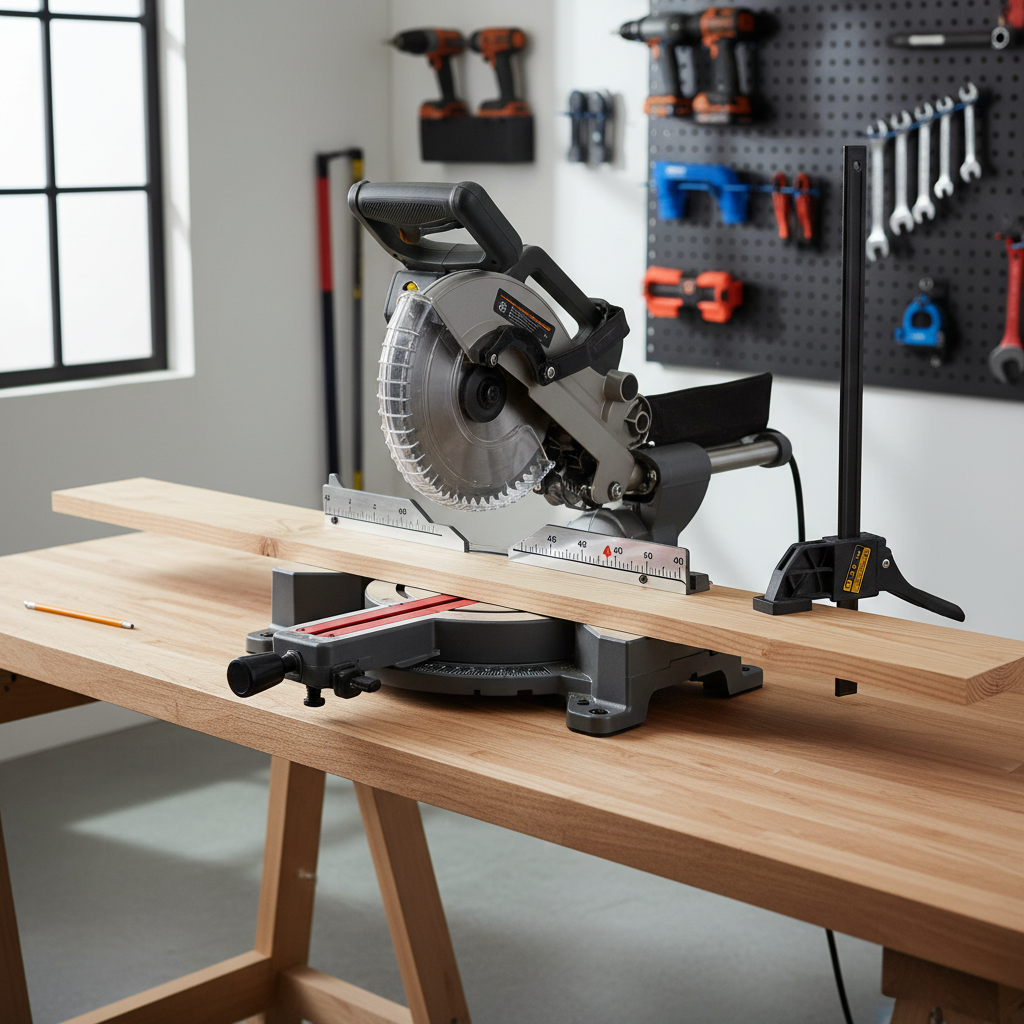
Why 45-degree cuts go wrong (and what that usually means)
A 45-degree cut is common, but it’s also where small errors show up fast. A one-degree drift turns into a visible gap when two miters meet.
- The miter scale is “close,” not true: many saws hit 45 on the gauge but miss slightly in real life, especially after transport or hard use.
- Board not flat to the table or fence: crown, twist, or a little sawdust behind the workpiece changes the effective angle.
- Workpiece moves during the cut: even a subtle pivot at the start or finish can spoil the fit.
- Wrong cutting method for the material: thin molding tears out easily, while thick stock may deflect a blade if you rush.
- Confusing miter vs bevel: a “45” could be on the miter axis (left/right) or bevel axis (tilt). Mixing them creates compound errors.
According to OSHA, saw-related injuries often involve contact with the blade or kickback, so accuracy work should never override basic guarding, clamping, and safe hand placement.
Quick checklist: are you cutting a true 45 or a compound angle?
Before touching the saw, figure out what angle you actually need. This prevents the classic mistake of dialing 45 when the job calls for something else.
- Picture frame, basic trim corners, simple boxes: typically 45-degree miter cuts on two pieces to make a 90-degree corner.
- Baseboard inside corners: often better with coping, but if you miter, walls may not be 90, so 45 might not fit.
- Crown molding: usually compound miter (miter + bevel), rarely a simple 45/0 setup.
- Bevel cut request: means the blade tilts, not the table turning.
If the corner you’re fitting is not a perfect 90, your “45s” may need to be adjusted. A common field approach is splitting the measured corner angle in half, then fine-tuning with test cuts.
Set up the miter saw for accurate 45s
The goal is boring consistency. Once your saw is square and stable, a 45 becomes easy to repeat.
1) Start with a clean, stable station
- Clear dust and chips from the table and fence, even a small bump can change the cut.
- Support long boards so they sit level, using extension wings or a stand.
- Check that the fence is tight and not bent out of plane.
2) Confirm “zero” before trusting 45
Most accuracy problems at 45 begin with a saw that isn’t truly square at 0.
- Unplug the saw or remove the battery.
- Use a reliable combination square to confirm the blade is 90 degrees to the fence at 0 miter.
- If your saw has adjustable detents/stops, tune the 0 stop first, then re-check.
3) Set and lock 45 the right way
- Rotate the miter table to the 45-degree detent, then tighten the miter lock.
- If your saw allows micro-adjust, sneak up on the angle rather than trusting the printed scale.
- For finish work, verify with a digital angle gauge or a 45-degree square if you have one.
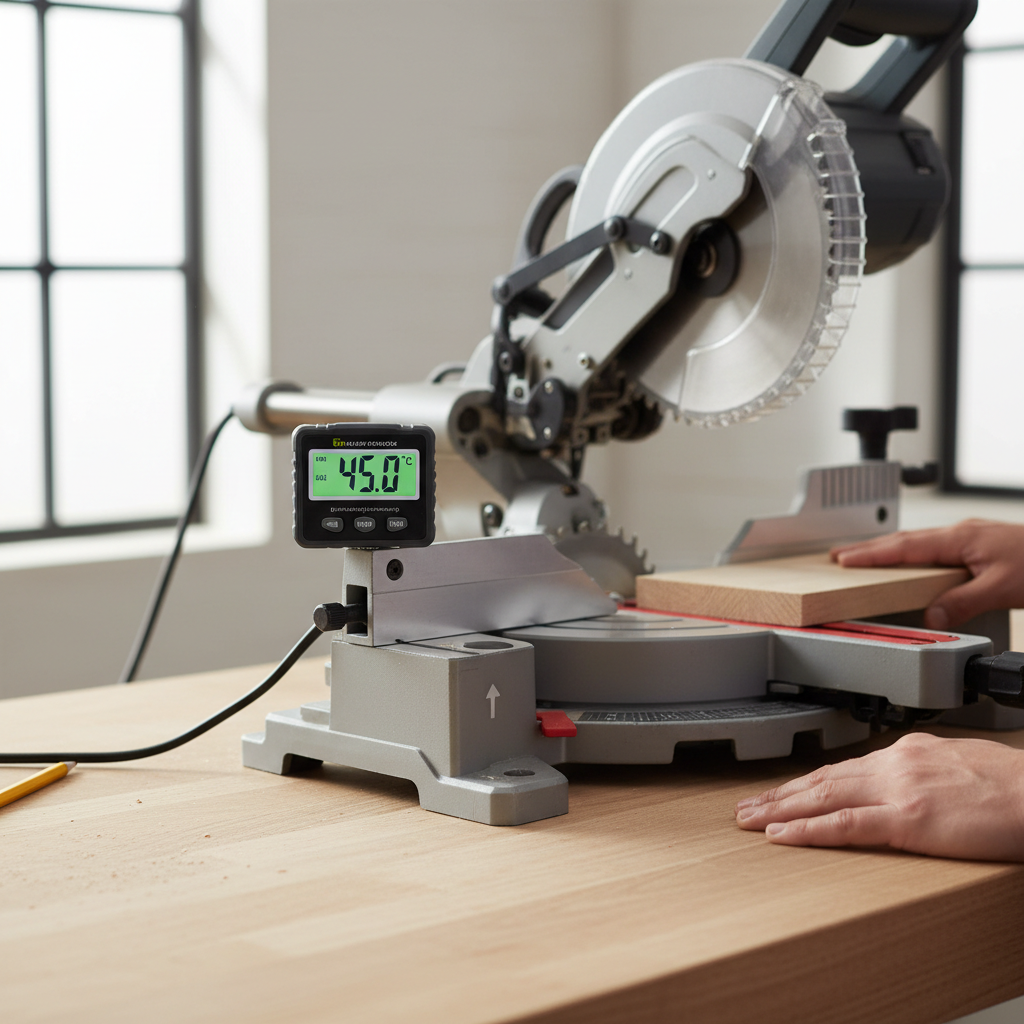
Step-by-step: how to cut 45 degrees with a miter saw (clean and repeatable)
This is the workflow that keeps your angle consistent across multiple pieces, especially with trim.
Mark, register, and cut
- Mark the face side: decide which face will show, mark it so you always orient pieces the same way.
- Place the board tight to the fence: press the board back and down, then keep that pressure consistent.
- Use a clamp when practical: it reduces tiny shifts that cause gaps, especially on narrow stock.
- Start the saw before entering the cut: let the blade reach full speed to reduce tear-out.
- Cut with controlled feed: don’t force the blade, let it work at a steady pace.
- Hold until the blade stops: keep the head down until the blade stops spinning to avoid lifting and nicking the edge.
For perfect corners, cut pairs intentionally
If you’re making a 90-degree corner from two miters, cut the pieces as a matched set, check the fit, then adjust the saw slightly if needed. Tiny corrections are normal on real houses.
Accuracy checks that save time (especially on trim)
You don’t need fancy gear, but you do need a habit of verifying. A 30-second check can save an hour of patching and re-cutting.
- Test cut on scrap: same thickness, similar species if possible.
- Flip test: cut a 45 on scrap, flip one piece, bring the miters together, gaps indicate your angle is off.
- Check for “spring”: if you squeeze the joint and it closes, the angle might be slightly open and you’re forcing it.
- Look for burn or chatter: can indicate a dull blade or too-slow feed, both affect cut quality.
Common 45-degree cuts and recommended setup
This table covers typical scenarios and what tends to work in the shop or on-site. Your exact settings can vary by saw and material, so treat it as a starting point.
| Project | Typical Cut Type | Suggested Blade | Helpful Tip |
|---|---|---|---|
| Picture frames | 45° miter (left/right) | Fine-finish, higher tooth count | Cut pieces as pairs, dry-fit before glue |
| Baseboard outside corner | 45° miter (often adjusted) | Finish blade | Scribe the corner angle if walls aren’t square |
| Simple box corners | 45° miter | General-purpose or finish blade | Use stop blocks for repeat lengths |
| Thick hardwood trim | 45° miter (careful feed) | Sharp carbide finish blade | Slow down the cut to avoid deflection |
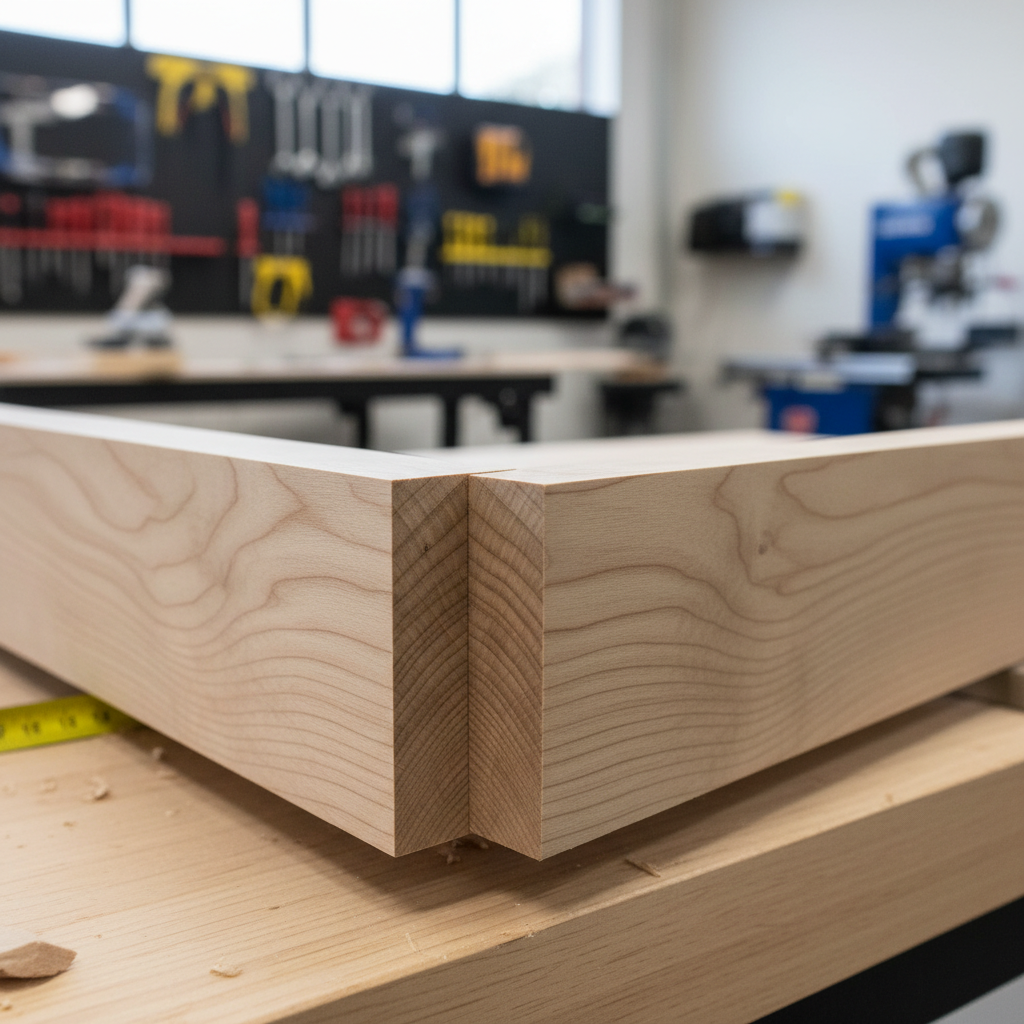
Tear-out, gaps, and other issues: practical fixes
If your cuts look rough or joints don’t close, fix the cause, not the symptom.
If the cut splinters (tear-out)
- Switch to a sharper, higher tooth-count blade for trim.
- Apply painter’s tape along the cut line for fragile profiles.
- Use a zero-clearance insert if your saw supports it, or back up the cut with scrap.
If the joint has a gap at the tip (outside edge)
- The miter angle is usually too shallow or the board isn’t tight to the fence.
- Re-cut a test piece, increase pressure to the fence, and verify the detent/lock.
If the joint has a gap at the heel (inside edge)
- The miter angle is often too steep, or the stock isn’t sitting flat on the table.
- Check for bowing, debris under the board, or an uneven support stand.
If lengths aren’t matching
- Use a stop block for repeated cuts, measuring to the same reference point each time.
- Mark the “keep” side of the line so you don’t slowly shorten pieces.
Safety notes you shouldn’t skip
A miter saw feels straightforward until something grabs. Keep it simple, keep it safe.
- Keep hands outside the manufacturer’s marked no-hands zone.
- Clamp small pieces, avoid holding short offcuts near the blade.
- Let the blade stop before lifting the saw head.
- Wear eye protection; hearing protection is usually a smart idea in enclosed spaces.
According to the U.S. Consumer Product Safety Commission (CPSC), power tools can cause serious injuries when guards are bypassed or safe handling is ignored, so if a cut feels sketchy, change the setup rather than “muscling through.”
Conclusion: the reliable path to tight 45s
If your goal is clean corners, treat 45s as a calibration problem first and a cutting problem second, confirm 0, lock a true 45, support the board, then validate with a quick scrap test before you cut the real part.
Your next move can be small: pick one project, tune the saw, make two test miters, and adjust until the joint closes without force. After that, repeating accurate 45-degree cuts becomes mostly routine.
Key takeaways
- True 45s start at true zero, don’t trust the scale until you verify.
- Support and clamping prevent tiny shifts that create visible gaps.
- Test cuts on scrap are faster than fixing mistakes on finish material.
- Walls aren’t always square, so real-world trim often needs slight angle tweaks.
FAQ
- How do I know my miter saw is really set to 45 degrees?
Make a test cut on scrap, flip one piece, and close the two miters together. If there’s a consistent gap, your detent is likely off and needs micro-adjustment or calibration. - Why do my 45-degree corners still have gaps even when the saw says 45?
Most of the time it’s either the saw not truly calibrated, the board not tight to the fence, or the board not flat on the table. Long stock without support also nudges the angle during the cut. - Should I cut both 45s without changing the saw setting?
Yes, in many cases that’s the easiest way to keep symmetry. You typically cut one piece at 45 left and the mating piece at 45 right, without “freehanding” a slightly different angle unless the corner demands it. - What blade is best for 45-degree cuts on trim?
A sharp carbide finish blade with a higher tooth count usually leaves a cleaner edge. If you see fuzzing or chip-out, blade choice and sharpness matter more than people expect. - How can I prevent tear-out on delicate molding profiles?
Use painter’s tape on the cut line, keep the show face oriented consistently, and slow the feed rate. Backing the piece with scrap helps on very thin or brittle profiles. - Do I need a compound miter saw to cut 45 degrees?
Not for a basic 45-degree miter. A standard miter saw can do that. You need compound capability when the cut requires both a miter angle and a bevel angle, like many crown molding installs. - What if the corner in my room isn’t a perfect 90 degrees?
That’s common. Measure the actual corner angle and split it, then do a couple of test cuts to dial in the fit. For baseboard inside corners, coping may hide out-of-square walls better than miters.
If you’re trying to cut a lot of matching 45s for frames or trim and the results still feel inconsistent, it may be worth using a digital angle gauge, adding stop blocks, or having a local shop or carpenter help you verify saw calibration so you stop chasing the same gap all day.