
how to start a tiller that has been sitting usually comes down to three things: fuel that went bad, a carburetor that gummed up, or ignition that’s weak, and you can diagnose all three without tearing the machine apart on day one.
If you’ve pulled the cord a dozen times and nothing happens, it’s tempting to keep yanking harder, but that’s how flooded engines, sore shoulders, and broken starter ropes happen. A short, methodical reset is faster than brute force.
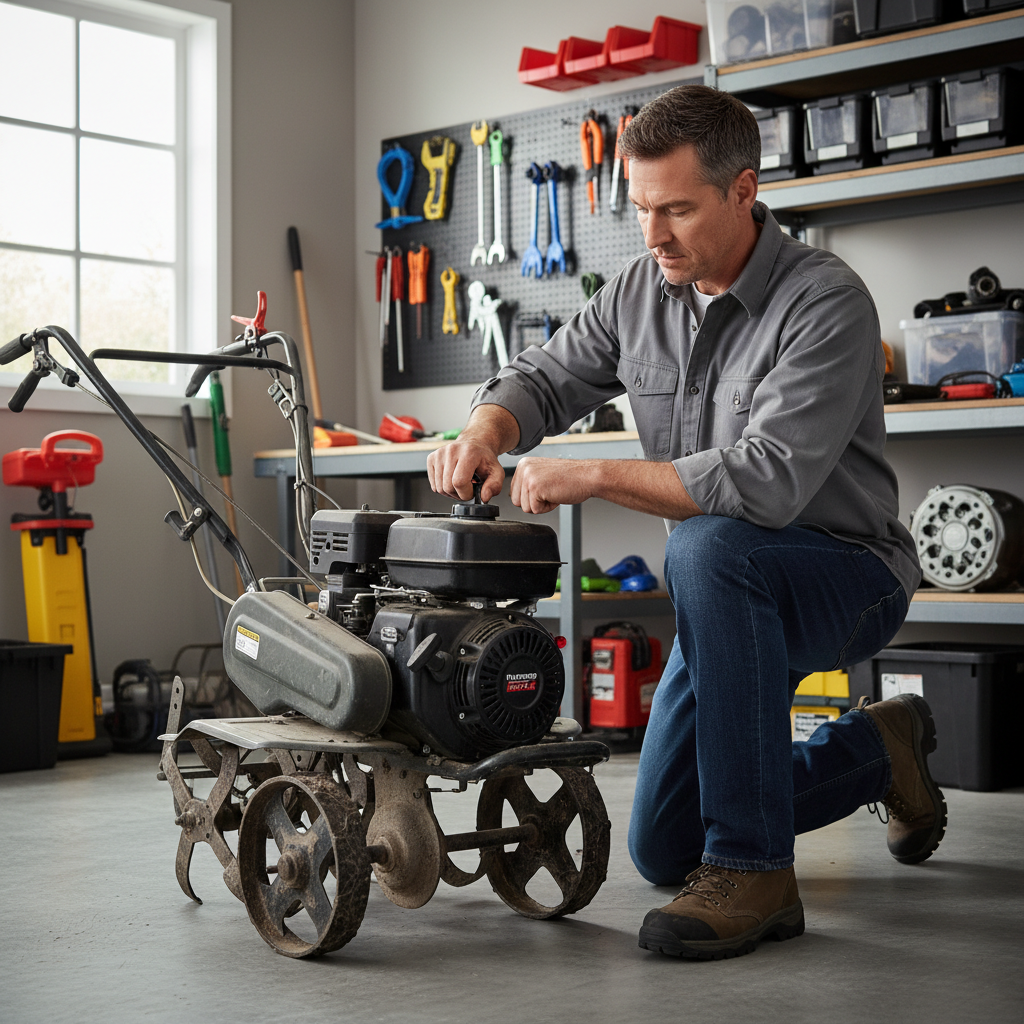
This guide focuses on the common small-engine tillers (Troy-Bilt, Honda, Craftsman, etc.). You’ll get a quick decision checklist, a safe start procedure, and a few “don’t bother” moves that waste time. Where brands differ, I’ll call it out.
Before you touch the starter rope: safety and quick setup
Most “no start” troubleshooting goes smoother when you remove easy variables first. Also, tillers bite, so a few basics matter.
- Work outside or in a fully ventilated area; exhaust and fuel vapors build up fast in garages.
- Set the tines off the ground if possible, or at least keep the area clear so the machine can’t lurch forward.
- Turn the fuel valve ON (many people forget this after storage) and confirm the engine switch is ON.
- Check oil level before extended cranking. Low oil can trigger a low-oil shutdown on some engines.
- If you smell strong gas, pause and let vapors clear, then look for leaks around the tank, fuel line, and carb bowl.
According to the U.S. Consumer Product Safety Commission (CPSC), gasoline and equipment use are common sources of household fire and burn hazards, so treat fuel handling as a “no shortcuts” step.
Why tillers won’t start after sitting (the realistic causes)
When a tiller sits, problems stack in predictable ways. Here’s what tends to happen in the real world.
- Stale fuel: Gasoline can lose volatility and form deposits that clog tiny carb passages, especially if it contained ethanol.
- Carburetor varnish: The pilot jet and main jet are small; a little gum is enough to prevent starting or cause “starts then dies.”
- Weak spark: A fouled plug, corroded boot, or damaged wire can make spark intermittent.
- Airflow restrictions: A mouse nest in the airbox or a soaked filter will choke the engine.
- Compression issues: Less common, but stuck rings or valve problems show up after very long storage or poor maintenance.
In most cases, you fix it with fuel and carb attention, not by replacing half the machine.
Fast self-check: which “no start” situation are you in?
This is the quickest way to decide your next step without guessing.
- Engine does nothing (no pop, no cough): often kill switch OFF, fuel valve OFF, or no spark.
- It pops once, then nothing: commonly stale fuel or choke/primer mismatch.
- Starts for 1–3 seconds, then dies: fuel delivery issue, clogged jet, or blocked fuel cap vent.
- Smells like gas / wet spark plug: flooded; too much choke/primer or repeated cranking.
- Hard pull / rope jerks back: possible hydro-lock (fuel in cylinder) or timing/compression issue, stop and inspect.
If you only do one diagnostic trick, do this: pull the spark plug and look at it. Dry often points to fuel delivery, wet points to flooding, black sooty points to rich running, oily points to deeper engine wear.
Step-by-step: get it running with the least invasive approach
Start simple, then escalate only if needed. This order saves time and avoids unnecessary carb disassembly.
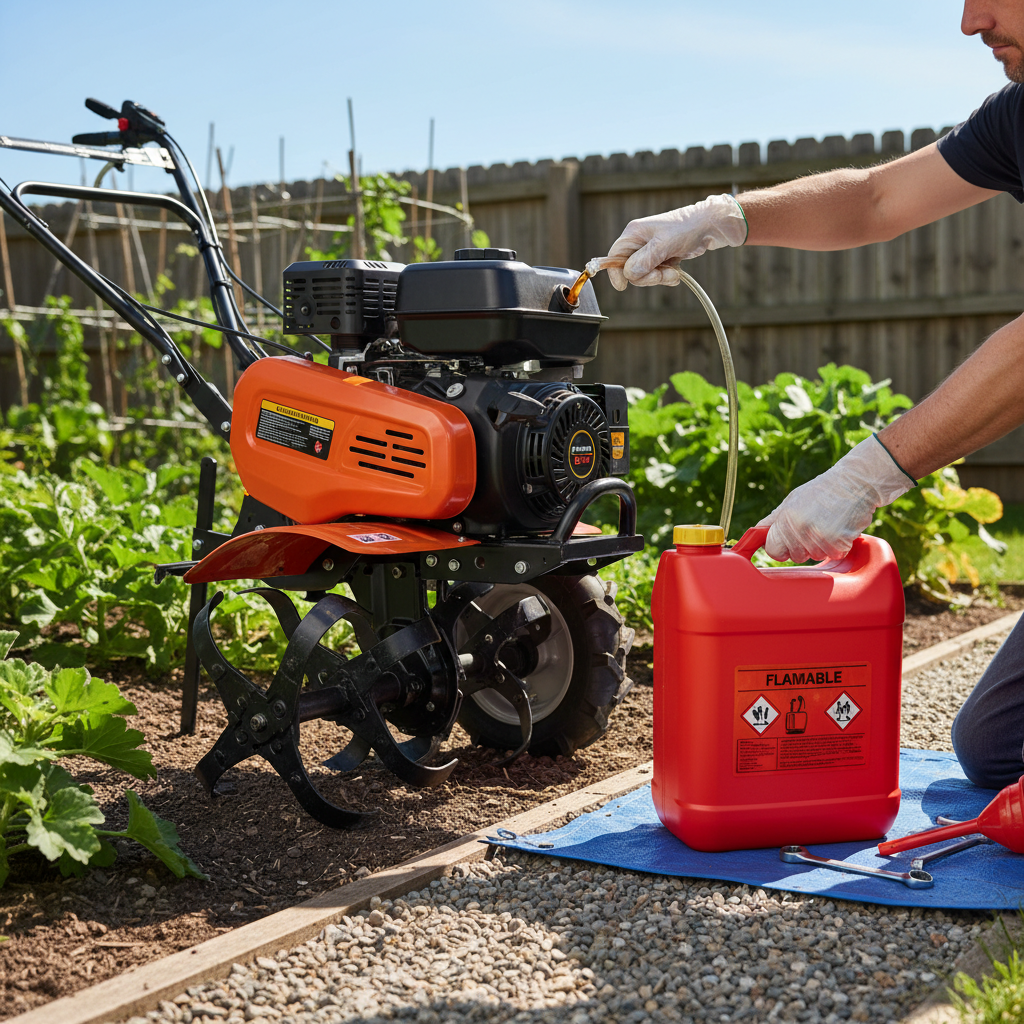
1) Replace old gas (or at least isolate it)
If the fuel is older than a couple months, treat it as suspect. Many “it ran fine last year” calls end right here.
- Drain the tank into an approved container, or siphon it out if draining isn’t practical.
- Refill with fresh fuel; for many small engines, regular unleaded is fine, and ethanol-free often causes fewer storage headaches where available.
- If the tiller has a fuel shutoff, open it and watch for steady flow to the carb line.
2) Check air filter and intake
Open the airbox. You’re looking for obvious blockage, heavy oil saturation, or critter debris.
- Foam filter: lightly oil only if the manual calls for it; too much oil can choke the engine.
- Paper filter: replace if dirty or fuel-soaked.
- Confirm the choke plate moves freely when you move the choke control.
3) Confirm spark (simple, not fancy)
A quick spark check prevents wasted carb work. If you’re not comfortable testing ignition, a shop can confirm it fast.
- Remove the plug, inspect for cracks and heavy deposits, then check the gap if you have a feeler gauge.
- Reconnect the boot, hold the plug threads to bare metal on the engine, pull the starter, and look for a crisp spark.
- No spark: try a new plug first. If still dead, suspect kill-switch wiring or ignition coil issues.
According to Briggs & Stratton, many small-engine starting problems trace back to fuel quality and basic ignition maintenance, so a fresh plug is often a reasonable “first replacement,” not a random one.
4) Use correct choke/prime technique (many starts fail here)
Procedures vary by engine, but these patterns are common:
- Cold engine: choke ON, prime (if equipped) the recommended number of pushes, then pull.
- After it coughs: move choke to half, then OFF as it warms.
- Warm engine: choke OFF, minimal priming.
If you’ve been cranking repeatedly with full choke, assume flooding and reset before trying again.
If it’s flooded: clear it without drama
Flooding is common when you’re figuring out controls after months of storage. The goal is to get excess fuel out and reintroduce air.
- Turn choke OFF and set throttle to start/run position.
- Pull the starter 5–10 times to move air through (pause if you smell strong gas).
- If it still won’t fire, remove the spark plug, dry it, and let the cylinder air out for a few minutes.
- Reinstall and try again with no choke until it catches, then adjust.
If the plug keeps coming out wet immediately, fuel may be leaking past the carb needle, which points you to carb service.
When the carburetor is the culprit: clean vs. rebuild vs. replace
If fresh fuel and a good plug don’t solve it, a dirty carb is the most likely next stop. You have three levels of effort.
| Approach | When it makes sense | What you do | Risk/notes |
|---|---|---|---|
| In-place cleaning | Starts then dies, or runs only on choke | Drain bowl, spray carb cleaner in jets/ports where accessible | May not clear internal passages fully |
| Remove and clean | No start with dry plug, fuel present | Pull carb, disassemble, clean jets, replace gaskets if needed | Small parts easy to lose, take photos |
| Replace carb | Severe varnish, damaged threads, repeated failures | Install OEM or reputable replacement, set linkages correctly | Cheap carbs can run rich/lean, verify fit |
Practical tip: if the engine runs briefly when you add a tiny amount of fuel into the intake (some people call this a “prime by hand”), that often suggests spark and compression are okay, and fuel delivery through the carb is the gap. Use caution here, keep ignition sources controlled, and follow your manual. If you’re unsure, skip this step and go straight to carb cleaning.
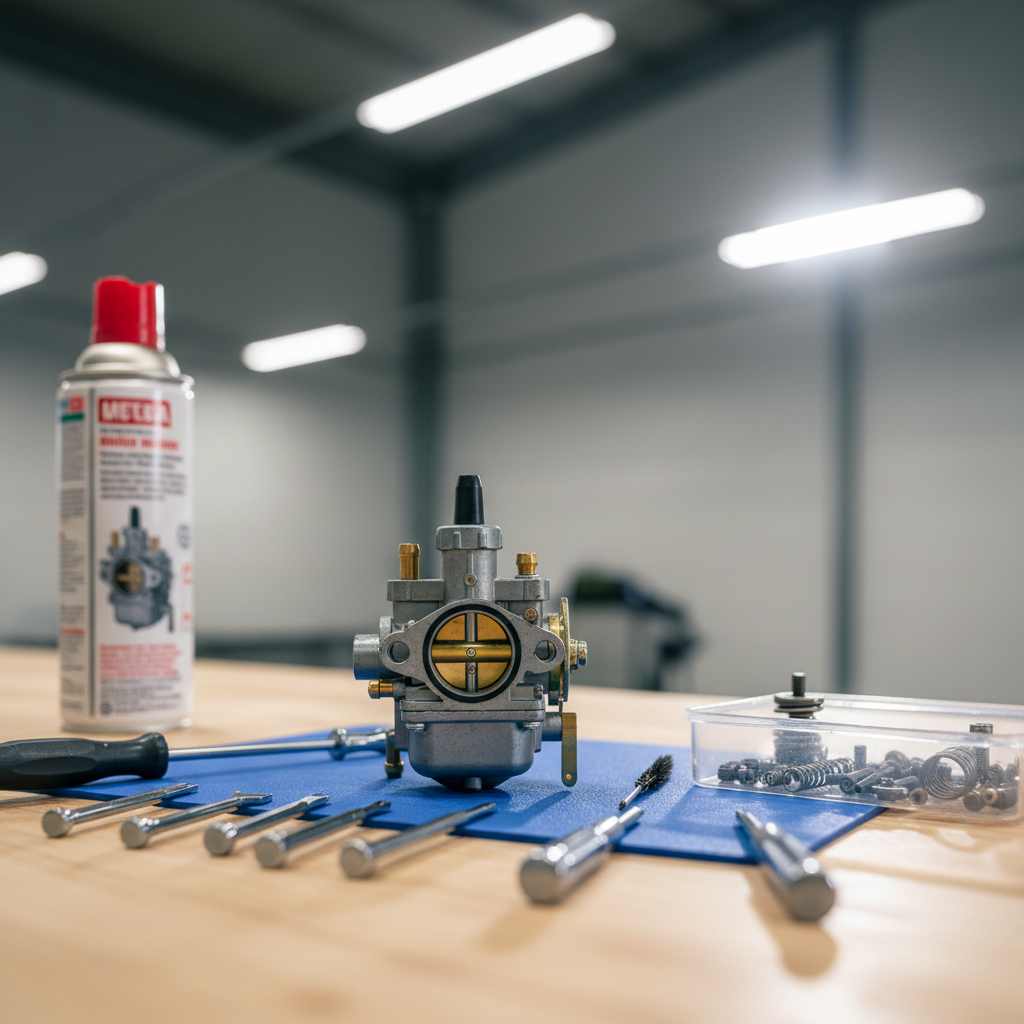
Carb cleaning checklist (the parts that actually matter)
- Float bowl: dump old fuel, wipe residue, check for water droplets.
- Main jet/emulsion tube: clear tiny holes; don’t “hog out” jets with hard wire.
- Pilot jet: the usual reason an engine won’t idle or start without choke.
- Needle and seat: if stuck, the carb can overflow and flood the engine.
- Gaskets: torn gaskets cause air leaks, making tuning frustrating.
Common mistakes that waste time (or create new problems)
A few moves show up again and again, and they’re usually why a “simple restart” turns into a weekend project.
- Endless cranking on old gas: you’re just pulling varnish deeper into passages.
- Using starting fluid as a routine tool: it can be harsh on small engines, and it masks the real issue.
- Cleaning jets with drill bits: that changes jet size, then the engine never runs right.
- Ignoring the fuel cap vent: a clogged vent can mimic carb problems by starving fuel flow.
- Forgetting to open the fuel valve: obvious, yes, still happens constantly.
Key takeaways and a reliable “restart routine” for next season
If you want the shortest path on the day you bring the tiller back out, remember this sequence: fresh fuel, clean air, strong spark, correct choke, then carb service if needed. That approach solves the majority of “sat all winter” cases without replacing random parts.
- If the plug is dry, think fuel delivery and carb.
- If the plug is wet, think flooding or carb needle leakage.
- If it runs only on choke, think clogged pilot circuit or air leak.
For storage going forward, many owners avoid repeat trouble by running the carb dry (shut fuel valve and let it die), or using a fuel stabilizer when the manual recommends it. According to the Federal Trade Commission (FTC), consumers should follow manufacturer guidance for fuel and storage practices to reduce equipment problems and safety risks.
If you’re still stuck after fresh fuel, a new spark plug, and a basic carb clean, it’s reasonable to involve a small-engine technician. Compression tests, valve adjustments, and ignition coil diagnosis are doable at home, but they’re also the point where the “quick restart” can turn into deeper repair, and a pro can usually confirm the root cause faster.
Next time you face how to start a tiller that has been sitting, aim for a calm, staged reset instead of trial-and-error pulling, you’ll protect the starter, keep fuel handling safer, and get back to breaking soil sooner.