
how to cut wood with a circular saw straight usually comes down to three things: a reliable guide, a correctly set blade, and a setup that keeps the sheet or board from pinching the cut.
If your cuts wander, it’s rarely because you “need a better saw.” More often the board shifts, you’re referencing the wrong edge of the shoe, or the blade depth and support aren’t doing you any favors.
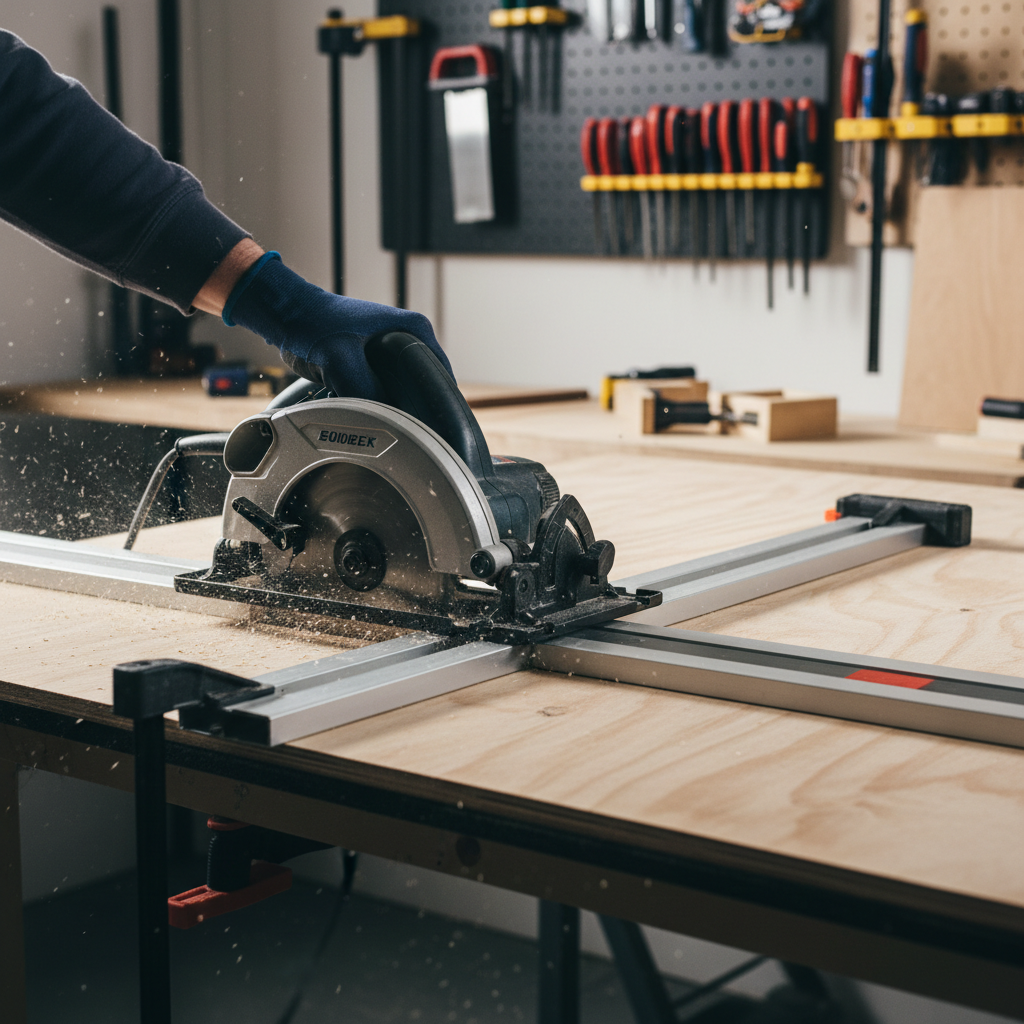
This guide focuses on repeatable, jobsite-realistic methods: how to set your line, how to pick the right reference side, and a couple of guide options that work even if you don’t own a track saw. You’ll also get a quick diagnostic checklist, a cut-planning table, and a few “small things” that make a big difference.
Why circular saw cuts go crooked (and what’s really happening)
A circular saw wants to cut straight, but your setup can force it off-line. These are the common causes I see most often.
- No rigid guide: Freehanding a long rip on plywood is possible, but most people drift a little, then correct, then drift again, and the edge turns wavy.
- Wrong reference point: You might be watching the blade, but the saw “tracks” off the shoe edge. If you don’t know which side of the base plate to index from, you measure wrong and chase the line.
- Blade depth too deep: A blade hanging way below the board tends to grab and vibrate more, especially in thinner stock.
- Unsupported work causes pinch: If the kerf closes as you cut, the saw can bind, slow, and pull off line, or kick back.
- Dull or wrong blade: A framing blade can leave rough edges and wander more in plywood or hardwood. A dull blade increases push force, which increases steering errors.
According to OSHA, kickback is a major hazard with circular saws, and it often starts with binding or pinching in the cut. Straight cuts are not just prettier, they’re typically safer because the saw runs smoother.
Quick self-check: are you set up for a straight cut?
Before changing your technique, check the basics. This takes two minutes and saves a lot of frustration.
- Blade condition: Teeth look sharp, no missing carbide tips, no heavy pitch buildup.
- Blade type matches material: More teeth for plywood and finish cuts, fewer for framing lumber.
- Correct blade depth: Teeth extend about 1/4 inch below the board in many situations.
- Work supported: Offcut can fall away without tearing or pinching, main piece stays stable.
- Guide is clamped: Straightedge, level, or cutting track cannot creep under vibration.
- Cord/battery management: Nothing tugs the saw sideways mid-cut.
If two or more items fail, fix those first. Many people try to “steer better” when the real problem is the wood moving.
Choose your straight-cut method (table)
There are a few solid ways to get straight results, and which one makes sense depends on cut length, accuracy needs, and what you already own.
| Method | Best for | Accuracy (typical) | What you need |
|---|---|---|---|
| Straightedge + clamps | Long cuts on plywood, quick setup | Good if measured carefully | Level/straight board, 2 clamps, tape |
| Shop-made saw guide (edge-rip jig) | Repeatable straight cuts | Very good once calibrated | Plywood strip guide, screws or glue |
| Speed square as fence | Short crosscuts on 2x material | Good for 90° cuts | Speed square, pencil, clamp optional |
| Track saw or track system | Cabinet-grade sheet goods work | Excellent | Track + compatible saw |
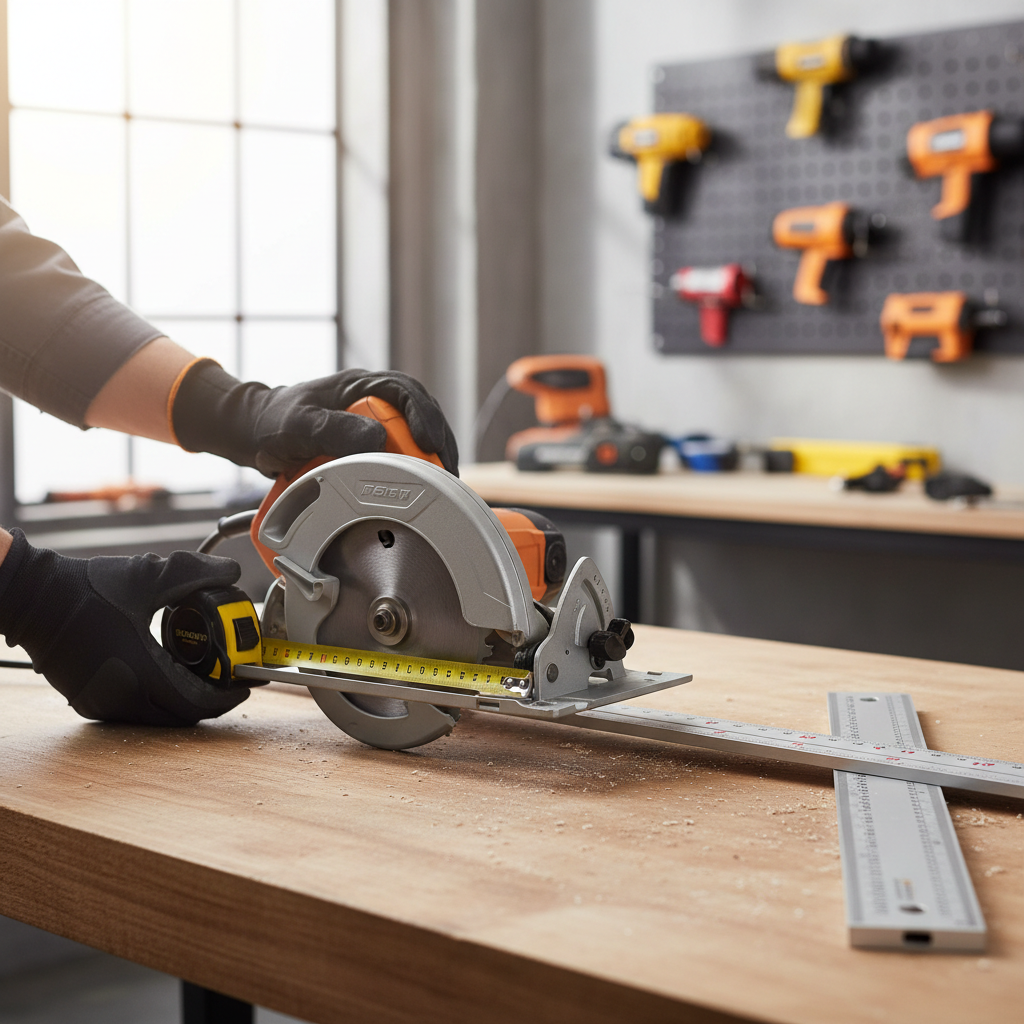
Core technique: straightedge + clamps (most practical for homeowners)
This is the method that teaches you the most, because it forces you to understand the saw’s offset and how the shoe rides a guide.
1) Mark the cut line and the “waste” side
Use a sharp pencil or knife line for finish work, then mark an X on the waste side. It sounds basic, but a lot of crooked cuts start as “correcting” after realizing you’re on the wrong side of the line.
2) Measure your saw’s offset (once, then write it down)
Measure from the blade (tooth set) to the edge of the shoe that will ride against the straightedge. Many saws have notches, but they’re not always trustworthy for precision.
- Set the straightedge offset distance away from your cut line.
- Clamp it firmly at both ends, check that clamps won’t interfere with the motor or handle path.
This single step is the heart of how to cut wood with a circular saw straight without buying special gear.
3) Support the work so the kerf can open
For plywood, foam insulation on the floor works well because the sheet stays supported. For boards, use sawhorses and add a sacrificial support under the cut if needed.
- Keep the good piece fully supported.
- Let the offcut fall free, or support it lightly so it doesn’t snap fibers at the end.
4) Set blade depth and start the cut calmly
Set depth so teeth extend roughly 1/4 inch below the material in many cases. Then bring the saw to full speed before entering the wood, keep the shoe flat, and let the guide do the steering.
- Do not force the saw, if it bogs, check blade sharpness or binding.
- Watch the shoe edge ride the straightedge, not the blade itself.
5) Finish strong: don’t twist at the last inch
The end of the cut is where people often lift, twist, or let the offcut tear out. Keep pressure down on the shoe until the blade fully exits.
Alternative: make a shop-built circular saw guide (better repeatability)
If you cut sheet goods more than occasionally, a simple zero-clearance guide jig can make straight work feel almost like a track saw.
Concept: a wide base panel with a straight fence glued/screwed on top. You run your saw once along the fence, trimming the base to match your blade’s exact kerf line. After that, you align the trimmed edge to your mark and cut.
- Pros: Fast alignment, less measuring, consistent results.
- Cons: Dedicated to one saw (and sometimes one blade thickness), takes storage space.
If you’re learning how to cut wood with a circular saw straight for cabinet panels or shelving, this jig often gives the best effort-to-result ratio.
Short cuts and crosscuts: use a speed square the right way
For 2x lumber crosscuts, a speed square can act like a mini fence. Hold it firmly against the board edge and ride the saw’s shoe along the square.
- Clamp the board if it wiggles, especially with treated lumber.
- Start with the blade clear of the wood, then ease in.
- Keep the shoe flat, lifting the front even slightly can push you out of square.
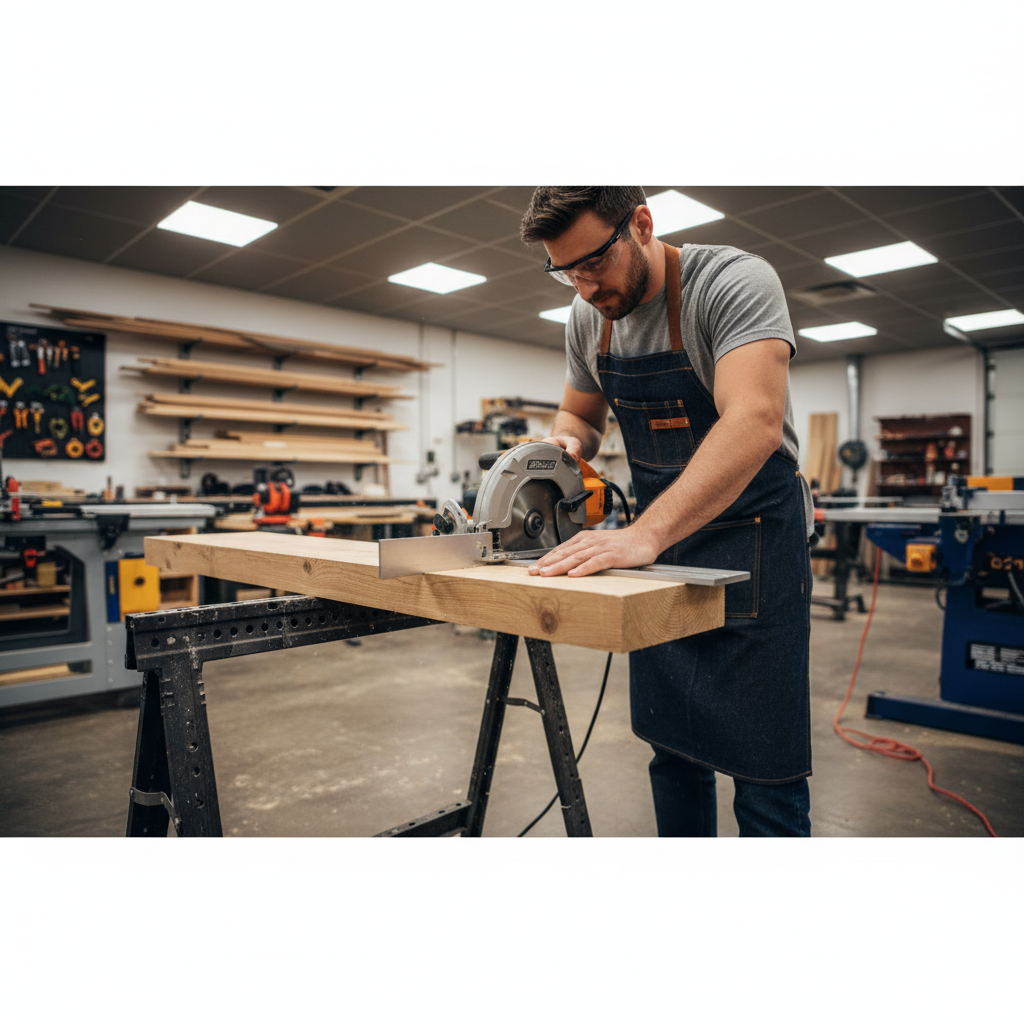
Practical tips that make straight cuts easier (without buying new tools)
A few small adjustments tend to clean up results immediately, especially for beginners.
- Use the right blade: For plywood, a higher tooth count blade often reduces tear-out and “chatter.”
- Painter’s tape on cut line: Helps reduce splintering on some veneers, though blade choice matters more.
- Score the top veneer: On finish plywood, a light first pass can help, but be cautious and keep the saw stable.
- Mind the cord: Drape it over your shoulder or behind you so it doesn’t snag and pull sideways.
- Stand so your arms move naturally: If your body position forces you to reach, you’ll steer without meaning to.
Key takeaway: straight cutting is mostly setup. Once the guide and support are right, the cut feels almost boring, and that’s the goal.
Safety notes and common mistakes (worth reading)
Circular saw safety is not optional, and most straight-cut issues overlap with safety issues. According to OSHA, you should follow manufacturer guarding instructions and maintain control to reduce kickback risk.
- Don’t cut unsupported in mid-air: The wood can close on the blade and bind.
- Keep hands out of the line of cut: Especially when using a straightedge, your support hand can drift closer than you think.
- Let the blade stop before setting the saw down: Skipping this is how fresh edges get dinged, or worse.
- Avoid “correcting” mid-cut: If you’re off the line, stop and reset, forcing a correction can twist the blade.
- Wear eye and hearing protection: Many situations also call for a dust mask or respirator, depending on material and ventilation.
If you’re working with unfamiliar materials, tight spaces, or you’ve had a near-kickback already, it may be smart to ask a more experienced woodworker or contractor to walk you through setup in person.
Wrap-up: the simplest path to straighter cuts
If you want straighter results today, clamp a straightedge, measure your shoe-to-blade offset carefully, and support the work so nothing pinches. That combination usually fixes 80% of the frustration.
Pick one method and practice on scrap for a few cuts, then move to your real piece once the saw feels stable and predictable, your hands will follow.
FAQ
- What’s the easiest way to cut plywood straight with a circular saw?
Use a straightedge clamped to the sheet, then set it based on your saw’s shoe-to-blade offset. Foam insulation under the plywood makes support much simpler. - Why does my circular saw keep drifting away from the guide?
Usually the shoe isn’t held consistently against the guide, or the guide isn’t truly straight. A dull blade can also increase side pressure and make drift more likely. - How deep should I set the blade for a straight cut?
Many woodworkers aim for teeth extending about 1/4 inch below the material. Deeper cuts can work, but they often increase tear-out and make control harder. - Can I learn how to cut wood with a circular saw straight without clamps?
You can, but it’s harder to be consistent. For short cuts you can sometimes hold a speed square firmly, but clamps make long cuts far more reliable. - Is a track saw worth it if I already own a circular saw?
If you cut sheet goods frequently or need cleaner edges for built-ins, a track system can be a big upgrade. For occasional projects, a shop-made guide often gets you close for much less. - How do I reduce splintering on plywood?
Use a fine-tooth blade intended for plywood, cut with the good face down on many standard saws, and consider painter’s tape or a light scoring pass if the veneer is fragile. - What should I do if the saw binds in the cut?
Stop, keep the saw stable, and let the blade come to a stop before backing out. Binding often means the work isn’t supported well, the kerf is closing, or the blade is dull.
If you’re working on shelving, a closet build, or any project where edges need to look clean, a simple straight-cut guide and the right blade can save a lot of rework. If you want, tell me your saw model and what you’re cutting, and I can suggest a guide setup that fits your materials and space.