
How to load staples into an electric staple gun comes down to two things most people miss: matching the staple type to your tool, and opening the magazine the way your model expects, not the way your last stapler worked.
If you load the wrong staples or seat the strip slightly crooked, you usually get the same symptoms, a jam, staples that “half shoot,” or a tool that sounds like it fires but nothing comes out, and that’s frustrating when you’re mid-project.
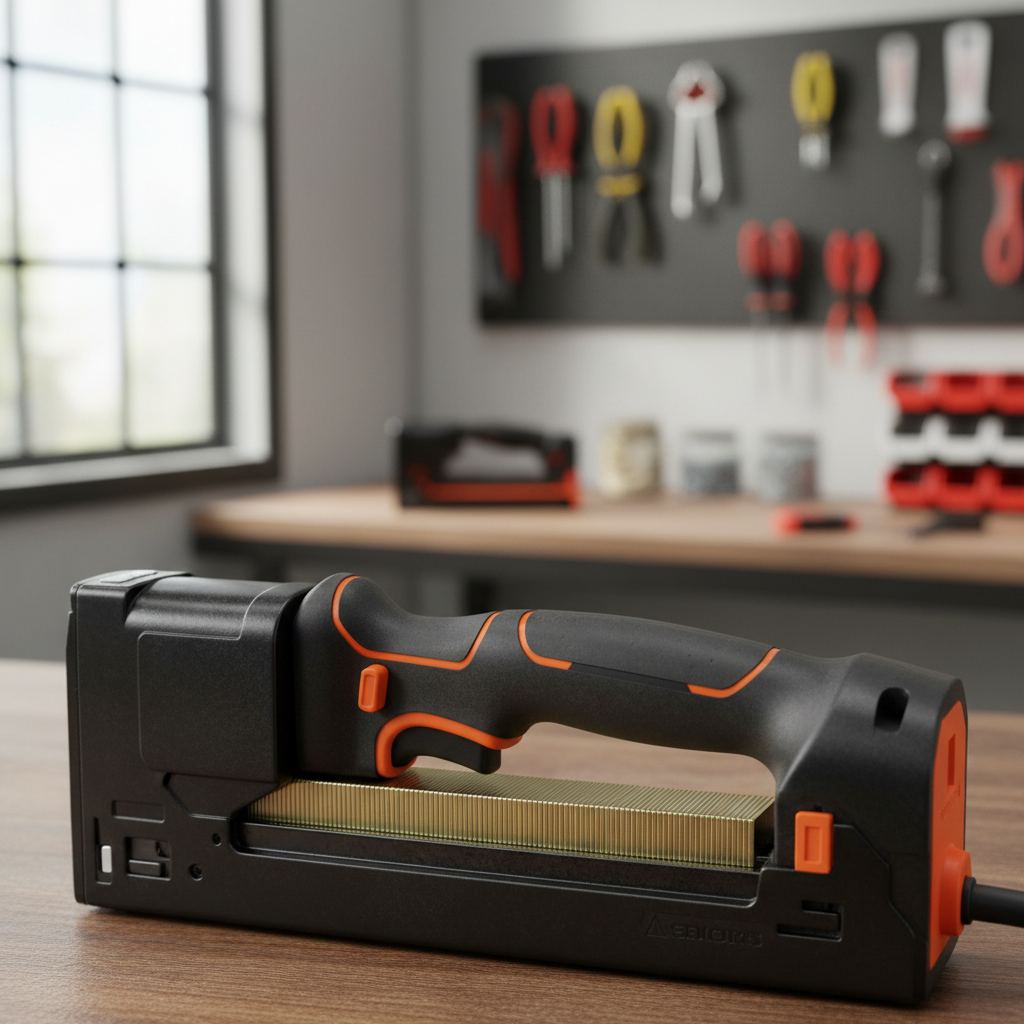
This guide walks through the common magazine styles, a quick compatibility check, the loading steps, and the small habits that prevent repeat jams, so you can get back to stapling instead of troubleshooting.
Know your stapler type (because loading is not universal)
Electric staple guns usually load one of a few ways, and if you force the wrong mechanism you can bend the pusher or damage the latch.
- Bottom-load drop-in magazine: you press a latch, the magazine swings or slides open, staples drop in from underneath.
- Rear-load stick magazine: you pull a follower rod out the back, drop a staple strip in the track, then reinsert the rod.
- Nose-load (less common): access near the front, often paired with quick-clear jam doors.
Look for a release button near the base or a follower rod with a spring and knob at the rear, that tells you which set of steps to follow.
Staple compatibility: the #1 cause of jams
Before you touch the magazine, confirm your staples match what the tool is designed to fire, not just “close enough.” A strip that’s slightly too wide or too tall can drag inside the channel and create misfeeds.
Where to check
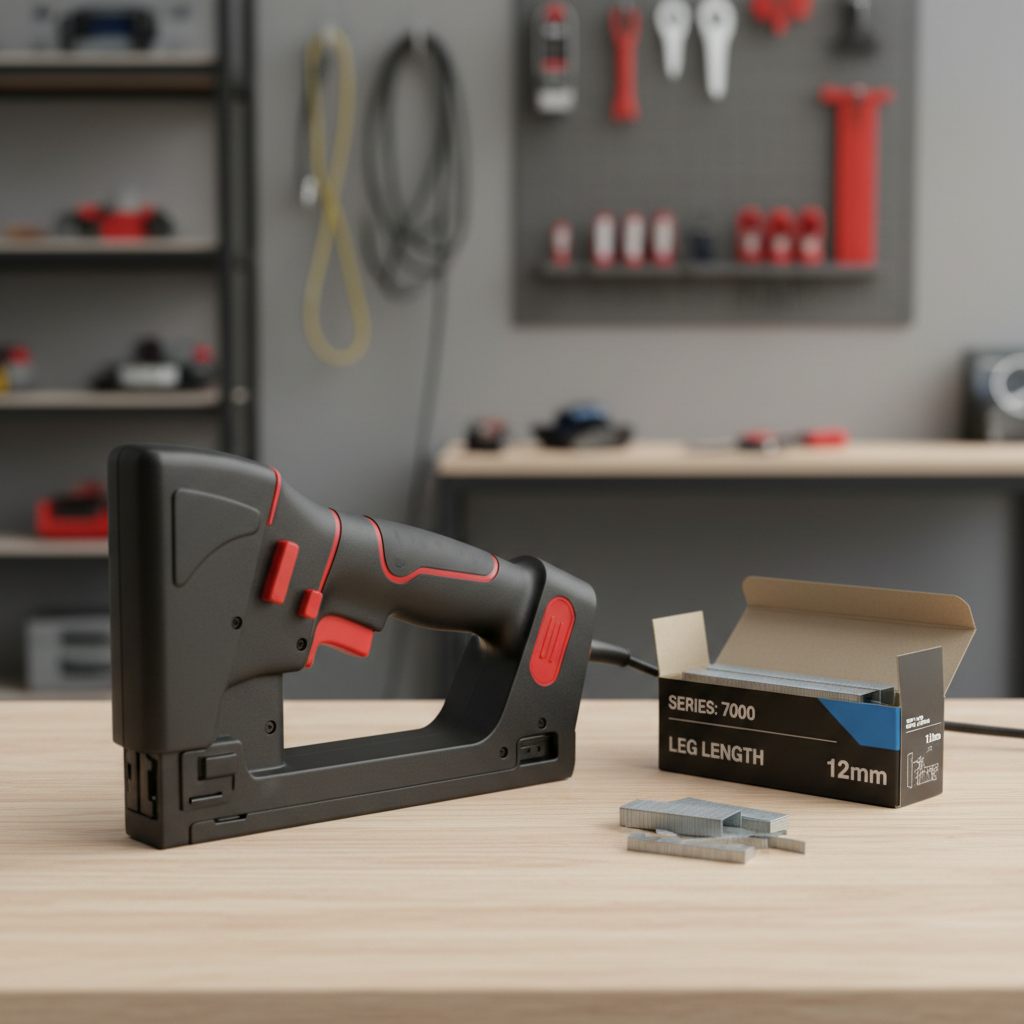
- On the tool body near the magazine, many models print supported staple series and leg lengths.
- In the manual, usually listed as “fastener type” or “staple specifications.”
- On the staple box, look for series number, crown width, and leg length.
According to OSHA, using tools and accessories as intended by the manufacturer matters for safe operation, especially when a tool can discharge fasteners unexpectedly.
Quick fit table (what to match)
| What you see on the box/manual | What it means | What happens if it’s wrong |
|---|---|---|
| Staple series (e.g., “T50” style) | The profile that fits the magazine channel | Frequent jams, follower won’t slide smoothly |
| Leg length (e.g., 1/4 in to 9/16 in) | How deep the staple can drive | Staples sit proud or overdrive and crush material |
| Crown width | Top width of the staple | Skewed feed, staples twist at the nose |
Safety prep before you load (quick, but worth it)
How to load staples into an electric staple gun safely starts with disabling the firing source, because a surprising number of accidental shots happen during loading or clearing jams.
- Unplug corded tools or remove the battery on cordless models.
- Point the nose away from your body and away from anyone nearby.
- If your model has a lock or power switch, set it to off, but still disconnect power.
If you’re working overhead or on a ladder, it’s usually smarter to load on the ground, then climb, a dropped staple strip is annoying, a dropped tool is worse.
Step-by-step: loading the two most common magazine styles
Below are the steps that fit most consumer and prosumer electric staple guns. If your latch feels stuck, stop and find the manual for your specific model, forcing it can bend the follower.
A) Rear-load follower rod (very common)
- Disconnect power, then hold the tool with the rear facing you.
- Pull the follower rod straight out until it stops, some models require pressing a small release tab first.
- Drop one staple strip into the magazine channel with the staple crown up and legs pointing down toward the nose.
- Check the strip sits flat, not riding on an edge.
- Slide the follower rod back in slowly until it engages the strip, then seat it fully until it latches.
That “slowly” matters, if you let the spring slam the staples forward, the strip can chip, tilt, or bind right away.
B) Bottom-load drop-in magazine
- Disconnect power, then locate the magazine release near the base.
- Press the release and open the magazine door or slide the tray out.
- Place staples into the tray in the indicated direction, often crown facing the tool body.
- Close the magazine until the latch clicks, then tug lightly to confirm it’s locked.
If the magazine won’t close, don’t force it, you may have overfilled it or flipped the strip.
Self-check: are you loaded correctly?
If you’re unsure whether you did it right, use this quick checklist before you reconnect power.
- Staple strip sits flat in the channel, no bowing or diagonal angle.
- Follower moves freely and applies forward pressure without sticking.
- Magazine fully latched, no gaps at the seam.
- Correct staple type confirmed from tool marking or manual.
After reconnecting power, test fire into scrap material that matches your project thickness, it’s the fastest way to catch a mismatch before you mark finished work.
Practical tips to prevent jams and weak drives
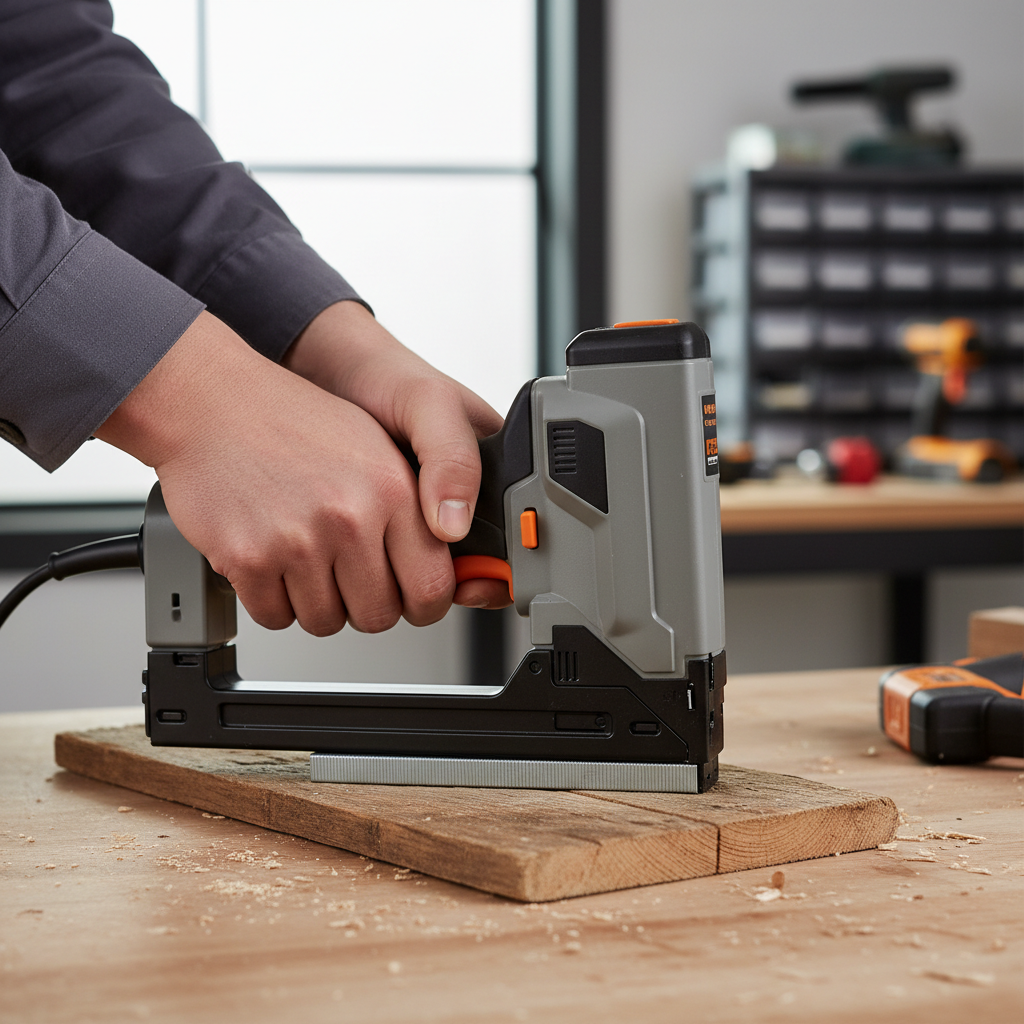
Once you learn how to load staples into an electric staple gun, the next step is keeping it feeding smoothly, especially on longer runs like upholstery, insulation, or house wrap.
- Don’t mix staple brands mid-strip, slight differences can change how the strip slides.
- Use the shortest leg length that holds, longer legs demand more drive energy and can deflect in hardwoods.
- Keep the nose pressed firmly against the work surface, many tools have a safety contact tip that needs full compression.
- Reload before you hit empty, the last few staples sometimes feed less consistently on some magazines.
- Clean the channel occasionally, dust and staple fragments add drag, especially in fabric and insulation work.
If staples start sitting proud, try a different material test, adjust power if your model has it, or step down leg length, in many cases it’s not “bad staples,” it’s the wrong fastener for that substrate.
Common mistakes (and what to do instead)
- Mistake: Loading with the battery installed. Do instead: remove the power source every time, even for “quick” reloads.
- Mistake: Forcing the follower or latch. Do instead: check for a bent staple, overfilled tray, or the wrong series.
- Mistake: Assuming all “heavy duty staples” fit. Do instead: match series and crown width from the tool spec.
- Mistake: Dry-firing repeatedly to “clear” a feed issue. Do instead: disconnect power and clear the jam manually.
According to CPSC, consumers should follow manufacturer instructions and basic safety practices with power tools to reduce injury risk, especially around pinch points and unexpected actuation.
When to stop DIY and get help
If jams repeat after you confirm staple compatibility and correct loading, you may be dealing with a worn driver blade, damaged feed spring, or a misaligned nose, and those fixes vary by model.
- The follower sticks even with an empty magazine.
- The tool makes a strong firing sound but never drives a staple.
- You see metal burrs, cracks, or a bent driver where staples exit.
- The tool smells hot or the battery gets unusually warm during light use, stop and consider a service check.
For newer tools under warranty, it’s often worth contacting the manufacturer rather than disassembling the nose, since internal springs and safeties can be tricky to re-seat without the right diagram.
Key takeaways and a quick next step
If you keep two habits, you avoid most problems: confirm the staple series before you buy, and load with power disconnected so you can seat the strip cleanly without rushing.
Next step: grab a scrap piece, fire 5–10 staples, and look for consistent depth and spacing, if anything looks off, fix it now before you move to your “real” material.