
how to use an oscillating tool for cutting comes down to three things: the right blade, a stable setup, and a slow, controlled technique that lets the tool do the work.
If you have ever scorched a blade, chewed up trim, or watched the tool bounce across a cut line, you already know why this matters, oscillating tools are forgiving, but they still punish rushed setup. The payoff for doing it right is real, cleaner cuts, fewer mistakes you need to patch, and less time swapping dull accessories.
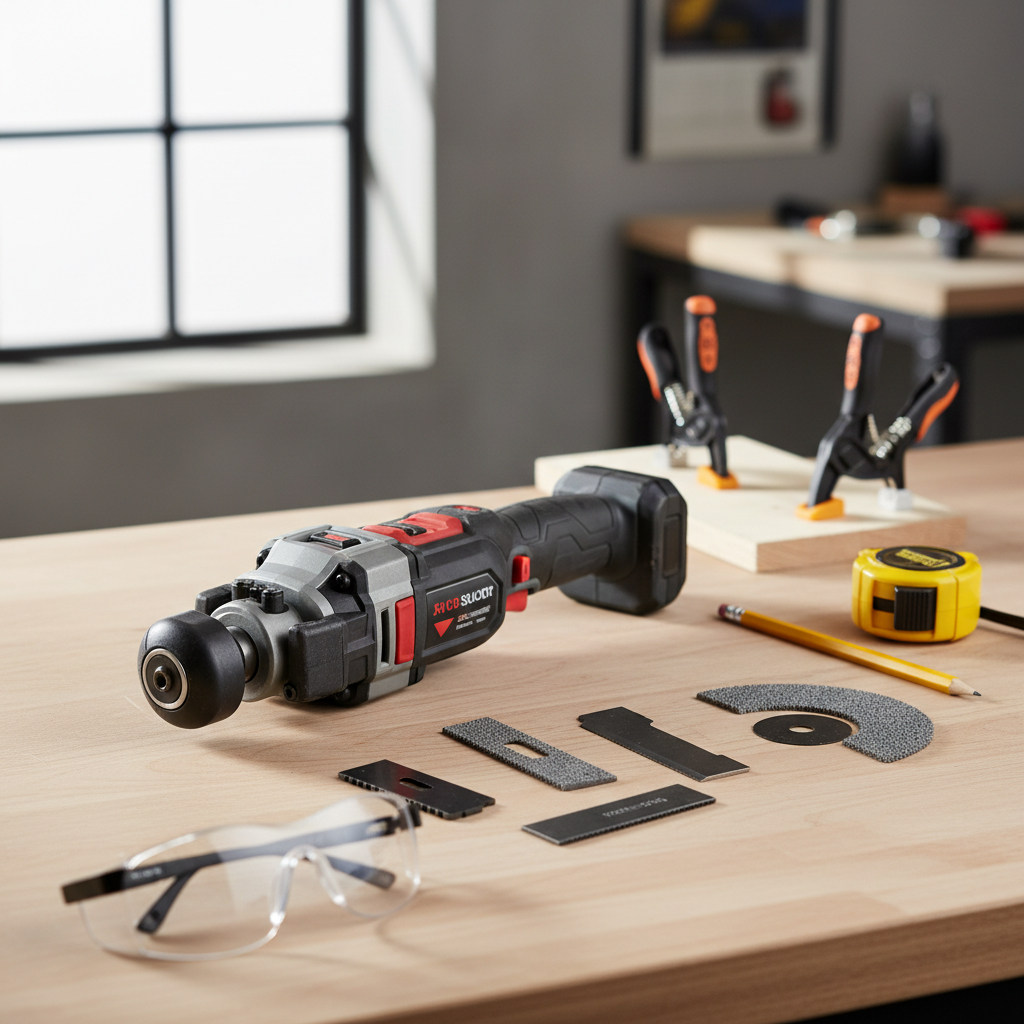
In this guide, you will learn which blades match which materials, how to prevent kick and chatter, and a few shop-floor tricks for plunge cuts, flush cuts, and detail trimming. I will also call out the mistakes people repeat because the tool “seems easy,” until it is not.
What an oscillating tool is good at (and what it is not)
An oscillating multi-tool moves the accessory back and forth in a tiny arc at high speed, so it excels where control matters more than raw cutting speed. Think tight corners, plunge cuts, or trimming something in place without tearing apart the project.
- Great for: plunge cuts in drywall or plywood, trimming door jambs, undercutting baseboard for flooring, flush cuts on nails or screws, removing grout, cutting PVC in tight spots.
- Usually not ideal for: long straight cuts on sheet goods, thick framing lumber, big demolition where a recip saw or circular saw is faster.
Knowing these limits saves frustration. If your cut line is four feet long, this tool can do it, but it will feel slow and the blade will heat up faster, so plan accordingly.
Blade and accessory selection: match the material, not the mood
Most cutting problems start with the wrong accessory, the tool gets blamed, but the blade choice is the real issue. When people search how to use an oscillating tool for cutting, they often mean “how do I stop burning up blades,” and the fix is usually here.
Common cutting accessories
- Wood and drywall blades (HCS): fast in soft materials, dull quickly if you hit nails.
- Bi-metal blades: better for mixed materials and the occasional nail, a solid default for remodeling.
- Carbide or diamond grit blades: grout, tile, cement board, fiberglass, and abrasive materials.
- Metal blades: for thin metal, nails, screws, brackets, and sheet metal, go slow to reduce heat.
Quick-match table (real-world defaults)
| Material | Accessory type | Technique note |
|---|---|---|
| Softwood trim | Wood (HCS) or bi-metal | Light pressure, keep the shoe flat to reduce chatter |
| Plywood / OSB | Bi-metal | Score line first if tear-out matters |
| Drywall | Drywall blade | Use shallow plunge, watch for wires/pipes |
| PVC / ABS | Bi-metal or wood blade | Medium speed, let chips clear to avoid melting |
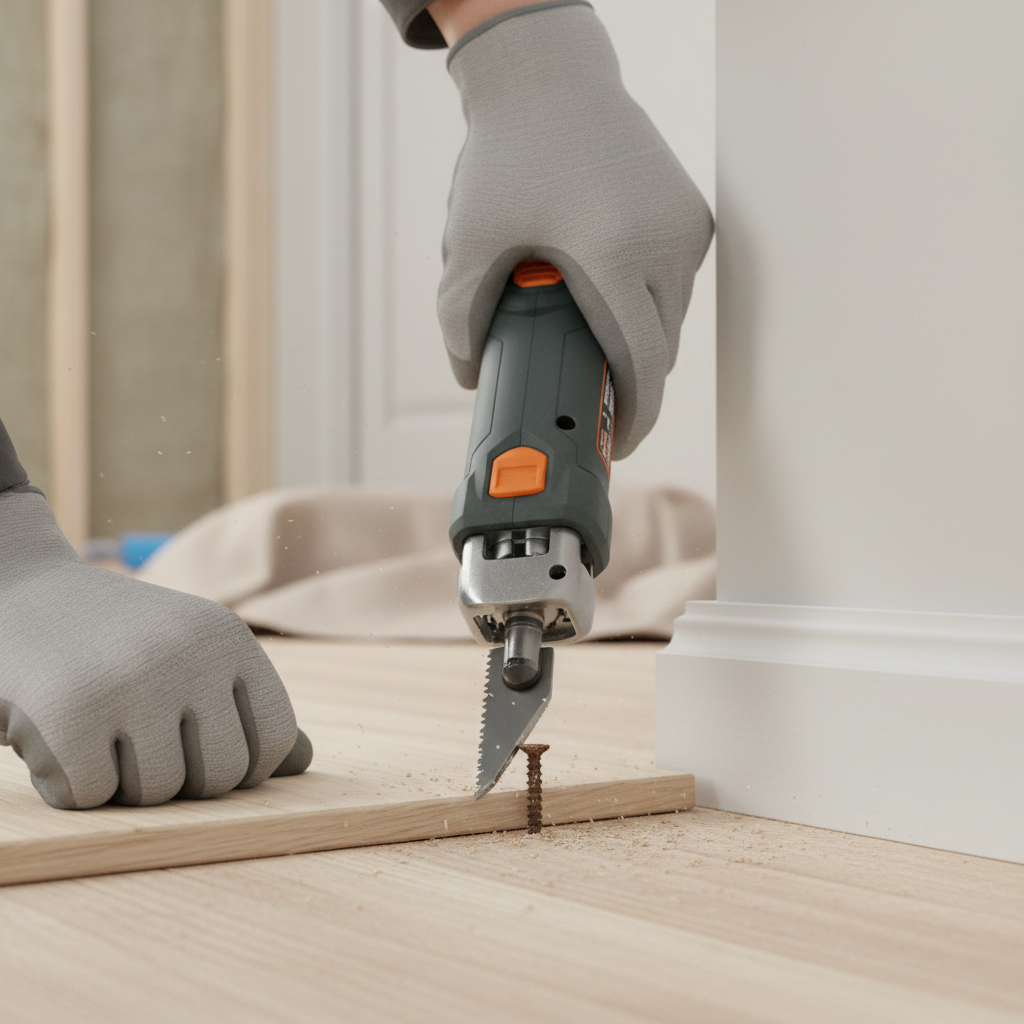
| Nails / screws | Metal or bi-metal | Lower speed, pause to cool if blade blues |
| Grout | Carbide or diamond grit | Do not force it, keep dust under control |
Key point: if you expect hidden fasteners, start with bi-metal. It costs more, but it usually costs less than wrecking two cheaper blades.
Setup that prevents the two big issues: jumping and overheating
Control is what makes this tool worth owning, but control is earned through setup. According to OSHA, employers must provide appropriate personal protective equipment when hazards are present, and for cutting tasks that typically means eye protection and hearing protection at a minimum. For home use, you still want that same mindset, treat the jobsite like it can bite.

Before you cut, run this short checklist. It takes one minute, and it prevents most “why did that happen” moments.
- Clamp or support the work, if the material vibrates, your cut will wander.
- Mark clearly, a thick pencil line hides accuracy, a sharp pencil or knife line reads better.
- Check behind the cut, especially drywall, door jambs, and floors, wires and pipes are where mistakes become expensive.
- Set blade angle so your hands stay comfortable and the tool body does not hit the surface.
- Use the right speed, high speed for wood, lower for metal and plastics that melt.
If your tool has a depth stop or guide attachment, it can help on repeat cuts, but it is not mandatory, stability and line control matter more.
How to cut: the technique that keeps cuts clean
Here is the part most people skip, oscillating tools cut best with a “patient” feed rate. You are not pushing a saw through material, you are letting the oscillation nibble away while you steer.
Basic cutting steps
- Start with the blade off the surface, bring it up to speed, then ease into the line.
- Keep the blade flat and supported, if you tip onto the teeth, it chatters and gouges.
- Use light pressure, if the motor tone drops hard, you are forcing it.
- Make micro-adjustments with wrists and elbows, not with a death grip.
- Pause for heat on metal cuts, a hot blade dulls fast and can discolor.
Practical tip: on finish trim, score your line gently for a second, then deepen the cut, this reduces splintering and gives the blade a “track” to follow.
Three common cuts, done the way pros typically do them
Most projects boil down to plunge, flush, or detail cuts. Once these click, how to use an oscillating tool for cutting starts to feel obvious.
Plunge cuts (drywall, plywood, decking repairs)
- Mark the cut rectangle, then drill a small starter hole only if you need a perfect corner.
- Set the blade on the line at a shallow angle, start the tool, then rotate into the material.
- Cut the perimeter in short passes, do not try to bury the blade to full depth immediately.
Flush cuts (door jamb undercut, trimming dowels, cutting nails)
- Lay the blade flat against the surface you want to protect.
- Use a scrap shim if you need a tiny gap, for example undercutting a jamb for flooring height.
- Keep speed moderate, especially near painted surfaces, high speed increases burn marks and heat.
Detail cuts (notches, corners, small adjustments)
- Make relief cuts first, then connect them, the blade tracks straighter.
- Use a narrower blade when accuracy matters more than speed.
- Finish with a sanding pad only after the cut is correct, sanding cannot fix a cut that wandered.
Troubleshooting: why your blade burns, skips, or dies early
When someone tells me the tool “doesn’t cut,” it almost always means one of these issues, and the fix is usually simple.
- Burning on wood: speed too high with too much pressure, or blade dull. Back off pressure and let teeth clear chips.
- Melting plastic: speed too high, chips pack in the kerf. Use lower speed and short pulses.
- Chatter and jumping: workpiece not supported, blade at a bad angle, or you started the cut with the blade already biting hard.
- Metal takes forever: wrong blade, too much speed, or cutting thick stock. Use a metal-rated blade, lower speed, take cooling pauses.
- Blade wears instantly in grout/tile: you used a tooth blade instead of grit. Switch to carbide or diamond grit.
Key takeaway: if you smell burning, hear heavy bogging, or see smoke, stop and reset. “Powering through” is how blades get ruined and surfaces get chewed up.
Safety and cleanup that people forget until it hurts
Oscillating tools feel small, so they get treated casually, but the injuries are usually the dumb ones, slipping off a cut line, hitting a hidden fastener, breathing dust you did not plan for.
- Eye protection is non-negotiable, small chips fly sideways.
- Hearing protection is smart for longer cuts, the pitch can be harsh in small rooms.
- Dust control matters on drywall and grout, a shop vac nozzle near the cut helps a lot.
- Blade changes should happen with battery removed or tool unplugged, and blades can stay hot after cutting metal.
According to the U.S. Consumer Product Safety Commission (CPSC), power tools can pose injury risks when used improperly, so if you are unsure about what sits behind a wall or under a floor, it may be safer to open up a smaller inspection area or ask a qualified professional.
Practical workflow: a repeatable way to get cleaner results
If you want a simple routine you can repeat across projects, use this. It keeps you from improvising mid-cut, which is when most mistakes happen.
- Plan the cut: mark, measure twice, confirm what is behind the material.
- Pick the accessory: match the material, choose bi-metal if surprises are likely.
- Stabilize: clamp, brace, or support so vibration stays low.
- Cut in passes: shallow first, then deepen, especially on plunge cuts.
- Inspect and finish: check fit, then sand or scrape lightly as needed.
Once you work this way, how to use an oscillating tool for cutting becomes less about muscle and more about control, which is exactly what the tool was built for.
Conclusion: clean cuts come from patience, not pressure
You do not need a fancy technique to get good results, you need the right blade, a stable workpiece, and a pace that prevents heat and chatter. Pick accessories like you mean it, clamp more than you think you should, and make cuts in short, confident passes.
If you are cutting into unknown areas such as walls, floors, or around wiring, slow down and verify what is behind the surface, and when that is not possible, consider bringing in a qualified contractor or electrician for a quick check.
Action step: for your next job, choose one improvement only, either upgrade the blade to match the material or improve your clamping setup, and you will usually feel the difference immediately.