
Silicone nozzle cap set is one of those small shop items that quietly saves you money, time, and a lot of frustration when a half-used tube turns into a rock overnight.
If you work with caulk, silicone sealant, construction adhesive, or grout-style sealants, you already know the pain point: the tube is “fine” inside, but the nozzle cures first, then every next use starts with cutting, poking, and guessing how much pressure won’t blow the back of the tube.
This guide breaks down why nozzle tips harden, how silicone caps actually help, which features matter when you buy a set, and a few habits that make an opened tube last longer in real-world jobs.
Why sealant nozzles clog so fast (and why it keeps happening)
Most sealants cure when exposed to air moisture or oxygen, so the nozzle is basically a tiny “curing chamber” once you put the tube down. Even if the tube is still usable, the tip can skin over in hours, and fully plug in a day or two, depending on product type and humidity.
In practice, clogs usually come from a mix of small things:
- Air exposure at the cut tip, especially if the cut is wide.
- Material left in the nozzle after you stop, that thin ring cures first.
- Temperature swings in a garage or truck, which can speed curing for some formulas.
- Storing the tube tip-up, leaving sealant sitting right at the opening.
According to OSHA, you should follow the manufacturer’s safety data sheets and labeling for storage and handling of chemical products, since cure behavior and hazards vary by formula. That matters here because the “right” storage trick for silicone can be different from acrylic latex or polyurethane.
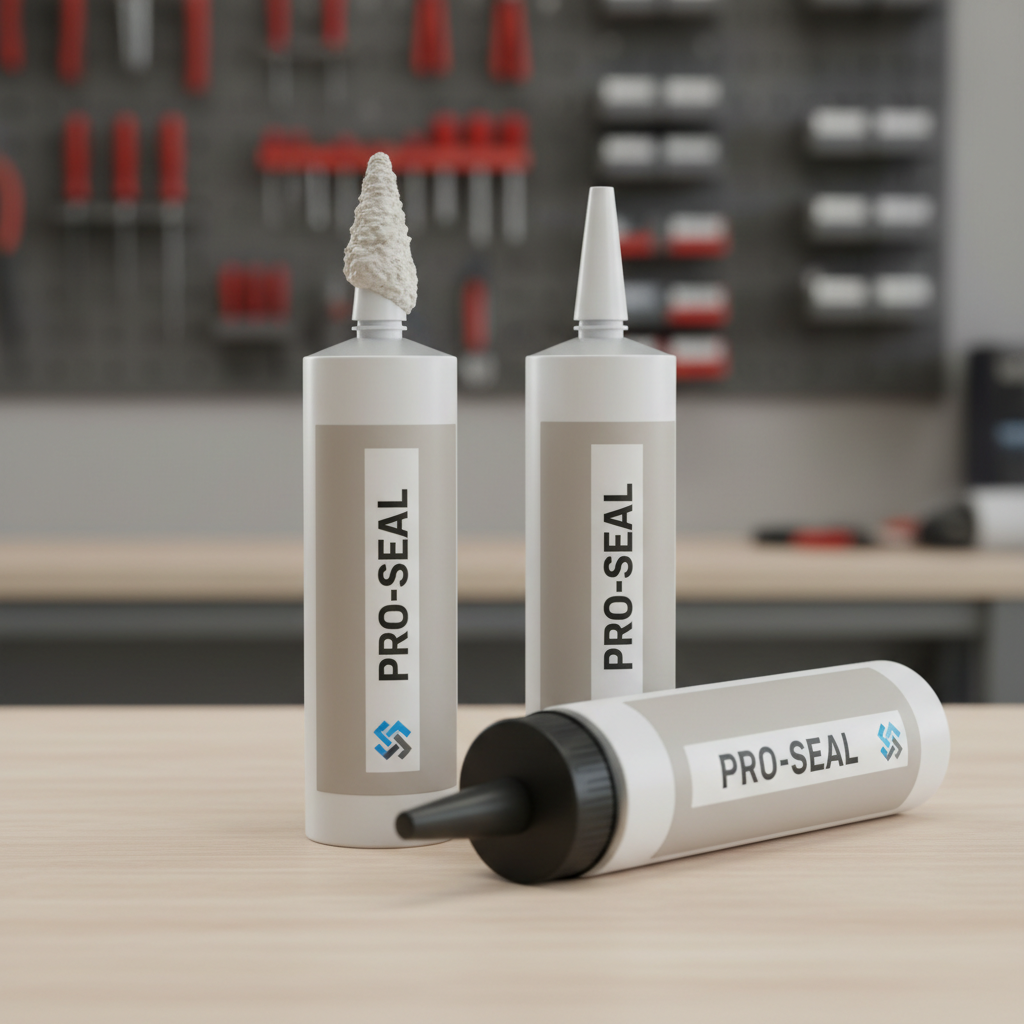
What a silicone nozzle cap set does (and what it doesn’t)
A good silicone nozzle cap set works like a flexible plug: it blocks airflow at the nozzle opening so the sealant at the tip doesn’t cure as quickly. Because silicone rubber stays flexible and resists sticking to many sealants, the cap is usually easy to remove and reuse.
What it does well:
- Slows skinning at the tip, so you’re not cutting the nozzle again next time.
- Reduces waste from throwing out tubes that are mostly usable.
- Keeps your bead size consistent because you’re not constantly re-cutting larger.
What it won’t fully fix:
- Sealant curing inside the tube if the cartridge is old or already compromised.
- Products that cure extremely fast in high humidity, some formulations still form a small plug behind the cap.
- Bad storage habits like leaving a tube in a hot vehicle for days.
Quick self-check: do you actually need caps, or a different workflow?
Caps are helpful for most DIYers and pros, but they shine in a few specific patterns. If you recognize two or more, a cap set usually pays for itself quickly.
- You use a tube across multiple small sessions (bath touch-ups, trim fixes, window sealing).
- You keep re-cutting tips and end up with too-large openings.
- You often switch between different bead sizes and want more control.
- Your workspace has humidity swings (basement, garage, outdoor jobs).
- You’ve tried nails/screws in the tip and still get messy curing.
If you typically finish an entire tube the same day, you may not see a big difference. In that case, spending more time on nozzle prep and cleanup might matter more than buying accessories.
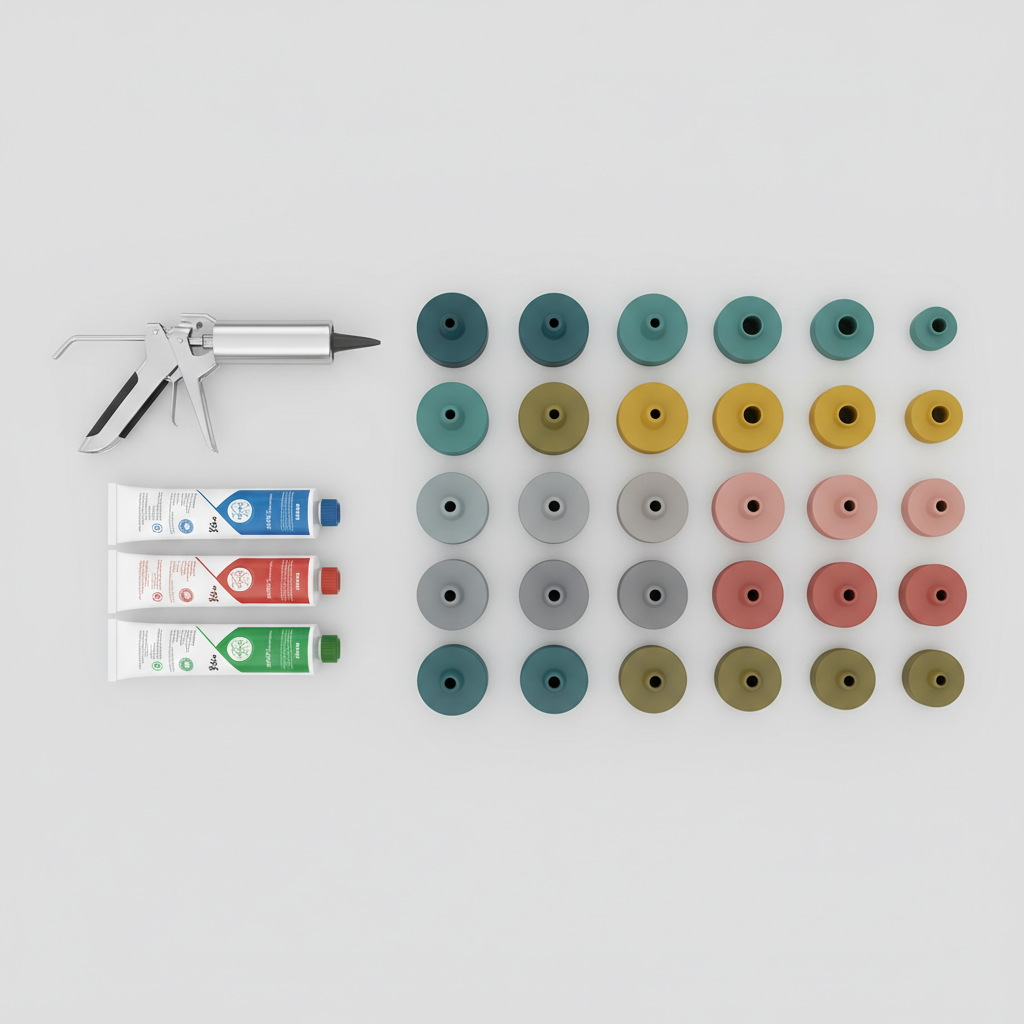
How to choose a silicone nozzle cap set (what matters in the real world)
Most sets look similar online, but a few details separate “works for a week” from “lives in your toolbox.” Here’s what to look at before you click Buy.
Fit range and cap depth
Different brands use different nozzle diameters, and once you cut the tip, the opening size changes again. A set with multiple inner diameters and decent cap depth grips better and seals more reliably.
Material feel: soft enough to seal, firm enough to hold
If the silicone is too floppy, it can pop off when the tube gets bumped. Too stiff, and it won’t conform to slightly irregular cuts. Most people prefer caps that feel “rubbery” but not gummy.
Grip texture
Small ridges or tabs make removal easier with gloves, especially when there’s a little cured residue on the outside. This is a small thing that becomes a big thing on a ladder.
Color coding and quantity
Color coding helps if you keep different products around. A larger count is useful if you open multiple tubes at once, think kitchen/bath projects or punch-list work.
Feature comparison table
| Feature | Why it matters | Who benefits most |
|---|---|---|
| Multiple sizes | Better seal across different nozzles and cut openings | DIY + pros with mixed tube brands |
| Deeper cap design | More surface contact, less chance of slipping off | People storing tubes in tool bags/trucks |
| Textured grip | Easier on/off with gloves, less fumbling | Contractors, maintenance teams |
| Bright colors | Find caps quickly, track product types | Busy garages, shared tool areas |
How to use nozzle caps so they actually work (step-by-step)
Putting a cap on is simple, but the small prep step is where people either win or keep fighting clogs.
- Wipe the outside of the nozzle with a paper towel so the cap seats cleanly.
- Relieve pressure on the caulk gun after use, many guns have a quick-release; this reduces seepage into the cap.
- Keep the tube tip-down if possible, so sealant rests away from the opening. For some products this helps, but if your sealant leaks, store it horizontally on cardboard.
- Push the cap on firmly until you feel it grip, don’t leave it half seated.
- Before next use, pull the cap straight off and check the first 1/4 inch; if there’s a small skin, remove it before loading the gun to avoid pressure spikes.
If you’re using a silicone nozzle cap set with multiple sizes, it’s worth matching the cap to the cut you made. A too-large cap can “seal” visually but still leak air at the rim.
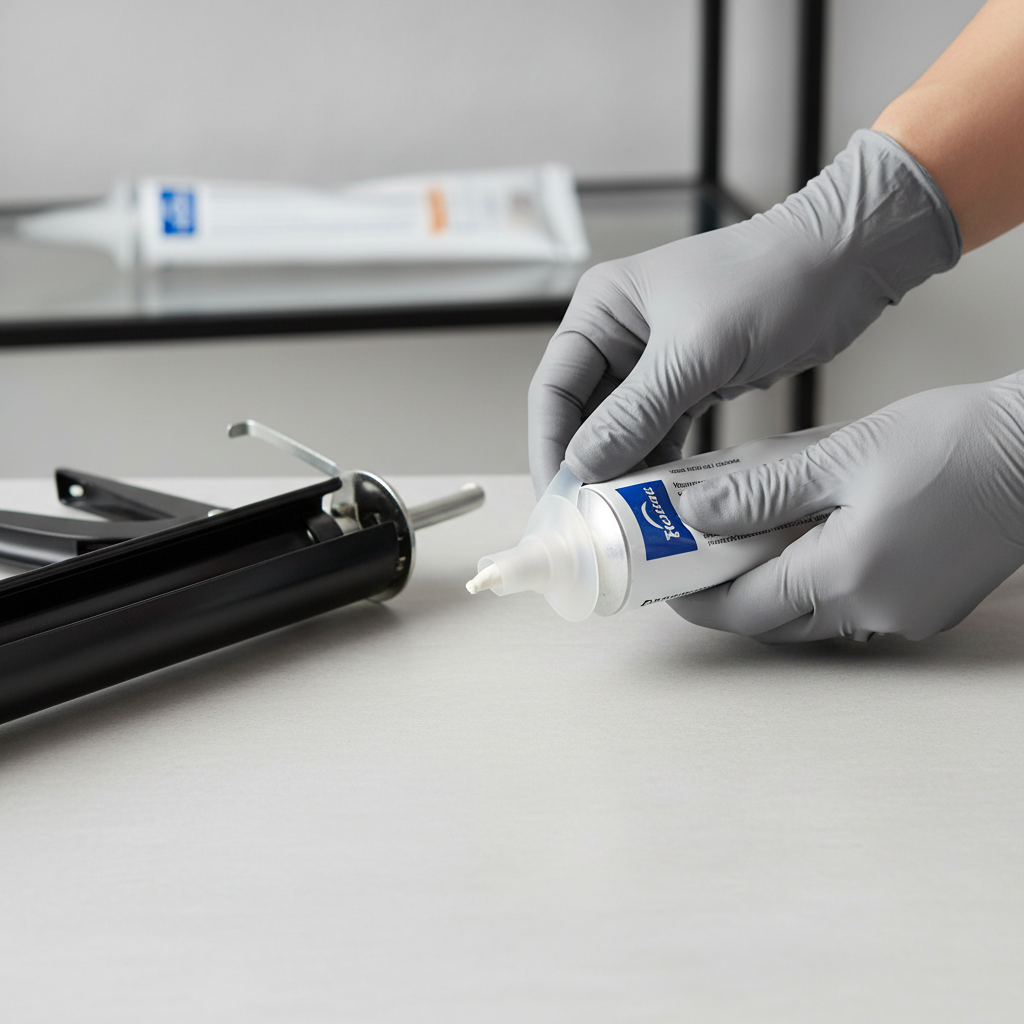
Common mistakes that make caps look “useless”
When someone says caps don’t work, it’s usually one of these issues. They’re fixable, but you have to notice them.
- Cap over a messy nozzle: cured strings on the rim prevent an airtight seal.
- Using one size for everything: if the cap feels loose, it probably is.
- Leaving pressure on the tube: sealant keeps oozing, fills the cap, then cures into a plug.
- Storing in heat: high temps can accelerate curing, even with a cap.
- Expecting weeks on every formula: some products just don’t like being opened, especially older tubes.
One more nuance: if you cut the nozzle very wide for a heavy bead, the surface area exposed inside the tip increases, so even a good cap may only buy you “days,” not “forever.” That’s still useful, but expectations matter.
When to consider professional advice or extra precautions
If you’re working on critical waterproofing, exterior envelope sealing, or any job tied to code compliance, the nozzle cap is the least important part of the equation. Product selection, surface prep, cure time, and joint design drive performance.
Also, if you’re using solvent-based or specialty sealants, check the manufacturer instructions for storage and reuse guidance. According to the U.S. Consumer Product Safety Commission (CPSC), consumers should follow label directions and safety warnings for chemical products; if you notice strong odors, skin irritation, or unusual curing behavior, it’s sensible to improve ventilation and consider asking a qualified professional what’s appropriate for your space.
Key takeaways + a practical wrap-up
Key points: A silicone nozzle cap set helps most when you reuse tubes across multiple sessions, it works best when the nozzle is clean and pressure is released, and fit matters more than people expect.
If you want a simple next step, pick a multi-size set, then test it on the two products you use most. The first time you avoid re-cutting a nozzle and your bead stays consistent, you’ll know whether it’s a keeper in your kit.
FAQ
How long will a silicone nozzle cap set keep caulk from drying out?
It varies by sealant type, humidity, and how clean the nozzle is when capped. Many people get several days to a couple weeks of easier reuse, but some fast-curing products may still form a small plug behind the tip.
Do silicone nozzle caps work for silicone sealant and acrylic latex caulk?
Usually, yes. They’re commonly used for silicone, acrylic latex, and even some construction adhesives, but cure behavior differs, so treat the first reuse as a test and adjust your storage habits if needed.
What size cap do I need for my sealant tube?
Match the cap to the nozzle’s outer diameter and your cut opening. If you’re unsure, a multi-size pack is safer than betting on one size, because different brands and nozzle shapes aren’t fully standardized.
Is a nail in the nozzle as good as using a cap?
A nail can reduce clogging, but it often leaves small air gaps and doesn’t seal the rim well. Caps tend to create a more consistent seal, plus they’re quicker to remove without tools.
Why does the cap fill with sealant and cure into a plug?
That’s often leftover pressure in the tube or a tube stored tip-up. Release the caulk gun pressure after use and wipe the nozzle exterior so the cap seats tightly without pushing material forward.
Can I reuse caps across different sealant types?
Most of the time, yes, but if you switch between products with very different chemistry, residue can be messy. Rinsing/wiping the cap and keeping certain caps dedicated to certain products can reduce surprises.
Do nozzle caps help prevent leaks during storage?
They can reduce small drips from the tip, but they’re not a guaranteed spill-proof solution if a tube is under pressure or stored in heat. For transport, keep tubes in a tray or bag with a disposable liner.
If you’re opening multiple tubes in one project and want a more low-hassle way to keep them usable between sessions, a silicone nozzle cap set paired with better storage habits can be a surprisingly clean fix, without changing the sealant you already like.