
Picture hanging tool kit choices can feel trivial until you’re staring at a crooked frame, a wall full of extra holes, and a hanging wire that refuses to cooperate. The good news is that most of that frustration comes from using the wrong fastener for the wall, or skipping a couple small setup steps.
If you’re decorating a new place, refreshing a gallery wall, or just trying to hang one heavy statement piece, a solid kit saves time and keeps your drywall looking clean. It also helps you avoid the classic cycle: hang, adjust, re-hang, patch, repaint.
This guide walks through what a practical kit should include, how to match hardware to your wall and frame, and a simple workflow for getting things level the first time. I’ll also call out mistakes that look harmless but usually cause the most damage.
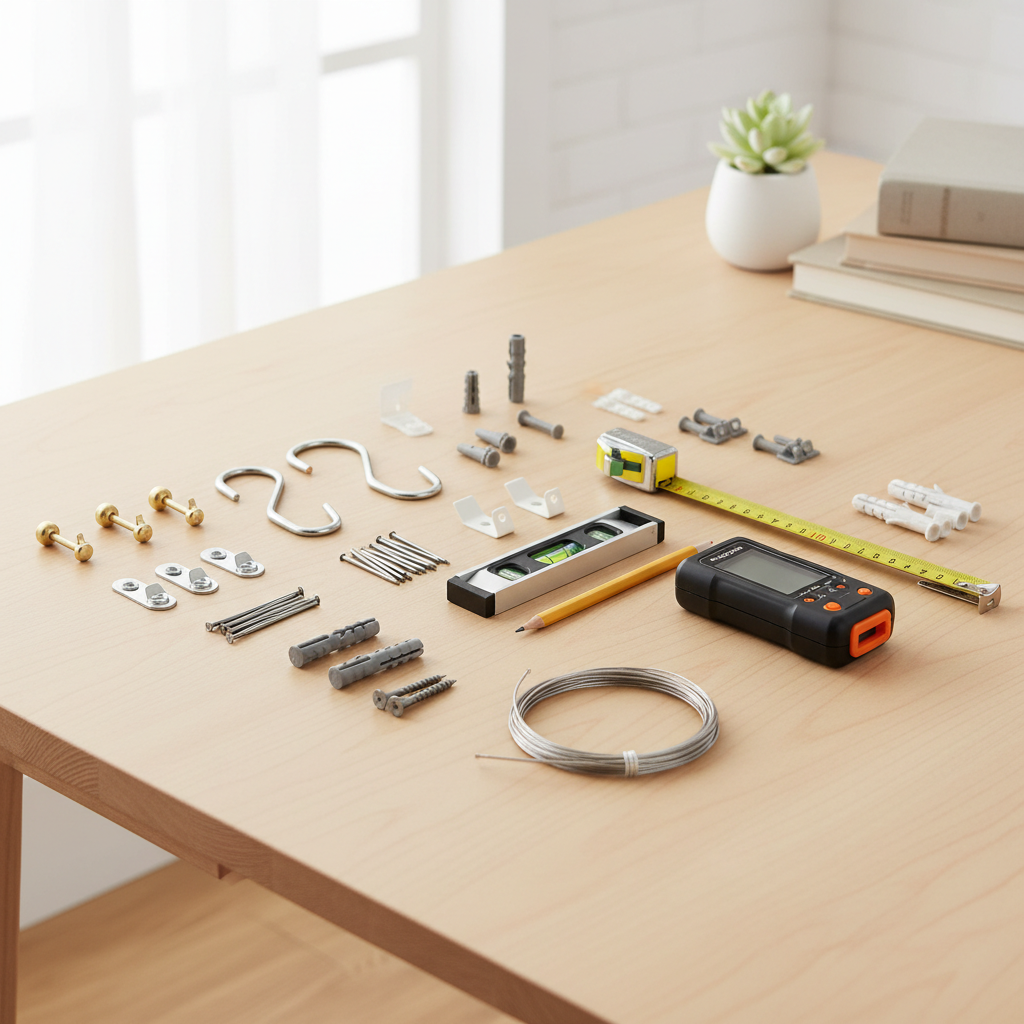
What a picture hanging tool kit should include (and what you can skip)
A good kit is less about having 80 random pieces and more about having the right mix for common US homes: drywall, occasional plaster, some masonry, and a lot of frames that vary wildly in weight.
Core tools that do real work
- Small level (or laser level if you do gallery walls often)
- Tape measure with easy-to-read markings
- Pencil (regular graphite is easier to erase than markers)
- Stud finder for heavier art and for anything over high-traffic areas
- Hammer plus a small screwdriver or bit driver
Hardware you actually use
- Picture hooks (different weight ratings)
- Drywall anchors for screws when no stud is available
- D-rings, wire, and screw eyes to improve weak frame backing
- Bumpers (rubber or felt) to stop frames from tilting and marking walls
What you can usually skip: overly specialized hooks you can’t identify, tiny nails with no weight rating, and single-purpose gadgets that don’t help you measure, locate studs, or level.
Choosing the right hanging method: match the wall, the weight, and the risk
Most failures come from one mismatch: the frame is heavy, but the hardware was chosen as if it were a lightweight print. If you take one rule from this article, make it this: hang based on the finished weight and the wall type, not the frame size.
Quick table: common scenarios and what tends to work
| Scenario | Typical wall | Safer approach | Why |
|---|---|---|---|
| Small frame (8x10 to 11x14) | Drywall | Rated picture hook or small screw | Fast install, minimal wall damage |
| Medium frame (16x20 to 18x24) | Drywall | Screw into stud, or drywall anchor + screw | More leverage, higher pull-out risk |
| Heavy art or mirror | Drywall | Stud mount or rated heavy-duty anchors | Reduces drop risk and wall blowout |
| Gallery wall with many light frames | Drywall | Picture hooks + template layout | Consistency matters more than brute strength |
| Masonry (brick/concrete) | Brick/concrete | Masonry screws/anchors + drill | Standard nails/hooks usually fail |
According to CPSC (U.S. Consumer Product Safety Commission), tip-over and falling-object hazards are real home safety concerns, especially around kids and pets. If you’re hanging anything heavy above a bed, crib, or couch, it’s worth being more conservative with hardware and placement.
Fast self-check: do you have the right setup before you make holes?
Before you grab the hammer, run this quick checklist. It prevents most “how did I end up with five holes?” moments.
- Do you know the approximate weight? If not, check packaging, shipping label, or weigh it on a bathroom scale while holding it.
- Do you know the wall type? Drywall sounds hollow when you tap, plaster feels denser, brick is obvious.
- Is the frame hardware solid? Loose sawtooth hangers and flimsy staples are common weak points.
- Is there a stud where you want to hang? If yes, your job gets easier for medium/heavy pieces.
- Do you need two hang points? Wider frames often hang straighter with two hooks.
- Do you have bumpers? Without them, frames tend to drift and scuff.
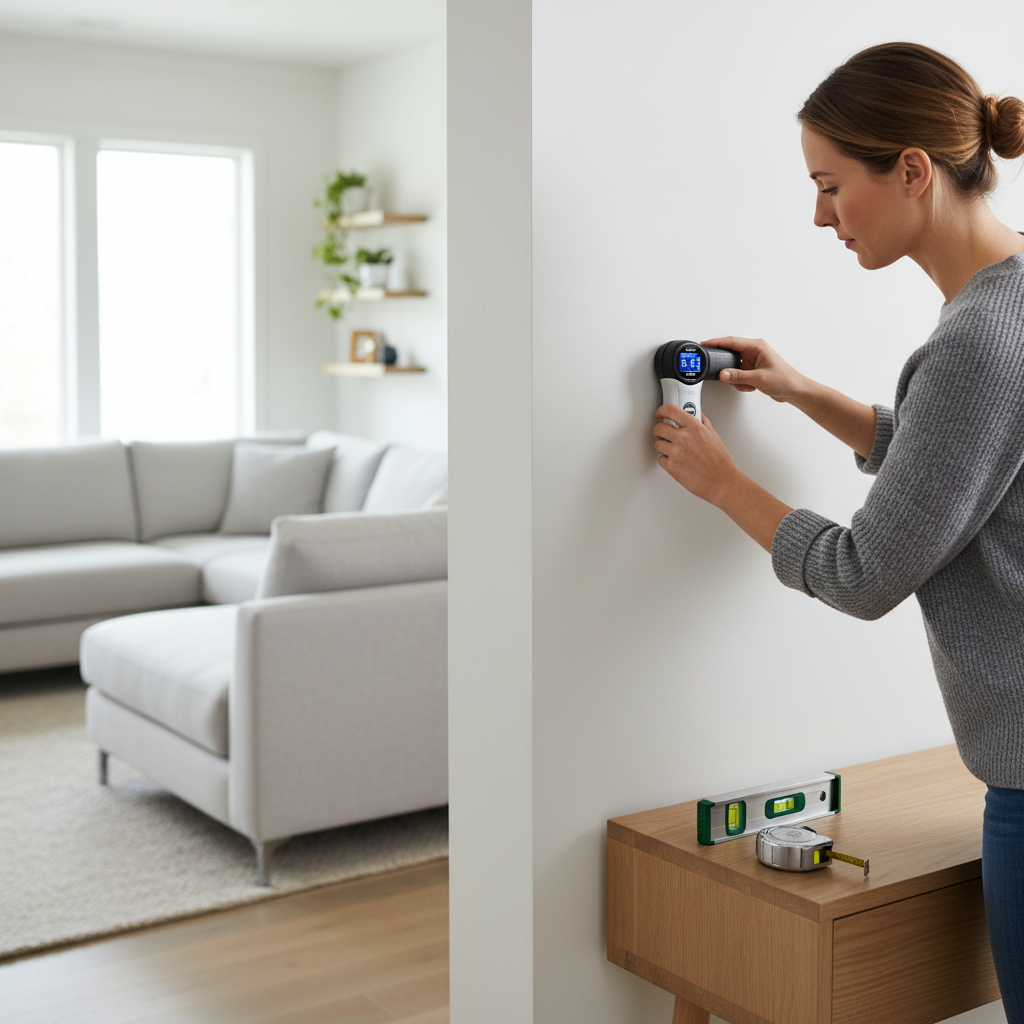
Step-by-step: hang a frame straight with minimal patching
This is the repeatable workflow that makes a picture hanging tool kit feel like it’s doing its job. You’re aiming for one measuring pass, one mark, one set of holes.
1) Mark the target height, not the nail height
Most people mark where they want the top of the frame, then guess the hook position. Instead, decide the frame’s final top or center height, then measure the distance from the hanging point to that edge.
- Measure from the frame’s top edge down to the D-ring/wire hang point.
- Transfer that measurement to the wall from your chosen top height.
2) Use two hooks when the frame wants to twist
If the frame is wide, or if the wire slides easily, two hang points help it stay put. Measure the distance between D-rings, then level your marks before installing.
3) Install the right fastener for the wall
- Stud available: screw into the stud for medium/heavy items.
- No stud, drywall: use a rated anchor that matches the screw size.
- Plaster: anchors can work, but drilling carefully reduces cracking risk.
If you’re unsure about load ratings or wall conditions, being conservative is smart. Overkill hardware is usually cheaper than repairing a broken frame and damaged wall.
4) Hang, level, then add bumpers
Hang the frame, check level, and only then press bumpers onto the bottom corners. They reduce tilt and keep the frame from creeping out of alignment over time.
Real-world tips for gallery walls and tricky layouts
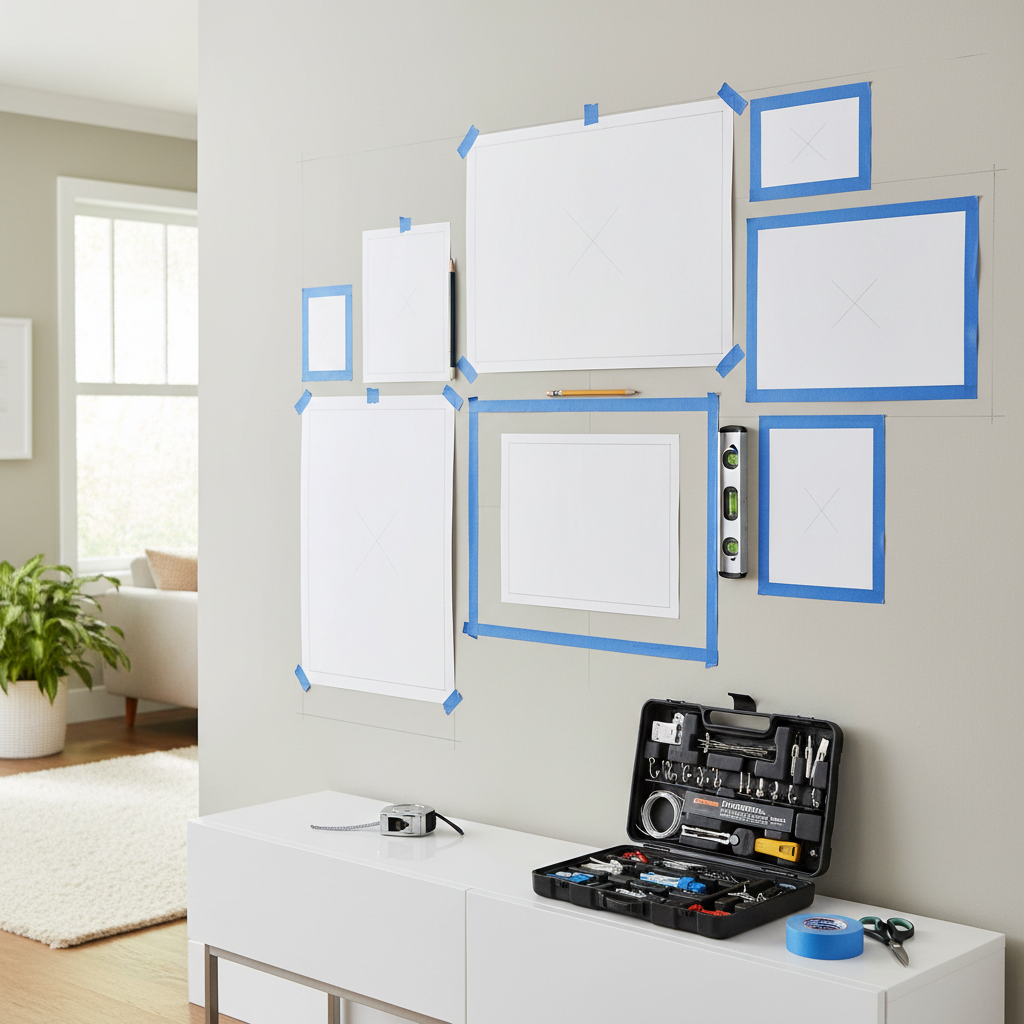
Gallery walls look effortless when they’re done, but spacing and alignment are where most people get stuck. The easiest shortcut is a paper template so you can adjust without committing to holes.
- Make quick templates from kraft paper or printer paper, tape them up, and step back.
- Keep spacing consistent (often 2–3 inches), but don’t obsess if your wall is small.
- Anchor one visual line: either align frame tops, frame centers, or the bottom edge.
- Mix weights intelligently: heavier pieces lower or closer to studs can be less stressful.
Here’s a small thing that helps: write the intended hook location on each paper template. It reduces measuring fatigue when you’re doing five to ten frames in one session.
Common mistakes that waste time (and how to avoid them)
A picture hanging tool kit can’t save you from every mistake, but it can reduce the predictable ones if you know what to watch for.
- Trusting a weak frame hanger: sawtooth hangers are fine for light prints, less great for anything with real weight.
- Skipping wall type checks: anchors that work in drywall may fail in crumbly plaster or behave differently in older walls.
- Measuring only the frame, not the hang point: the hook location is what matters for height.
- Hanging heavy items over high-risk areas: beds, cribs, and couches deserve extra caution.
- Over-tightening anchors: many drywall anchors lose holding power when stripped or crushed.
According to OSHA, ladder safety matters for household tasks too: stable footing, proper ladder use, and not overreaching reduce fall risk. If you need height, use a solid step stool or ladder and keep your tools within easy reach.
When it makes sense to get professional help
Most home decor hanging is DIY-friendly, but a few situations deserve a pause.
- Very heavy mirrors or oversized art where failure could injure someone
- Unknown wall construction in older homes, especially plaster over lath
- Brick, concrete, tile where drilling mistakes are hard to reverse
- Electrical uncertainty: if your stud finder indicates wiring and you’re not confident, consider a handyman or electrician
If you’re renting, it can also be worth checking your lease for wall damage rules, some buildings prefer specific hanging methods.
Key takeaways before you buy or restock
- Buy for your walls: drywall-focused kits are common, masonry needs different hardware.
- Weight ratings matter, and the frame’s own hanger can be the weak link.
- A stud finder + level does more for clean results than a pile of random hooks.
- Templates prevent extra holes, especially on gallery walls.
If you want fewer repairs and straighter frames, pick a kit with clear weight-rated hardware and the measuring tools you’ll reuse. Then use the same process every time, your walls will thank you.
FAQ
What should a picture hanging tool kit include for most apartments?
For most US apartments with drywall, look for weight-rated picture hooks, a small level, tape measure, pencil, and a basic set of drywall anchors and screws. Bumpers are a quiet hero for keeping frames from drifting.
Do I really need a stud finder for hanging pictures?
Not for every lightweight frame, but it helps a lot for medium and heavy decor. If you hang mirrors or large frames even occasionally, a stud finder reduces guesswork and usually means fewer wall repairs.
How do I know if I should use anchors or a picture hook?
Picture hooks are convenient for lighter items and quick installs. Anchors make more sense when you’re using a screw for heavier loads and you don’t have a stud in the right spot, just make sure the anchor is rated for your frame’s weight and your wall type.
Why does my frame keep leaning forward at the bottom?
This is often a combination of wire tension and the wall surface. Adding small rubber or felt bumpers to the bottom corners usually fixes it, and it can prevent scuffs too.
Can I hang a heavy mirror with a standard picture hanging kit?
Sometimes, but check what the kit is actually designed for. Heavy mirrors often need stud mounting or heavy-duty rated anchors, and the mirror’s own hang points should be secure. If the placement is above a bed or couch, being extra cautious is wise.
How high should I hang wall art in a living room?
Many decorators aim for the art’s center to land around eye level, but furniture height and ceiling height change the feel. If it looks “floating,” try lowering it a bit, and if it feels crowded above a sofa, leave some breathing room.
What’s the cleanest way to plan a gallery wall without extra holes?
Paper templates and painter’s tape are the simplest approach. You can adjust spacing and alignment visually, mark hook locations on the templates, then install hardware with far fewer trial holes.
If you’re building out a home decor setup and want a more predictable result, start by standardizing your hardware and tools, one reliable picture hanging tool kit that covers drywall hooks, anchors, a level, and stud-finding tends to make every future project faster.