
Multimeter digital voltage checks are usually the fastest way to confirm whether a circuit is alive, a battery is healthy, or a power supply is behaving, but many people get tripped up by one small detail: the meter settings and the way you connect the probes matter as much as the number you read.
If you are shopping for a digital multimeter or trying to use the one you already own, this guide focuses on what actually changes your results in real life, voltage ranges, input jacks, AC vs DC, and the difference between measuring voltage and measuring current without blowing a fuse.
Along the way, you will get a simple self-check list, a feature cheat sheet, and practical steps for common use cases like household outlets, car batteries, and electronics work, without assuming you are an electrician.
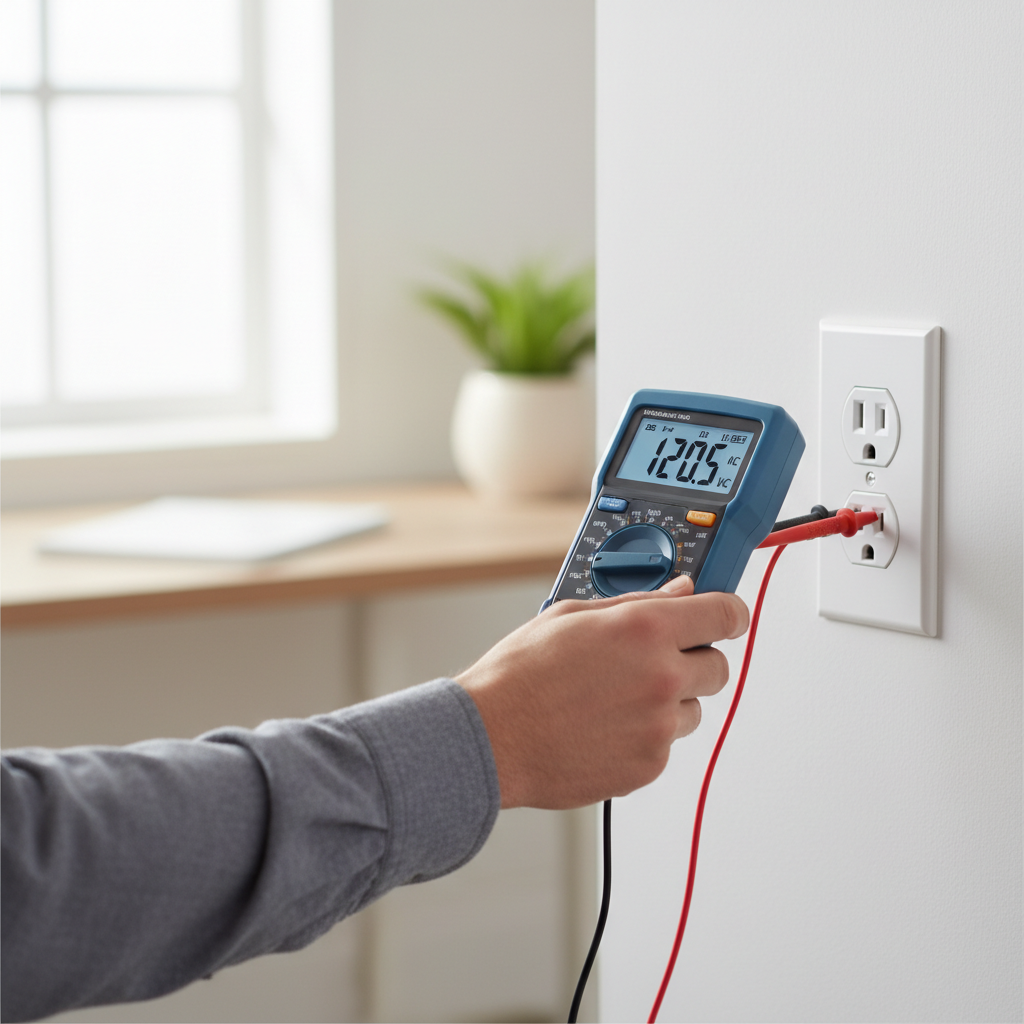
What a digital multimeter really measures (and why it matters)
A digital multimeter is basically three tools in one, it can read voltage, current, and resistance. Most models add extras such as continuity beeps, diode test, capacitance, frequency, and temperature, but the big day-to-day wins come from getting voltage and current right.
Voltage is measured across two points, the meter goes in parallel, so you touch two points and “look at the difference.” Current is measured through a path, the meter becomes part of the circuit in series. That one idea explains why current measurement is where people most often pop the meter fuse.
According to OSHA and NIST guidance around electrical safety and measurement practices, the safe approach is always to treat unknown circuits as energized, verify with proper test equipment, and use appropriately rated tools for the environment. In practice, that means you should pay attention to your meter’s safety category rating and your own limits, when in doubt, ask a qualified electrician.
Why readings look “wrong”: the most common causes
When multimeter digital voltage readings seem off, it is often not “a bad meter,” it is usually one of these scenarios.
- Wrong mode: AC vs DC is the classic mistake, car battery is DC, wall outlet is AC.
- Wrong jack: leaving the red lead in the amp jack and trying to measure voltage can short things in some setups.
- Range mismatch: on manual-ranging meters, picking too low a range may show overload, too high can reduce resolution.
- Blown fuse: current ranges typically have a fuse, if it is open, current reads zero even though the circuit is fine.
- Bad contact: oxidation, loose probe tips, or poking insulation instead of conductor gives noisy results.
- Phantom voltage: high-impedance meters can show “ghost” AC voltage on long runs, especially near energized conductors.
- Low battery in the meter: many meters behave unpredictably when their battery drops.
One more subtle one, especially in electronics, is a shared ground misunderstanding. If your reference point is not the circuit ground you think it is, your numbers can look random.
Quick self-check: are you about to measure the right thing?
Before you touch probes to anything, run through this short checklist, it saves time and reduces “why is it doing that” frustration.
- Do I need AC or DC? Wall power and most generators are AC, batteries and most electronics rails are DC.
- Is the red probe in the VΩ jack? Put it there unless you are intentionally measuring amps.
- Do I know the expected ballpark? 1.5 V AA, ~12.6 V full car battery, ~120 V US outlets, if you do not know, start higher.
- Am I measuring voltage or current? Voltage is “touch and read,” current requires opening the circuit.
- Is my meter CAT rating appropriate? For household mains work, look for CAT III (often) or better, depending on where you test.
- Are my leads intact? Cracked insulation and loose tips are more common than people admit.
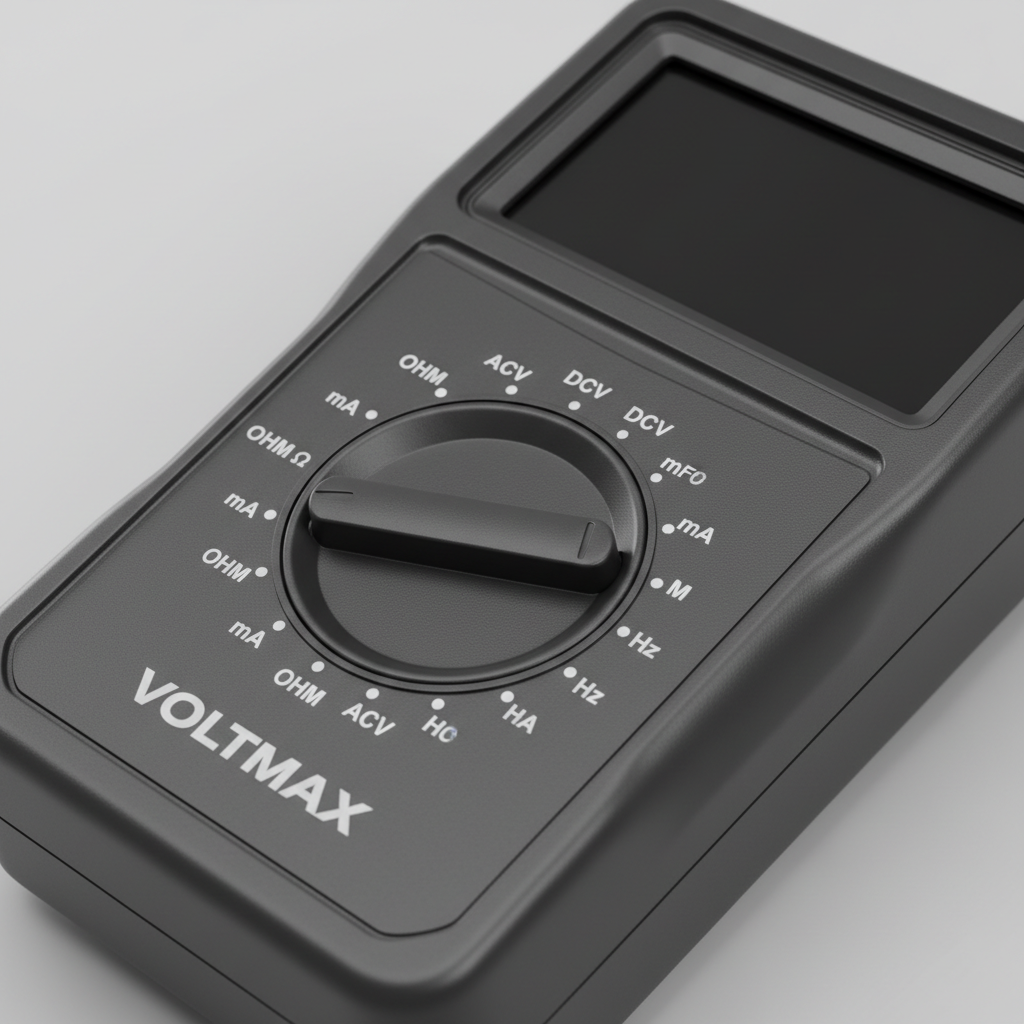
Choosing a multimeter for voltage and current: features that actually matter
If your main jobs are checking household voltage, diagnosing car electrical issues, or basic electronics, you do not need every feature on the box. You do need the right safety and usability features.
Feature cheat sheet (what to prioritize)
| Feature | Why it matters | Who benefits most |
|---|---|---|
| True RMS (for AC) | More reliable AC readings on non-sinusoidal waveforms from drives, inverters, many modern electronics | HVAC, inverters, generators, mixed loads |
| Auto-ranging | Less dial fuss, fewer range mistakes | Beginners, general home use |
| CAT rating (CAT II/III/IV) | Indicates transient protection and intended environment | Anyone measuring mains or panels |
| Fused current inputs | Protects the meter when measuring amps incorrectly | Automotive, hobby electronics |
| mA and µA ranges | Enables low-current measurement without poor resolution | Sensors, control circuits, IoT devices |
| Clamp accessory or clamp meter | Measures current without breaking the circuit (AC, sometimes DC on pricier models) | DIYers who fear amp jacks, electricians |
| Backlight + hold | Readable in panels, engine bays, tight spaces | Home + automotive |
One honest editorial take, if you plan to measure current often on anything beyond small electronics, a clamp meter (or a multimeter plus clamp) can be the more forgiving tool, because it avoids the “series” step that causes most blown fuses.
How to measure voltage safely and get stable readings
Multimeter digital voltage measurement is usually low drama when you keep the red lead in the voltage jack and treat the probes like they can slip, because they can.
DC voltage (batteries, electronics, car)
- Set the meter to V⎓ (DC volts).
- Black probe to the reference point, often battery negative or circuit ground.
- Red probe to the point you want to test.
- If polarity is reversed, many meters show a minus sign, not a problem, just swap leads if you prefer.
For a car battery check, measure at the terminals, then measure again while cranking. A big sag can suggest a weak battery or starting load issues, but diagnosing that fully can require more context than a meter alone provides.
AC voltage (outlets, appliances)
- Set the meter to V~ (AC volts), use a range above 120 V if manual.
- Probe hot to neutral for a standard outlet reading, but do not assume wiring is correct without further testing.
- Keep fingers behind the probe guards, stable grip, minimal exposed metal.
According to NFPA guidance on electrical safety practices, work on energized systems carries risk, and proper PPE and training may be required in many environments. If you are unsure about panel work, stop at outlet-level checks and bring in a licensed electrician.
How to measure current without blowing your meter fuse
Current measurement is where the tool asks you to slow down. If you put the meter across a voltage source while it is set up for amps, you can create a short path, which may blow the meter fuse and in some cases cause sparks or damage. That is why this section is a bit more “procedural.”
Safer approach for many people: use a clamp meter when possible
- For AC current, a clamp meter is often easiest, clamp around a single conductor, not the whole cable.
- For DC current, you need a DC-capable clamp meter, which is not universal, check specs.
If you must use the multimeter in series
- Move the red lead to the correct current jack, often mA or 10A depending on expected draw.
- Start with the highest current range if you are unsure, then step down for better resolution.
- Power off the circuit, open the circuit at a convenient point, insert the meter so current flows through it.
- Power on, read, then power off before you disconnect the meter.
If the meter reads zero, do not assume the circuit has no current, check whether the fuse is intact and whether you opened the circuit in the right spot.
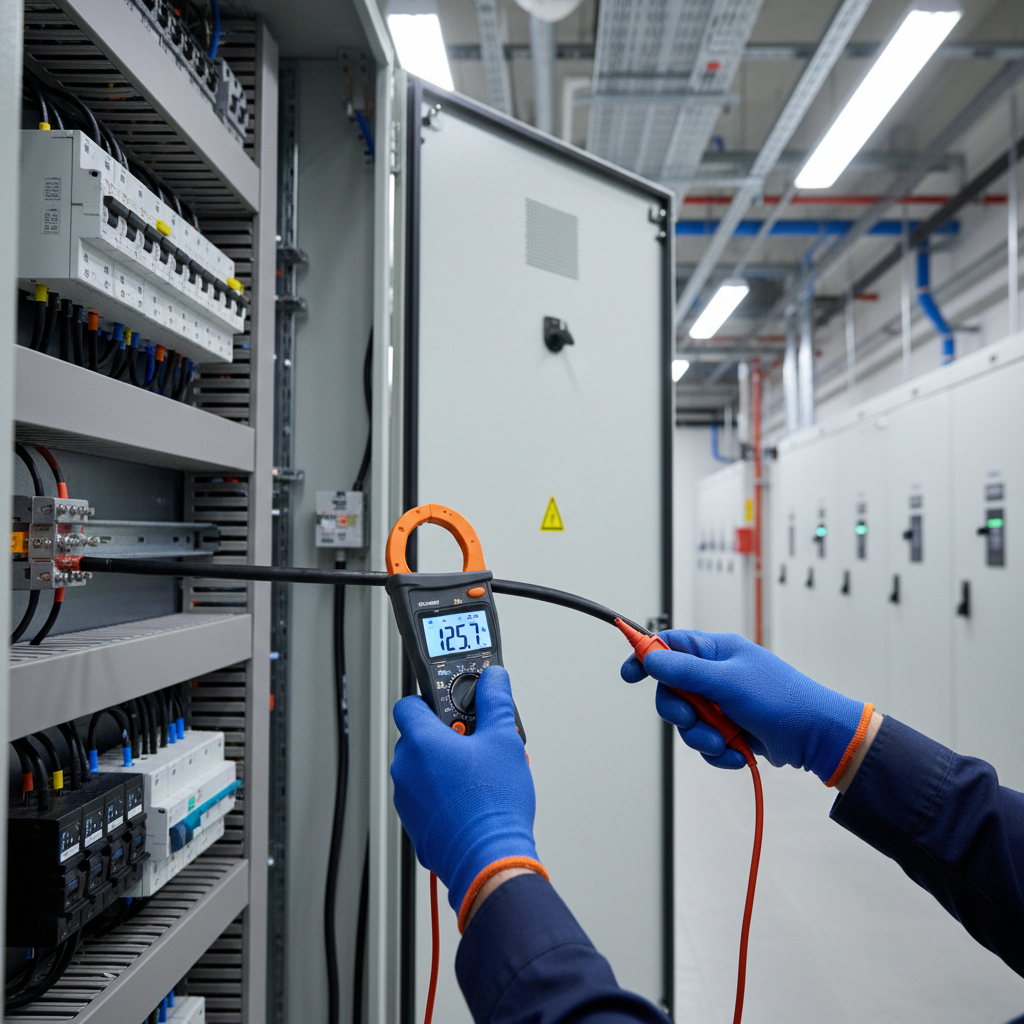
Practical troubleshooting workflows (home, automotive, electronics)
If you want quick wins, use small repeatable workflows, they reduce guesswork and keep your multimeter digital voltage checks consistent.
Home outlet “is it live” check
- Confirm meter in AC volts and red lead in VΩ jack.
- Test on a known-good outlet first, this verifies the meter works.
- Measure hot-neutral, then hot-ground, mismatches may point to wiring issues, but confirm with proper testers.
Car no-start basics
- Battery at rest: check DC voltage at terminals.
- Key to start: watch voltage drop, an extreme drop can indicate battery weakness or high resistance, but context matters.
- Charging check: with engine running, measure again, alternator output often shows a higher steady voltage than at rest.
Electronics board check
- Find a clear ground point, confirm continuity to ground if needed.
- Measure expected rails, 5 V, 3.3 V, 12 V, depending on design.
- If values drift, look for loose connectors, overloaded regulators, or intermittent shorts, and avoid probing fine-pitch IC pins unless you have steady tips.
Common mistakes and safety notes you should not ignore
- Measuring resistance on a live circuit: many meters can be damaged, power off before Ω checks.
- Using the wrong CAT rating: a cheap meter can be fine for low-voltage electronics, not for panels.
- Assuming “OL” means broken: it may just mean out of range or open circuit, interpret in context.
- Forgetting probe placement after amps: this is how people accidentally short a voltage source, move the lead back.
- Trusting one reading: verify on a known source when results look strange.
Anything involving mains voltage, service panels, or unfamiliar wiring can carry serious shock or arc risk. If your task goes beyond simple checks and you feel unsure, that is the right moment to pause and consult a qualified professional.
Key takeaways and next steps
If you remember only a few points, keep these. Voltage measurement is parallel and usually straightforward, current measurement is series and easier to mess up, and your meter’s safety category and lead placement are not “nice to have,” they drive both accuracy and safety.
- Use the VΩ jack for voltage, and confirm AC vs DC before you probe.
- Start high, then refine on ranges, especially for current.
- Consider a clamp solution if current checks are frequent.
If your goal is better results this week, do one simple thing, create a habit of testing your meter on a known-good source before you trust any unusual reading.
FAQ
Why does my multimeter show voltage when a wire is disconnected?
That can be phantom voltage, especially with high-impedance digital meters near energized cables. A low-impedance mode or a different tester may help confirm whether the voltage can deliver real current.
What is the difference between AC and DC voltage on a digital multimeter?
AC voltage mode is for alternating current sources like wall outlets, DC voltage mode is for batteries and most electronics rails. If you use the wrong mode, readings can look unstable or much lower than expected.
How do I know if I blew the fuse inside my meter?
A common sign is that voltage reads fine but current always reads zero. Many meters have separate fuses for mA and 10A inputs, check the manual and replace only with the specified type.
Is a True RMS meter necessary for household work?
For basic outlet checks on standard sine-wave power, many meters work acceptably. True RMS becomes more important around variable-speed drives, inverters, and distorted waveforms where average-responding meters may misread.
Can I measure current by putting probes across a battery?
No, that effectively creates a short when set to amps, which can blow the meter fuse and may cause sparks. To measure current, you typically need to place the meter in series with the load or use a clamp method.
What CAT rating should I look for in the US?
It depends on where you test, outlets and branch circuits often call for CAT III-rated equipment, while electronics on a bench may only require CAT II. If you are unsure, ask an electrician or follow your workplace safety requirements.
Why is my multimeter digital voltage reading jumping around?
Loose probe contact, a noisy power supply, a weak meter battery, or the wrong range can cause jumpy numbers. Try cleaning contact points, holding probes steady, and verifying on a known source.
If you are trying to pick a meter for both voltage and current work, or you keep running into confusing readings, it may help to describe what you test most often, car, home outlets, or electronics, because the “right” multimeter setup changes with the use case and safety requirements.