
Manual tile scribe cutter tools are simple, fast, and clean when they’re matched to the right tile and set up correctly, but they can feel frustrating if your score line wanders or the snap breaks off-center.
If you’re cutting a handful of ceramic tiles for a backsplash, a manual cutter can save time and dust compared with a wet saw, and it’s usually easier to store than power tools. The trick is knowing what these tools do well, and where they start to struggle.
This guide breaks down how a tile scribe and manual cutter actually works, how to choose one for common U.S. tile sizes, and what to do when you get chips, weak snaps, or inconsistent lines.
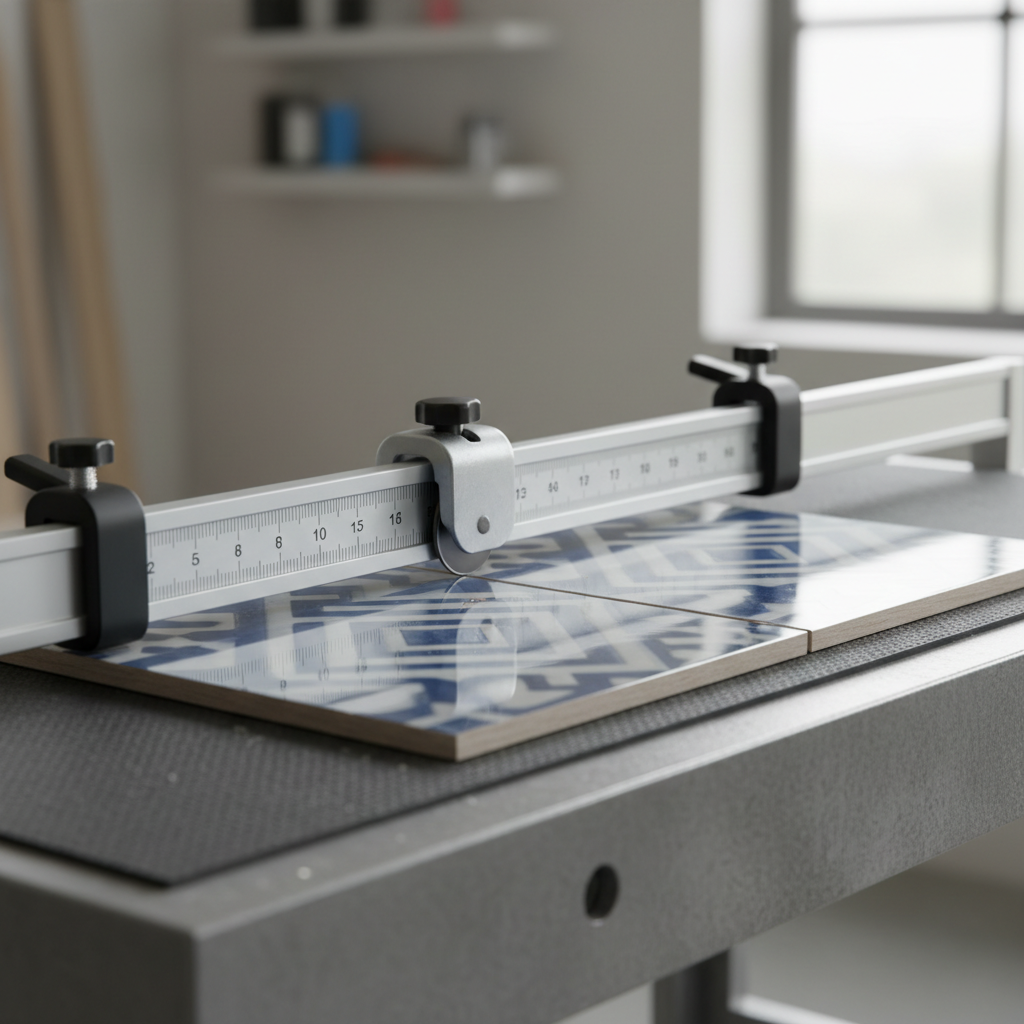
What a Tile Scribe & Manual Cutter Tool Is (and What It Isn’t)
A manual cutter is basically three parts working together: a carbide/tungsten scoring wheel, a straight guide to keep the wheel on track, and a breaking foot that snaps the tile along the score.
A tile scribe is the “hand tool” version, usually a small handle with a carbide tip or wheel. It can work, but it depends much more on your hand control and the tile surface, so it’s common to see more waste if you’re new.
Where manual cutters shine: straight cuts on ceramic and many porcelain tiles, especially in repetitive runs. Where they don’t: L-cuts, U-notches, circles, and very textured surfaces.
- Good fit: standard wall tile, many floor tiles, backsplash projects
- Maybe: dense porcelain, large-format tiles if you buy a stronger cutter
- Not ideal: natural stone, thick pavers, glass tile without a dedicated setup
Why Cuts Go Wrong: Real-World Causes You Can Actually Fix
Most “this cutter is junk” moments come from one of a few patterns. The tool can matter, but technique and tile type matter just as much.
- Under-scoring: too light, multiple passes, or a dull wheel leads to weak snaps that drift.
- Over-scoring: pressing too hard can chip glaze, especially near edges.
- Fence not square: a tiny misalignment becomes a visibly crooked grout line.
- Tile flex: large format tiles can bow slightly, so the snap breaks unpredictably.
- Wrong tool for porcelain: dense porcelain often needs a sturdier manual cutter and a sharp wheel.
According to OSHA, controlling dust exposure is a major safety consideration when cutting tile and masonry materials, which is one reason many DIYers try manual cutters first, they’re typically lower-dust than dry power cutting.
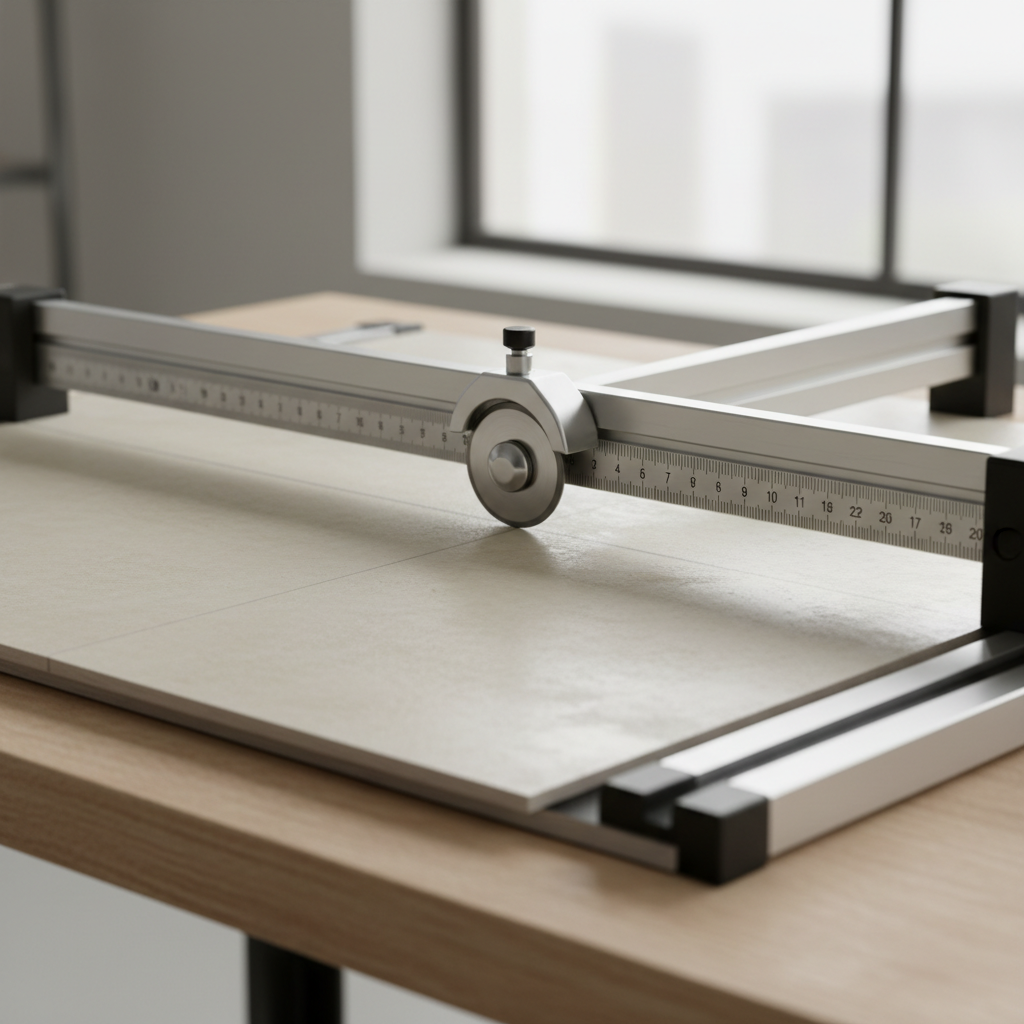
Quick Self-Check: Are You Using the Right Manual Cutter for Your Tile?
Before you change your technique, make sure the setup isn’t fighting you.
Tile checklist
- Material: ceramic is usually easier than dense porcelain.
- Thickness: thicker tiles typically need a stronger breaker mechanism.
- Surface: heavy texture can deflect the wheel and “skip” the score.
- Format: long planks and large format tiles benefit from wider bases and better support.
Tool checklist
- Cut length rating: your longest cut should be comfortably within the cutter’s max length.
- Rigid rails/base: flex causes wandering and uneven snaps.
- Wheel condition: if it squeaks, skips, or leaves a faint line, it may be worn.
- Fence accuracy: can you lock it square and keep it from drifting?
If you check most boxes but still struggle, it’s often technique or a tile batch that’s simply unforgiving. That happens more than people admit.
How to Use a Manual Tile Scribe Cutter for Clean, Straight Cuts
The goal is a single, continuous score that’s deep enough to guide the snap, but not so aggressive that it fractures the glaze.
Step-by-step workflow
- Mark clearly: use a sharp pencil or fine marker, extend the line to the tile edges.
- Set the fence: lock the guide, then test with a scrap tile to confirm squareness.
- One firm pass: start at the far edge, pull or push smoothly, keep steady pressure.
- Snap centered: position the breaker foot on the score line, apply even pressure.
- Dress the edge: use a rubbing stone if the cut edge will be exposed.
With a manual tile scribe cutter, “one pass” sounds easy but it’s the part most people rush. If you feel the wheel hopping, slow down and keep the tile supported, especially for long cuts.
Choosing the Right Tool: Scribe vs Manual Cutter vs Wet Saw (Use-Case Table)
If you’re deciding what to buy or rent, it helps to be honest about your tile and the cut types you need. Straight cuts are one world, outlets and corners are another.
| Tool | Best for | Limits | Typical DIY use |
|---|---|---|---|
| Tile scribe | Small jobs, thin ceramic, touch-ups | Hard to keep perfectly straight, more break risk | Emergency cuts, quick trims |
| Manual snap cutter | Straight repeat cuts, many ceramics, some porcelain | No curves, struggles with thick/very dense/very textured tile | Backsplashes, floors with straight layouts |
| Wet saw | Porcelain, stone, miters, complex cuts | Mess, setup time, water management | Large remodels, premium materials |
Many projects end up using two tools: a manual cutter for most straight cuts, then a wet saw or grinder for the few tricky pieces. That hybrid approach is often more efficient than forcing one tool to do everything.
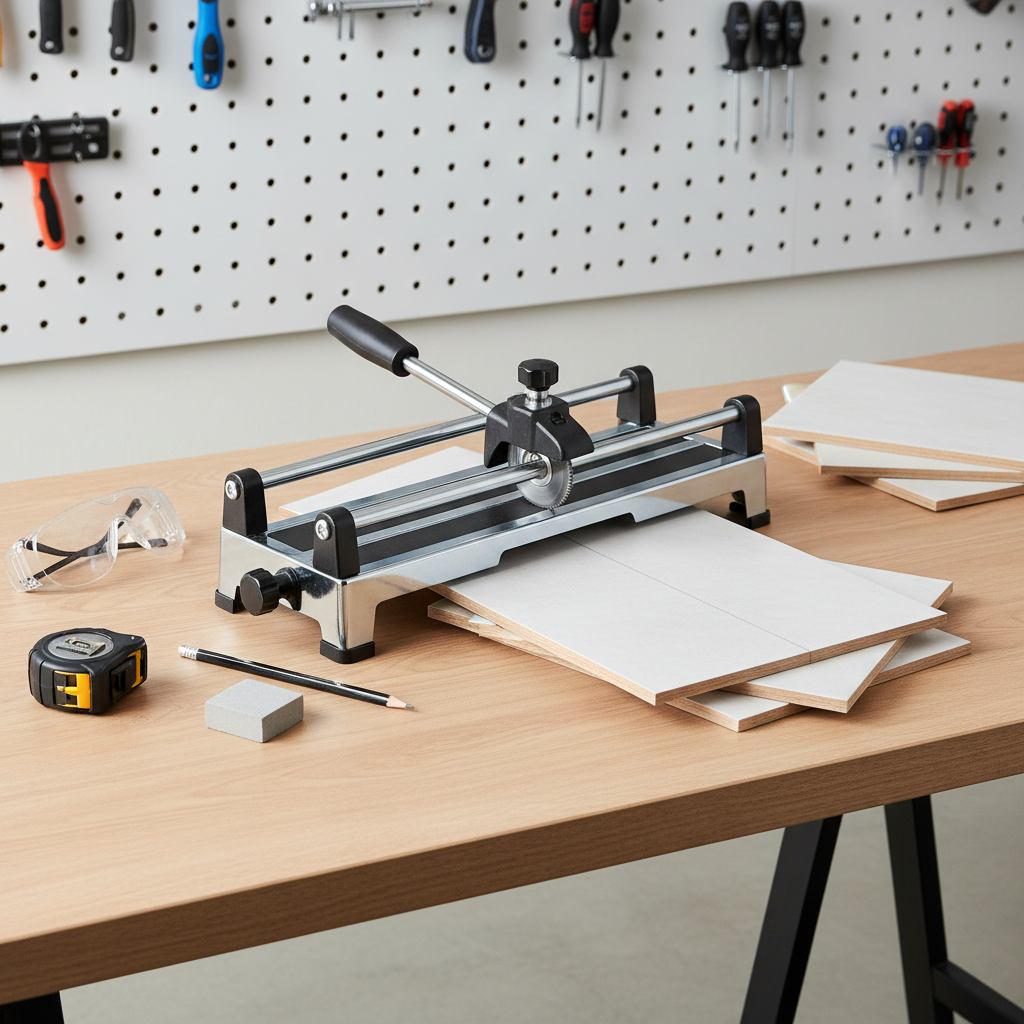
Troubleshooting: Chips, Off-Line Snaps, and Rough Edges
If your manual tile scribe cutter results look rough, the fix is usually specific. Try the matching move instead of changing everything at once.
Problem-to-fix map
- Chipping at the top glaze: reduce pressure on the score, confirm the wheel is sharp, avoid scoring twice.
- Snap veers off the line: make the score slightly firmer, ensure the breaker foot sits centered, support the tile evenly.
- Wheel “skips” on textured tile: consider a different tool, some surfaces just won’t score consistently.
- Jagged edge: use a rubbing stone or diamond hand pad, especially for exposed edges.
- Cracks before snapping: check for tile defects, avoid scoring too close to the edge, ease off pressure.
Key point: a strong snap starts with a clean score, not brute force at the handle.
Practical Tips for Safer, Cleaner Work (and When to Get Help)
Manual cutting is typically lower dust than dry power cutting, but you can still get sharp shards and eye hazards. Safety glasses are a smart baseline, and gloves can help if you’re handling lots of cut pieces.
- Stabilize the base: wobble creates crooked cuts, clamp or set the cutter on a firm surface.
- Keep hands clear: snapping can release suddenly, don’t brace near the score line.
- Mind silica exposure: if you switch to grinders or dry saws, dust control may matter more, consider wet methods or a HEPA vacuum setup.
According to NIOSH, respirable crystalline silica from cutting and grinding can be a health concern in many construction tasks, so if your project shifts toward dust-heavy tools, it may be worth reviewing safe work practices or asking a pro for guidance.
If you’re working with expensive porcelain slabs, stone, or a high-visibility layout where one bad cut ruins the look, a tile installer or a shop that offers precision cutting can be worth it. Paying for a few accurate cuts sometimes costs less than replacing a box of tile.
Conclusion: A Manual Cutter Can Be Great, If You Match It to the Job
A manual tile cutter rewards a simple routine: square fence, sharp wheel, one confident score, then an even snap. When the tile type fits, it’s one of the quickest ways to get clean straight cuts without turning your workspace into a dust zone.
If you want a clear next move, start by testing on two scrap tiles, adjust scoring pressure until the snap follows the line, then decide whether your tile needs a heavier cutter or a wet saw for the tough pieces.