
A center finder tool for circles solves one annoying problem fast, finding the true center of a round part without guesswork, even when the edge is rough, painted, or hard to measure.
If you do any mix of woodworking, metalworking, machining, drafting, 3D printing, or sign making, you already know the real pain point, a small center error turns into a misaligned hole, a wobbling spindle, or a layout that “almost” fits.
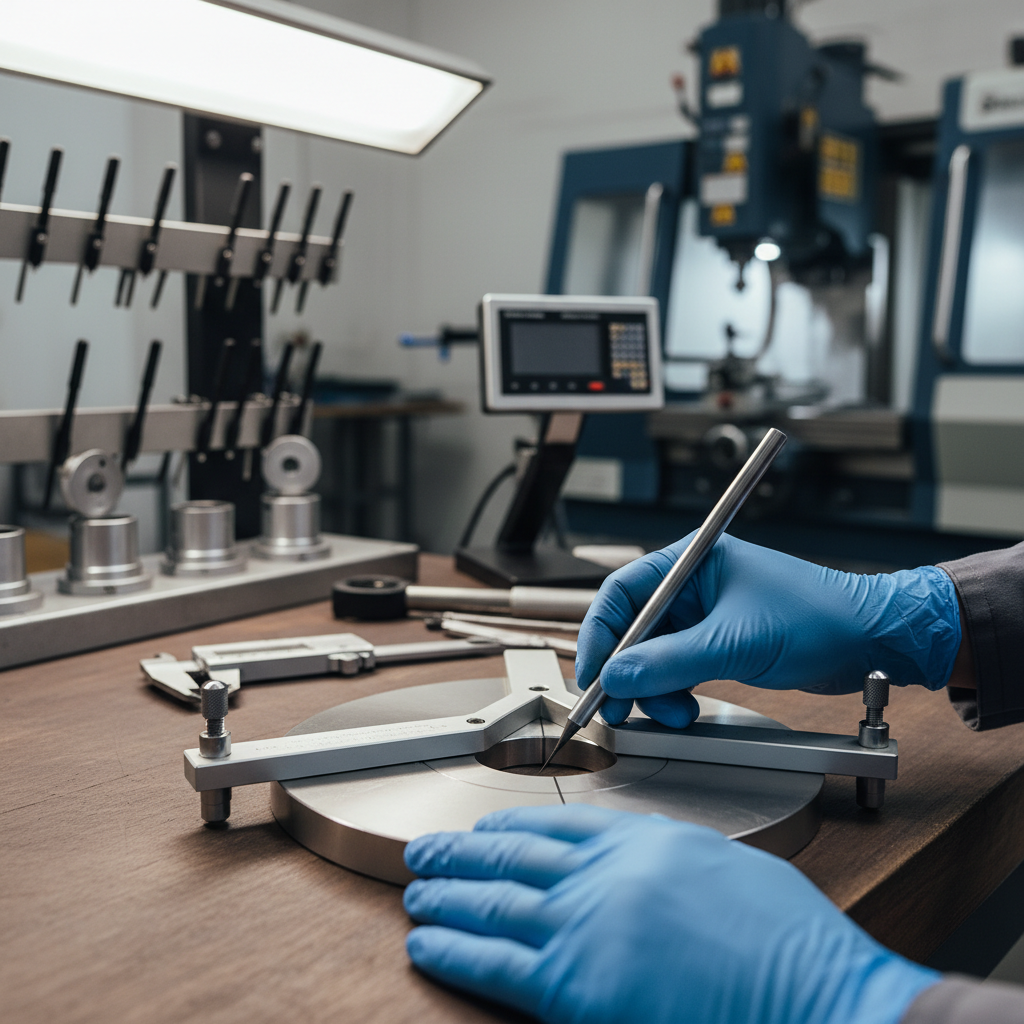
This guide walks through the common tool types, when each makes sense, and a few practical workflows you can actually repeat on the shop floor. I’ll also include a quick self-check list and a comparison table so you can pick a method without overthinking.
What a circle center finder does (and what it doesn’t)
Most center-finding methods rely on the same geometry idea, if you can draw or identify chords across a circle, the perpendicular bisectors intersect at the center. A center finder just packages that idea into a faster, more repeatable process.
What it typically does well:
- Layout work: mark drilling points, mounting holes, or turning centers.
- Repeatability: produce consistent marks across multiple parts.
- Speed: reduce measuring steps and mental math.
What it won’t magically fix:
- Out-of-round parts: if the “circle” is actually oval, any center is an approximation.
- Bad edges: dents and burrs can shift readings unless you choose a method that averages around the perimeter.
- Sloppy marking: the best tool still depends on a sharp pencil, scribe, or punch technique.
According to NIST, measurement uncertainty depends heavily on the method, setup, and operator technique, which is a polite way of saying your process matters as much as your tool.
Why center marks end up “off” in real projects
In many shops, the miss isn’t because someone forgot geometry, it’s because the part and the workflow fight the measurement.
- Edge isn’t clean: paint thickness, weld bead, or saw marks change where tools “feel” the perimeter.
- Part isn’t truly circular: plasma cut rings, routed circles, and some castings often vary a bit.
- Reference points drift: people measure diameter, then eyeball half, then mark, and each micro-step adds error.
- Tool mismatch: calipers might be accurate, but awkward on a big disk; a simple jig might outperform them in practice.
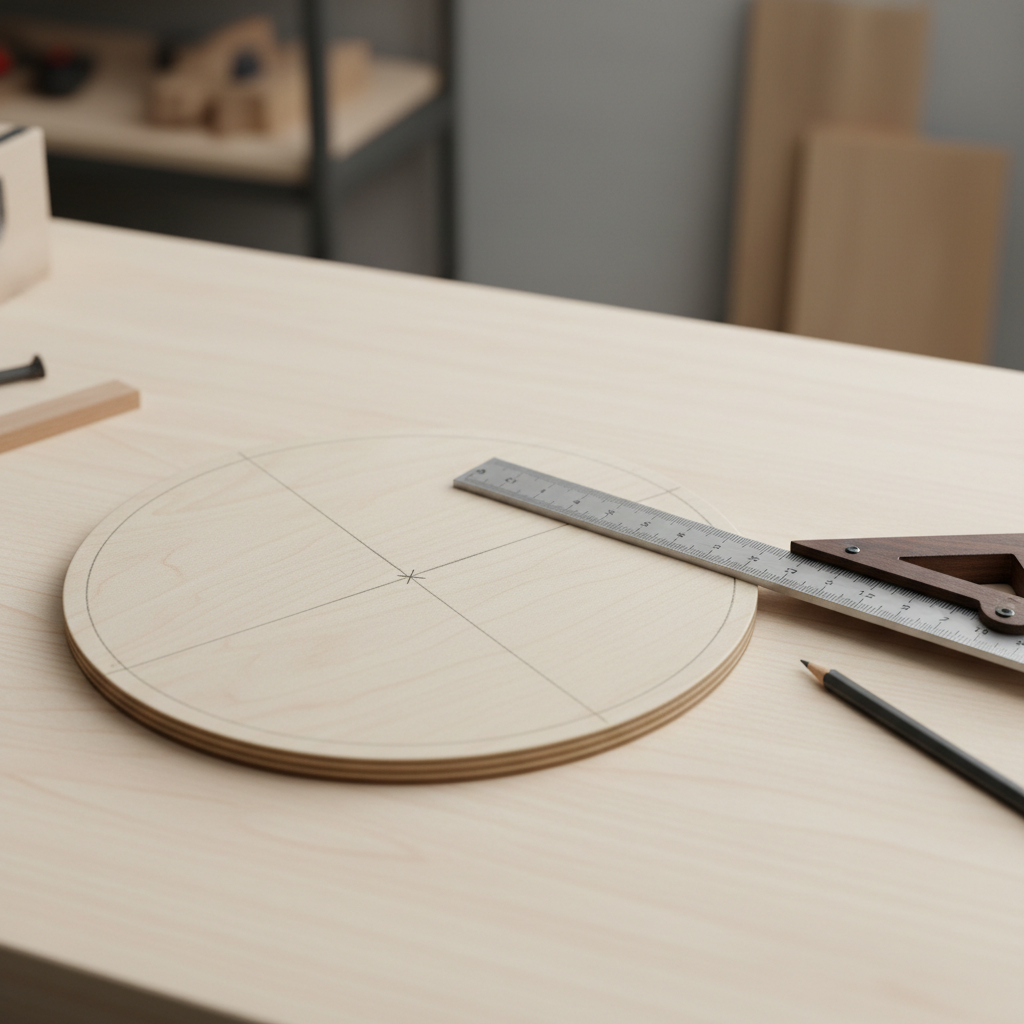
A good center finder tool for circles reduces the number of judgment calls, that’s why it tends to feel “more accurate” even when its underlying principle is simple.
Quick self-check: which center-finding method fits your job?
If you’re unsure what to buy or use, answer these in order. It usually reveals the right method in under a minute.
- Material: wood, plastic, aluminum, steel, or something brittle?
- Diameter: under 2 inches, 2–12 inches, or very large panels?
- Edge condition: machined clean, routed, or rough-cut?
- What happens next: drilling a pilot hole, lathe turning, routing, or just drawing?
- Tolerance expectations: “close enough for layout” vs “needs to run true on a shaft.”
Rule of thumb, if you’re drilling and assembling by hand, you can tolerate more error than if you’re locating a center for turning or aligning bearings.
Common circle center finder tools (with a practical comparison table)
There are a few mainstream approaches. Each is “best” only in its own context.
1) V-block style center finder (cylindrical stock)
This is the classic for rods and dowels. You rest the cylinder in a V groove, then scribe along a guide, rotate the stock, scribe again, the intersection indicates center.
Strong fit when you’re working with round bar, pipe, or dowels, less ideal for flat disks.
2) Edge-contact center finder for disks (two-point or multi-point)
These tools reference the perimeter of a flat circle and provide a marking line or center point based on the geometry of the tool body. They’re convenient for woodworking circles, metal blanks, acrylic disks, and similar parts.
3) Compass + straightedge method (manual geometry)
Cheap, always available, and surprisingly accurate if you take your time. You create two chords, draw perpendicular bisectors, and mark the intersection.
4) Calipers and diameter-halving (measurement-based)
Useful when you can measure a true diameter, but in many real parts you can’t access clean opposing points, which is where this method breaks down.
5) Digital and machine methods (CAD, CNC probing, optical)
If the circle exists in CAD, the center is trivial. If the physical part must be centered, CNC probing or optical measurement can be excellent, but it’s a different cost and setup category.
| Method | Best for | Pros | Watch-outs |
|---|---|---|---|
| Disk center finder tool | Flat circles, blanks, cutouts | Fast, repeatable, easy to teach | Edge damage can bias results |
| V-block center finder | Round stock, shafts, dowels | Solid for scribing shaft centers | Not intended for flat disks |
| Compass + bisectors | Layout, one-off parts | No special tool required | Slower, depends on marking skill |
| Calipers + diameter | Machined circles with clean access | Direct measurement | Hard on rough edges or large diameters |
| CNC probe / optical | High precision setups | High repeatability in good conditions | More setup, cost, training |
How to use a center finder tool for circles (repeatable workflow)
A lot of misses come from rushing the marking, not from picking the wrong tool. This workflow keeps things boring, in a good way.
Step-by-step (works for most disk-style tools)
- Deburr and wipe the edge: remove obvious burrs, chips, and heavy paint drips where the tool contacts.
- Seat the tool consistently: apply light, even pressure so it contacts the perimeter the same way each time.
- Mark a line: use a sharp pencil for wood, a scribe for metal, or a fine marker for plastics.
- Rotate the workpiece: aim for 60–120 degrees rotation, not “somewhere around.”
- Mark a second line: the intersection region is your target.
- Add a third mark if needed: if the lines don’t intersect tightly, do a third rotation and look for the common crossing area.
- Center punch lightly (metal): start light, confirm location, then commit with a stronger punch.
If the part is large, flip the logic, keep the tool fixed and rotate the part, or mark multiple stations around the edge and average visually.
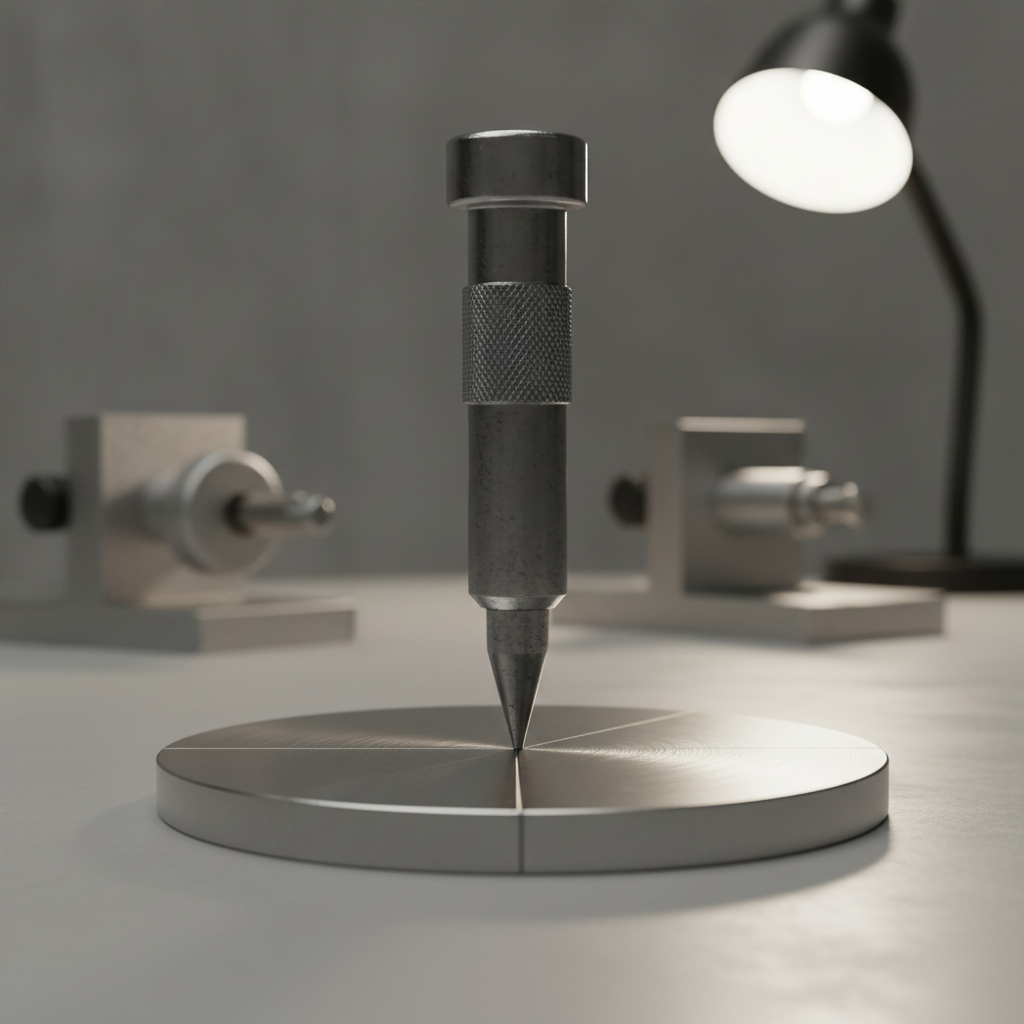
Key point: when the edge is questionable, more rotations and more lines usually beat “press harder.” Heavy pressure can tilt the tool and create a confident but wrong mark.
Practical tips by material and scenario
Wood circles (routered, hole-saw, bandsaw)
- Use a sharp pencil and avoid thick carpenter pencils for the final mark.
- If the edge is fuzzy, a quick sand pass helps the tool seat.
- For very soft wood, consider a small nail set instead of a full punch to avoid crushing fibers.
Metal disks (plasma cut, waterjet, machined)
- Prefer a scribe over marker when you need a crisp intersection.
- For rough-cut edges, mark 3–4 times around the circle, then choose the tightest intersection cluster.
- Use layout dye if glare hides your lines, but keep the contact edge clean.
3D printed or acrylic circles
- A fine-tip marker is often easier than a scribe because plastics can scratch unpredictably.
- If the perimeter has print artifacts, lightly deburr with a blade, then mark.
Mistakes to avoid (the ones that waste the most time)
- Trusting one line: one mark has no error checking, two marks give you a sanity check.
- Measuring “diameter-ish”: calipers on a rough edge can look precise while being wrong.
- Skipping edge prep: a burr can shift contact points more than you expect.
- Over-punching early: a deep punch makes re-centering harder, start light.
- Ignoring out-of-round: if every rotation gives a different intersection, the part may not be circular enough for your tolerance.
When people say a center finder tool for circles “doesn’t work,” it’s often one of the issues above rather than the tool itself.
When to step up to a more precise approach
If the center controls rotation, bearing alignment, or a press fit, it may be worth upgrading the method instead of fighting layout marks.
- Machining setups: consider indicating the OD on a lathe or using a 4-jaw chuck and dial indicator.
- CNC workflows: probing routines can locate center from multiple edge touches.
- Inspection needs: metrology tools and procedures reduce uncertainty, but they require training and controlled setups.
According to ASME, geometric dimensioning and tolerancing practices help define what “centered” means for a given function, so if you’re chasing tight tolerances, align your method with the drawing requirements. If you’re unsure, it’s reasonable to consult a qualified machinist, metrology tech, or engineer for the specific tolerance stack.
Conclusion: a simple tool, but a big reduction in rework
A center finder tool for circles pays off when you need consistent centers quickly and your parts aren’t perfect lab samples. Pick a method that matches the material and edge quality, mark at least twice, and treat the intersection as a small “zone” you confirm before drilling.
If you want a clean next step, take one of your most common circle parts, do a 2-mark and 3-mark test, then compare how far the centers spread. That tiny experiment tells you more than shopping specs ever will.
Key takeaways
- More marks beat more force when edges are rough.
- Tool choice is scenario-driven: V-block for round stock, disk tools for flat circles.
- Workflow matters: consistent seating and careful marking usually decide accuracy.
FAQ
- What is the most accurate way to find the center of a circle on a rough-cut disk?
In many cases, making 3–4 center-finder marks at different rotations and choosing the tightest intersection cluster works better than trying to “measure” a rough diameter. - Can I use a center finder tool on an oval or slightly out-of-round shape?
You can, but the center becomes an approximation, you’ll often see intersections spread apart, which is a hint the perimeter isn’t consistent enough for tight alignment. - Is a V-block center finder the same thing as a disk center finder?
Not really, a V-block style targets cylindrical stock, while disk-style tools reference a flat circle’s perimeter, swapping them usually creates frustration. - Do I need a scribe, or is a pencil fine?
Pencil is usually fine for woodworking and general layout, metalwork and drilling typically benefit from a scribe line plus a light punch so the drill doesn’t wander. - Why do my lines not intersect at one point?
Common reasons include a burr on the edge, inconsistent tool pressure, or a part that isn’t truly circular, adding a third mark often reveals which one is happening. - How many times should I rotate the part when using a center finder?
Two rotations can work for clean circles, rougher edges often need three, the goal is a repeatable intersection zone, not a single lucky cross. - When should I stop using layout tools and switch to machine indication or probing?
If the center controls runout, bearing alignment, or tight fits, stepping up to indicating or probing is usually more predictable than trying to perfect hand marks.
If you’re trying to reduce misdrilled holes or rework on round parts, a dedicated circle center finder is often the most frictionless upgrade, and if you tell me your material, diameter range, and what you do after marking, I can suggest the most practical tool style and workflow.