
drill depth stop adjustable setups solve a very specific frustration, you measured twice, marked the bit, started drilling, and still ended up a little too deep, or worse, blew out the back of the workpiece. If you drill shelf-pin holes, pocket-free pilot holes, dowel holes, or anything that needs consistency, a depth stop can feel like the difference between “close enough” and professional-looking.
This topic matters because “just be careful” rarely scales, the moment you need 20 identical holes, fatigue and tiny angle changes start adding up. A good depth stop is basically a repeatability tool, it reduces the number of decisions you make while the drill is already spinning.
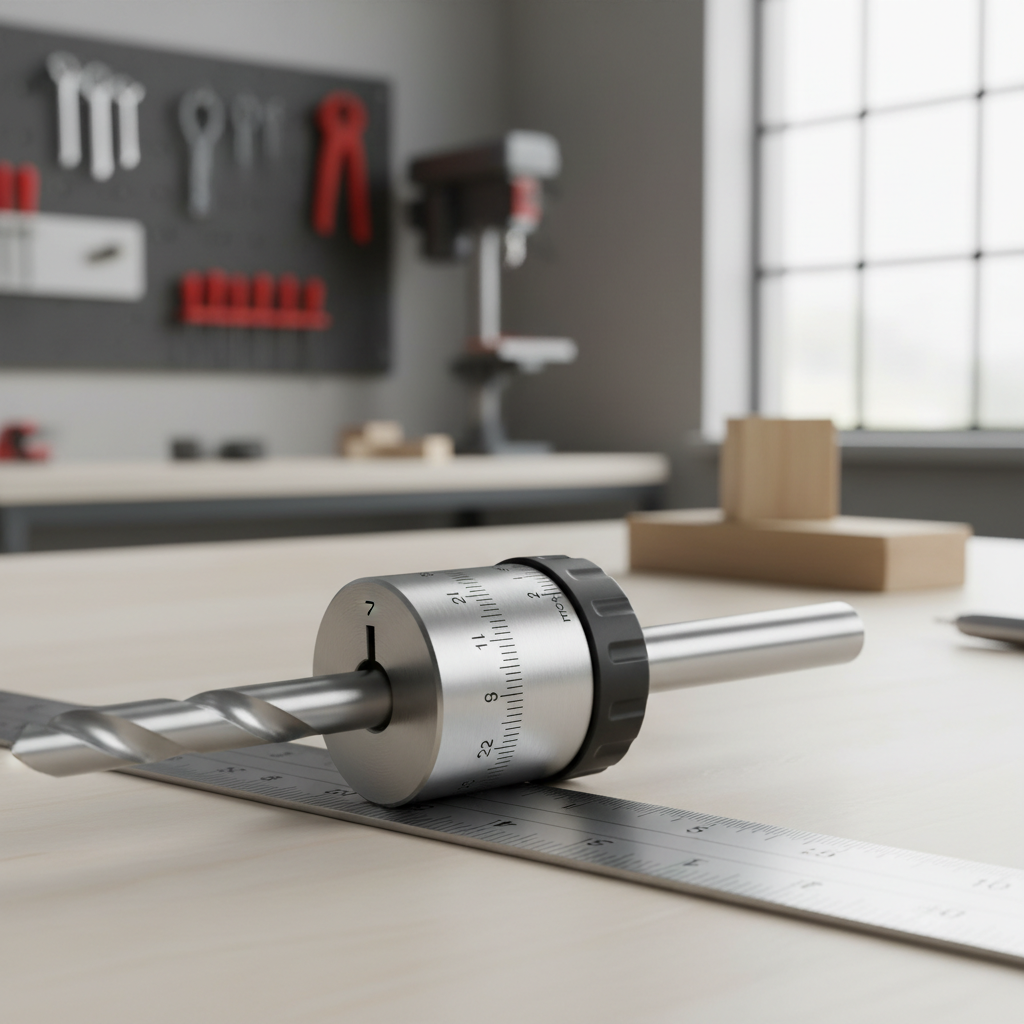
People often assume all depth stops behave the same, but real-world results depend on your material, bit type, drill style, and even how you start the hole. Below is a practical breakdown of what causes depth errors, how to pick the right stop, and how to set it so it actually stays put.
Why depth goes wrong even when you “set the stop”
Most depth issues aren’t about your measuring skills, they’re about small mechanical behaviors you don’t notice until something goes off by 1/16 inch.
- Bit walking at the start, the tip skates and you compensate by pushing harder, the stop hits late.
- Stop collar slip, a set screw loosens, or the collar rides on dust and slowly shifts.
- Material compression, softwood fibers compress under pressure, so “stop contact” doesn’t always equal the same final depth.
- Different drilling angles, if you’re a few degrees off vertical, the effective depth changes and the collar contacts differently.
- Wrong reference point, some people measure to the tip, others to the cutting edge or brad point shoulder, it matters.
- Depth stop geometry mismatch, a long collar can contact the surface too early near clamps or in tight corners.
According to OSHA, tools and accessories should be used as intended and maintained in safe working condition, which in plain terms means if your stop slips or binds, you fix it or replace it instead of “making it work” under load.
Quick self-check: do you need an adjustable stop, a different stop, or a jig?
A drill depth stop adjustable collar is a great default, but it’s not always the fastest or most reliable option for every job. Use this quick checklist before you buy a bunch of parts.
- You likely want an adjustable collar if you do mixed projects, switch depths often, or need repeatable pilot holes.
- You may want a fixed-depth stop or dedicated bit if you drill one depth all day, like cabinet shelf pins.
- You may want a drill guide/jig if your real issue is angle consistency, especially on face frames and edges.
- You may want a drill press stop if you have access to one and need high-volume precision.
If you’re mainly working on thin material, or drilling near an edge where blowout risk is high, the stop matters, but so does your backing board and feed pressure.
Types of drill depth stops (and what they’re actually good at)
Depth control comes in a few common formats. They overlap, but each has a “sweet spot” where it feels effortless.
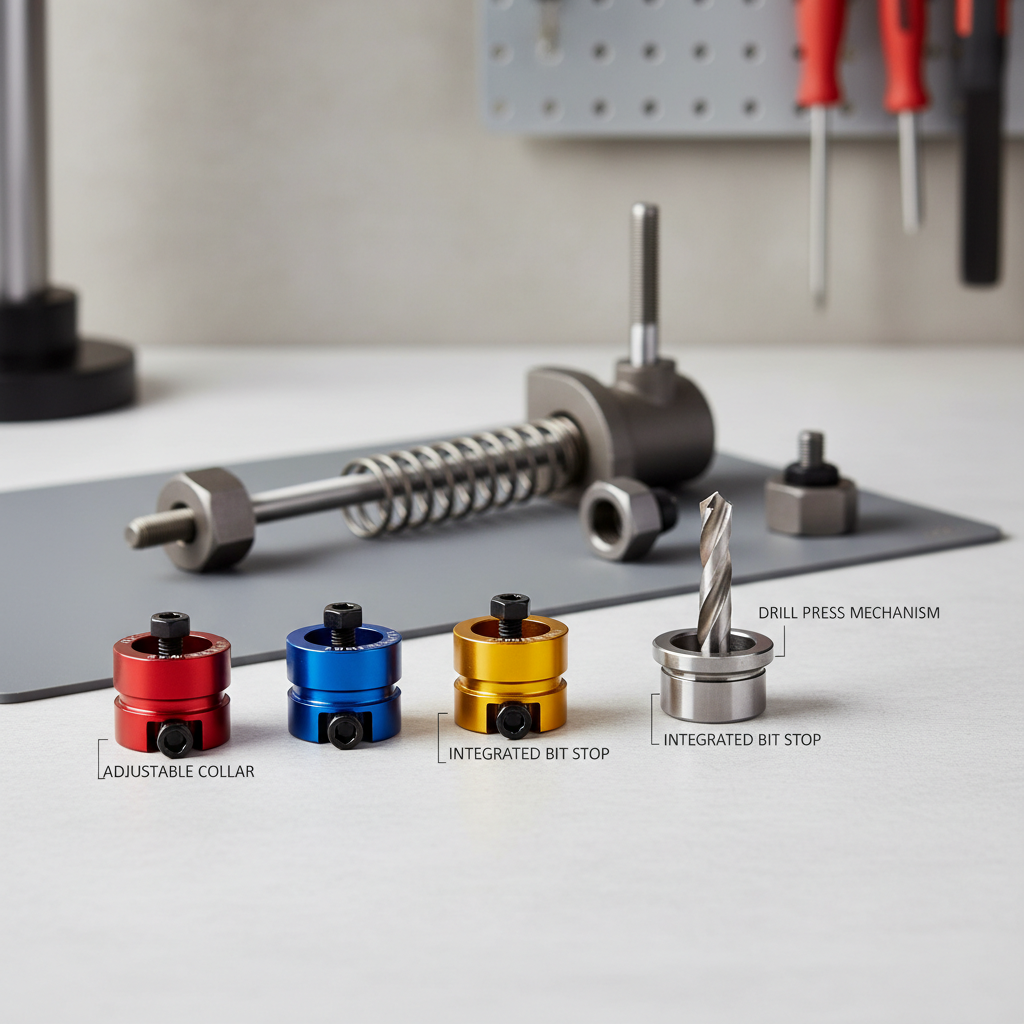
Adjustable stop collar (set-screw style)
This is the most common solution, a collar clamps onto the bit and physically hits the work surface. It’s affordable and flexible, but it relies on friction and screw torque, so quality matters more than people expect.
- Best for: pilot holes, dowel holes, general woodworking
- Watch-outs: can mar the surface, can slip on smooth shanks if poorly tightened
Depth stop on a countersink / specialty bit
Many countersink bits include a stop function or shoulder, and some specialty bits are designed to hit a consistent depth. These feel fast because you don’t measure each time, you just drill.
- Best for: repeatable screw pilot/countersink work
- Watch-outs: limited to one “system,” not as flexible across materials
Drill stop with rubber bumper / non-marring sleeve
Some collars include a sleeve to reduce marking. If you drill on finished surfaces, this is worth considering, though sleeves can add a tiny amount of “squish.”
Jigs and guides with built-in depth
For shelf-pin drilling and cabinet lines, jigs often outperform collars because they control both depth and alignment. If you’re chasing clean rows, this is usually the calmer path.
How to set an adjustable drill depth stop so it stays accurate
Here’s the method that tends to reduce surprises. It’s not complicated, but skipping one step is where people end up with “almost consistent” holes.
- Pick the reference: decide whether your target depth is measured to the tip or to the cutting edge shoulder, then stick with it for the whole job.
- Clean the bit: wipe dust and oil off the shank where the collar clamps, debris is a common slip cause.
- Set depth using a gauge: a ruler works, but a depth gauge block or drill gauge makes it faster and more repeatable.
- Seat the collar square: rotate the collar and ensure it sits perpendicular to the bit, not cocked.
- Tighten with control: snug the set screw firmly, but don’t strip it. If your collar uses a hex key, use the right size and keep the key seated fully.
- Test in scrap: drill one hole in a similar offcut, measure depth, then adjust in tiny increments.
- Re-check after 5–10 holes: especially in hardwood, vibration and heat can loosen cheaper collars.
Key point: when you want accuracy, treat the stop like part of the cutting system, not an accessory you “add on” at the end.
Choosing the right adjustable collar: what to compare (with a practical table)
Shopping for a drill depth stop adjustable collar can feel like everything is the same small chunk of metal. In practice, a few details decide whether it’s a tool you trust or a tool you fight.
| Feature | Why it matters | What to look for |
|---|---|---|
| Set screw style | Controls grip and slip resistance | Clean threads, solid hex fit, preferably a flat point or cup point matched to your bit shank |
| Collar bore fit | Loose fit can wobble and mark surfaces | Sizes that match common bits, minimal play on the shank |
| Material + finish | Impacts durability and smooth contact | Hardened steel or quality aluminum, smooth edges, consistent machining |
| Outer diameter | Affects clearance near clamps and edges | Smaller OD for tight spots, larger OD for stability on flat faces |
| Non-marring sleeve | Protects finished surfaces | Replaceable rubber/plastic sleeve, snug fit that won’t spin off easily |
If you frequently drill in furniture-grade material, a non-marring option can be worth it, but you still want the collar to lock reliably, a soft sleeve won’t fix a slipping screw.
Real-world drilling scenarios and the setup that usually works
This is where “accuracy” becomes job-specific. The same stop can behave differently between plywood, pine, and maple.
Cabinet shelf-pin holes (5mm or 1/4 inch)
- Use a jig or guide for spacing and vertical alignment
- Pair with a brad-point bit for clean entry
- Use a depth collar, but keep it compact to avoid jig interference
Dowel holes and joinery alignment
- Use a center-pointing bit, then stop collar for depth
- Test-fit with dowels, depth errors compound fast in joinery
- If alignment is sensitive, a drill guide often beats hand drilling
Pilot holes near edges (avoid splitting)
- Set a conservative depth, you can always deepen later
- Consider a countersink bit with controlled shoulder contact
- Back off feed pressure as the collar approaches the surface
Common mistakes (and small fixes that save projects)
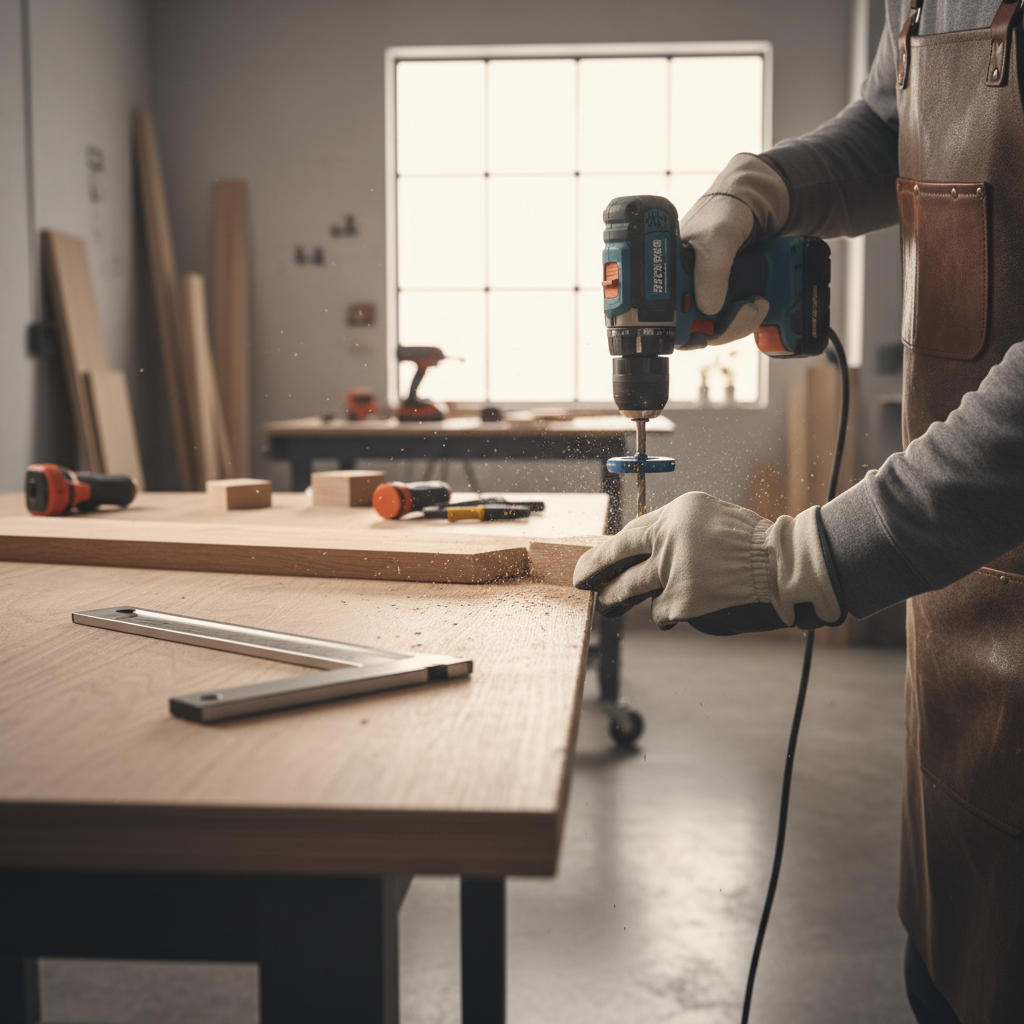
Most errors look like “the stop didn’t work,” but the fix is usually simpler than buying another tool.
- Over-tightening and stripping the screw, once the hex rounds out, accuracy becomes random. Replace the collar if the screw won’t hold torque.
- Measuring without accounting for bit geometry, brad-point bits and twist bits don’t “start” the same, so verify on scrap.
- Letting the collar spin against the surface, that can burnish wood and creep depth. Ease off pressure as it contacts.
- Using one collar across wildly different bit diameters, a sloppy bore fit increases wobble, match sizes when possible.
- Skipping backing material, stops control depth, not tear-out. A sacrificial board often makes the hole look cleaner.
According to NIOSH, reducing exposure to hazards from power tools includes good work practices and proper tool condition, if you notice grabbing, chatter, or a collar that heats up fast, slow down and reassess your setup.
When it’s worth getting professional help or changing the approach
If you’re drilling into masonry, metal, or structural members, depth control can carry higher stakes than a cosmetic woodworking mistake. In many cases you can still use an adjustable stop, but material-specific bits, lubrication, and safe workholding matter more, and local code requirements may apply.
If the work involves electrical wiring, plumbing, studs, or load-bearing elements, it’s smart to consult a qualified contractor or tradesperson, especially if you’re unsure what sits behind the surface. This isn’t about fear, it’s about avoiding hidden damage that can be expensive or dangerous.
Conclusion: make depth control boring (that’s the goal)
A drill depth stop adjustable collar is at its best when you stop thinking about it, you set it once, test on scrap, and then your holes come out consistent without extra effort. If your results keep drifting, assume something is slipping or your reference point changed, fix that and the “accuracy problem” often disappears.
If you want a simple next step, pick one project this week where you need repeatable holes, set your stop carefully, drill a short test series, then measure. That small loop builds confidence faster than any accessory purchase.
FAQ
How do I measure drill depth correctly when using a stop collar?
Measure from the work surface to the depth reference you chose, usually the tip for twist bits or the cutting edge geometry for brad-point bits. The safest habit is drilling one test hole in scrap and measuring the actual hole depth before committing.
Why does my adjustable depth stop keep slipping?
Common causes include dust or oil on the bit shank, a worn set screw, a poor fit between collar bore and bit, or not enough tightening torque. Cleaning the shank and using a better-machined collar often fixes it, if the threads are damaged, replacement is usually faster.
Will a drill depth stop damage finished wood?
It can, especially metal collars that contact the surface under pressure. A non-marring sleeve helps, and so does easing pressure as the collar approaches contact, for high-visibility pieces, test on an offcut with the same finish.
Is an adjustable drill depth stop accurate enough for dowel joinery?
Often yes for depth, but dowel work also depends on angle and alignment. If the joint feels “fussy,” a drill guide or doweling jig may give more predictable results than freehand drilling with a collar.
What’s better, tape on the drill bit or a depth stop collar?
Tape is quick for a one-off, but it’s easy to misread while drilling and it can shift. A collar is typically more repeatable for batches, assuming it grips well and you verify on scrap.
Can I use an adjustable depth stop with step bits or spade bits?
You can in many cases, but the contact geometry and chip clearing can change how the bit behaves near the stop point. For spade bits in particular, test drilling matters because entry and exit behavior can vary by wood species and moisture.
Do I need a drill press to get consistent hole depth?
Not always. A hand drill plus a stable workholding setup and a reliable stop collar can be consistent for many woodworking tasks, but if you’re doing high volume or tight tolerances, a drill press depth stop becomes hard to beat.
Key takeaways
- Depth accuracy is mostly about repeatability, clean setup and consistent reference beat “careful drilling.”
- Test on scrap whenever the material, bit type, or target depth changes.
- If holes vary, suspect slip or angle, not your measuring tape.
- Use jigs when alignment matters, collars control depth, not straightness.
If you’re trying to standardize your workshop workflow, or you keep bouncing between different hole depths across projects, it may be worth putting together a small kit with a few collar sizes, a simple depth gauge, and a drilling guide, it’s a low-cost way to make accuracy feel routine instead of stressful.