
Brass hammer non spark tools are a practical way to reduce ignition risk when you need to strike, align, or loosen parts in potentially hazardous environments, but they are not “magic no-spark” solutions in every situation.
If you work around flammables, dust, or unknown vapors, the wrong hammer choice (or the right hammer used the wrong way) can turn a routine job into a near miss. This guide focuses on what a non-sparking brass hammer can and cannot do, how to pick the right style, and how to use it with fewer avoidable mistakes.
I’ll also call out the common misconception: “non-sparking” usually means reduced chance of spark under typical contact, not a guarantee. Your environment, the fastener material, impact force, and even surface contamination can change outcomes.

What “Non-Sparking” Really Means for Brass Hammers
“Non-sparking” is often shorthand used in maintenance and safety catalogs, but in practice it means the tool is made from an alloy that is less likely to create an ignition-capable spark when struck against common ferrous surfaces.
Brass is a copper-zinc alloy. Compared with hardened steel, it tends to deform more on impact, which can reduce hot particle ejection. That’s helpful in many routine tasks like fitting, aligning, or persuading components without gouging a surface.
Still, ignition risk is broader than visible sparks. Heat, friction, static, and the presence of reactive materials all matter. According to OSHA (Occupational Safety and Health Administration), hazardous locations require controlling ignition sources and following appropriate procedures for the classification of the area and the materials present. A hammer choice is only one small part of that control plan.
Where Brass Non-Sparking Hammers Are Commonly Used
In the U.S., you’ll most often see a brass hammer non spark option in environments where teams want to lower spark risk and also avoid damaging finished surfaces.
- Oil & gas and petrochemical maintenance: light striking, flange alignment, valve work, and general turnaround tasks (following site rules and hot-work controls).
- Paint rooms, solvent storage, and chemical processing: when vapors might be present and steel impact tools are discouraged.
- Grain handling and dusty operations: some dusts can be combustible; housekeeping and area classification matter as much as tool choice.
- Marine and shipyards: brass tools can help reduce spark risk and resist corrosion in many conditions.
- General industrial assembly: seating bearings (where appropriate), nudging parts, or protecting machined surfaces.
One caution: if you’re in a classified hazardous location, your site’s safety program may specify exact tool materials, inspection routines, and permitted tasks. Follow that first.
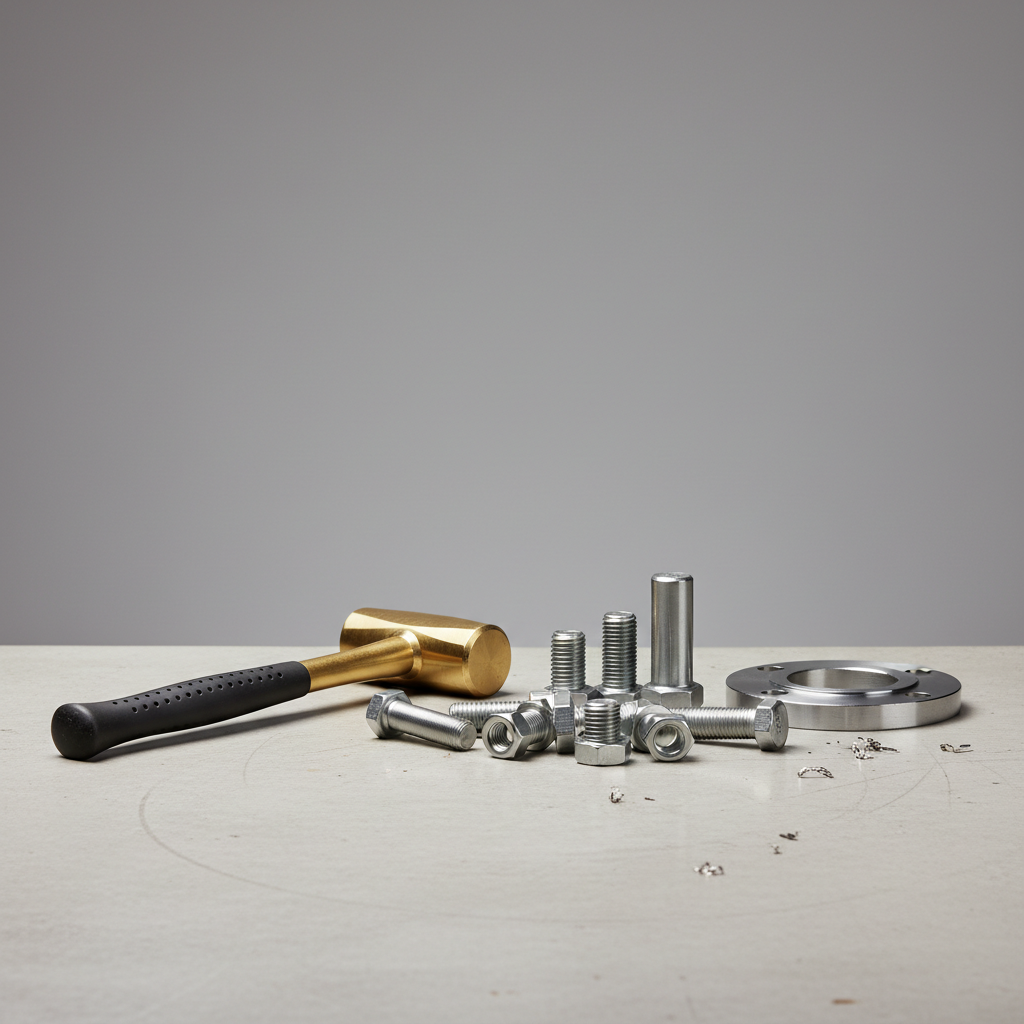
Choosing the Right Brass Hammer: Types, Features, and Tradeoffs
Not all brass hammers behave the same. Weight, face style, handle material, and overall balance change both safety and productivity.
Common head styles
- Machinist/engineer’s brass hammer: for controlled taps on parts and fixtures.
- Brass sledge (short or long handle): for heavier persuasion, still with more “give” than steel.
- Soft-face brass/copper alloy variants: designed to protect surfaces, sometimes with replaceable faces.
What to look for when buying
- Alloy clarity: reputable suppliers specify material type and intended “non-sparking” use-case; avoid vague listings.
- Proper head-to-handle fit: loose heads are a safety hazard and can increase impact unpredictability.
- Face finish and chamfer: a clean, slightly chamfered edge reduces chipping and mushrooming.
- Handle comfort and grip: fiberglass or hickory often, but choose what matches gloves, oil exposure, and site rules.
Quick comparison table
| Tool material | Spark risk (typical) | Surface protection | Durability under heavy blows | Typical use |
|---|---|---|---|---|
| Brass (copper-zinc alloy) | Lower than steel, not zero | Good | Medium (can deform) | General non-sparking maintenance, alignment, light-to-medium striking |
| Steel | Higher against hard surfaces | Lower | High | Construction, demolition, heavy striking where sparks are acceptable/controlled |
| Rubber/plastic dead blow | Very low (material-dependent) | Very good | Medium | Assembly, seating parts without rebound, finish work |
| Beryllium copper (site-specific) | Often used for non-sparking programs | Good | Medium | Hazardous locations where policies call for specific non-sparking alloys |
Note: some alloys (like beryllium copper) have additional handling considerations in certain contexts. If your workplace specifies them, follow your EHS guidance and SDS documentation.
Self-Check: Do You Actually Need a Non-Sparking Brass Hammer?
Buying a specialty tool feels like “doing safety,” but the better question is whether it matches your task and your environment.
- Is there a credible ignition hazard? Flammable vapor, combustible dust, or uncertain atmosphere. If yes, your site may require non-sparking tools and additional controls.
- Is the strike controlled or heavy? Brass can deform on repeated heavy blows; for extreme force, the right answer may be a different method, not a bigger swing.
- Are you striking steel-on-steel surfaces? That’s where spark concern rises, but surface condition and contamination also matter.
- Do you need to protect a finished surface? Brass often leaves fewer marks than steel, though it can leave transfer residue.
- Do you have a permit/procedure requirement? In many plants, you should not “decide on the fly.” Check the task JSA, hot-work policy, and area classification.
If you answered “yes” to the hazard/procedure questions, a brass hammer non spark tool is often part of a compliant toolkit, but it should ride alongside ventilation checks, gas testing, and proper PPE rather than replace them.
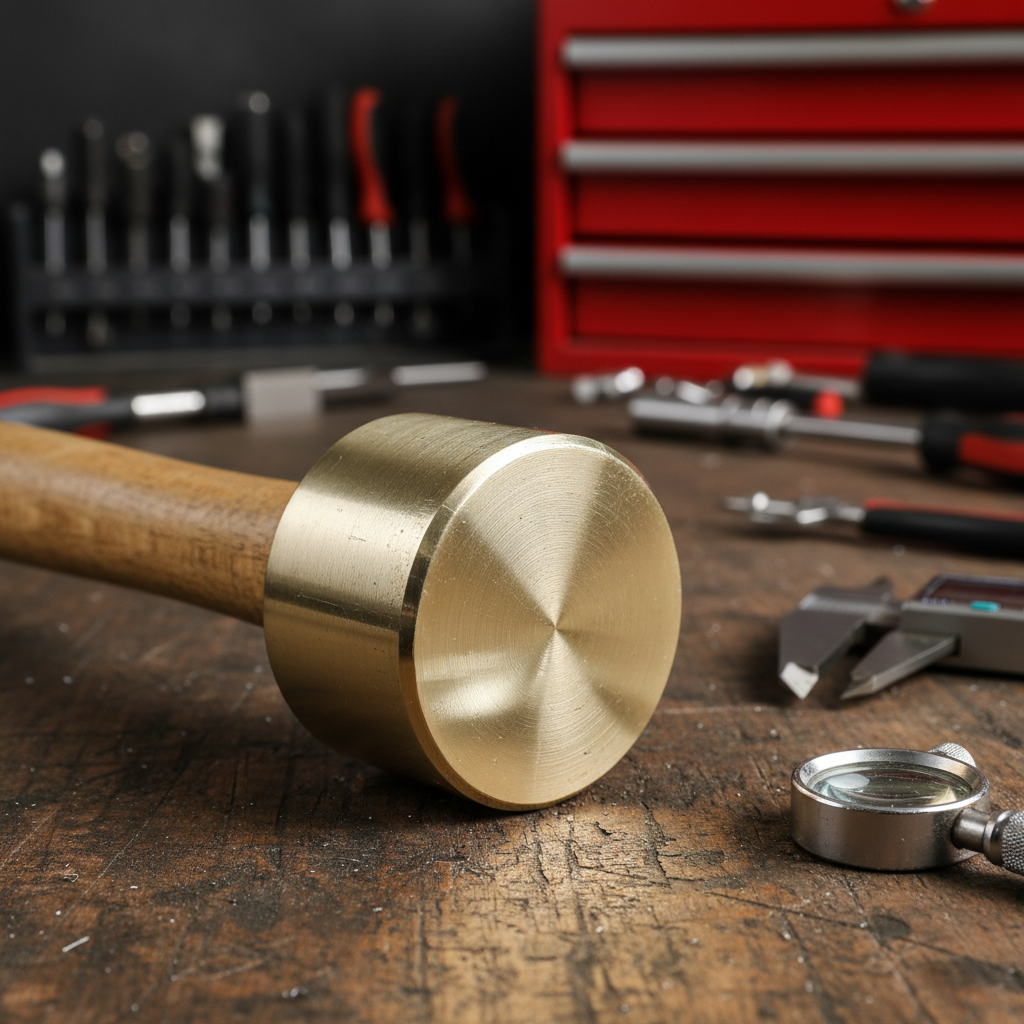
How to Use a Brass Non-Sparking Hammer Safely (Practical Steps)
Most incidents come from basics: bad positioning, over-swinging, and using a hammer where a puller or press should do the job. Keep it boring and controlled.
Before you strike
- Confirm the area status: if your facility uses gas testing or a permit system, don’t skip it. According to NFPA, controlling ignition sources is a core part of fire prevention programs; your local procedure is the day-to-day translation of that.
- Inspect the head: look for cracks, severe mushrooming, or loose fit. Deformed edges can shed fragments.
- Clean contact surfaces: grit can increase friction heat and create unpredictable contact points.
While striking
- Use the minimum effective force: more force is not “more safety.” It can increase heat and deformation.
- Square the face: glancing blows raise slip risk and can shave material.
- Mind your target material: brass on hardened steel behaves differently than brass on softer metals.
After the task
- Dress the face if needed: many shops carefully file or grind mushrooming (following site rules) to reduce chipping risk.
- Store to avoid contamination: keep it away from abrasive grit and corrosives that can roughen the surface.
Common Mistakes and Misunderstandings to Avoid
These show up repeatedly on job sites, especially when someone grabs the “special hammer” and assumes the rest is handled.
- Assuming “non-sparking” equals “safe for any explosive atmosphere”: atmospheric testing, ventilation, bonding/grounding, and procedural controls still matter.
- Using brass where a dead blow makes more sense: if rebound control matters, a dead blow can reduce secondary impacts.
- Ignoring tool wear: a badly mushroomed brass head can chip; fragments can become hazards even without ignition.
- Striking unknown alloys: some metals can produce sparks under certain conditions; if the job is truly high risk, confirm the materials involved.
- Over-reliance on one control: non-sparking tools are typically part of a layered approach, not the whole approach.
When to Involve EHS or a Qualified Professional
If any of the points below apply, it’s smarter to pause and get confirmation than to “power through.”
- Work in a classified hazardous (explosion risk) area: follow facility rules for permitted tools and methods.
- Unknown vapor/dust conditions: you may need air monitoring, housekeeping controls, or process shutdown.
- Hot-work adjacent tasks: even if you are not welding, impact work can fall under stricter ignition-source controls in some facilities.
- Injury or near miss history: if the job already “feels sketchy,” it often is. A quick EHS check can reset the plan.
This is not medical or legal advice, and site requirements vary. When in doubt, consult your safety manager, EHS team, or a qualified industrial safety professional who understands your facility’s hazard classification.
Key Takeaways (Quick Reference)
- Brass non-sparking hammers reduce spark likelihood compared with steel in many common contacts, but they do not eliminate ignition risk.
- Pick a hammer that matches the task: head style, weight, handle, and inspection routine matter.
- Safe use is mostly boring fundamentals: controlled strikes, clean contact, good inspection, and following site procedures.
- If the area is classified or the atmosphere is uncertain, involve EHS and follow permit/testing requirements.
Conclusion: A Safer Hammer Is Helpful, Not a Substitute for a Safer Plan
A brass hammer non spark tool can be the right call when you need impact work with lower spark potential and less surface damage, especially in maintenance settings that already manage ignition sources carefully.
If you want one practical next step, do this: match the hammer style to your most common task, then build a simple pre-use inspection habit so deformation and loose heads don’t sneak up on you. And if the job sits anywhere near a hazardous classification line, bring your site’s procedure into the decision, not just the tool cart.
FAQ
- Is a brass hammer truly non-sparking?
In many situations it’s less likely to spark than steel, but “non-sparking” is not an absolute promise. Conditions and materials can change results. - Can I use a brass hammer in a Class I, Division 1 area?
Maybe, but only if your facility’s hazardous location program allows it and the task controls are in place. Ask EHS or follow the permit system. - What’s the difference between brass and beryllium copper tools?
They’re different alloys used for spark reduction and corrosion resistance in various programs. Which one is appropriate depends on site policy, exposure concerns, and task needs. - Why does my brass hammer face mushroom so fast?
Brass is softer than steel, so it deforms under repeated impacts. That’s normal to a point, but heavy mushrooming should be addressed to reduce chipping risk. - Is a dead blow hammer safer than brass for non-sparking work?
Often it can be for certain assembly tasks because it reduces rebound, but it may not fit every job. Consider the surface, needed force, and site rules. - Can a brass hammer damage equipment?
Yes, it can still dent softer materials or leave transfer marks. It’s usually gentler than steel, but careful striking and proper support matter. - What inspections should I do before using a non-sparking hammer?
Check for loose head fit, cracks, severe mushrooming, and embedded grit. If you see significant damage, replace or service it per your shop policy.
If you’re updating a hazardous-area toolkit and want a more streamlined way to standardize what crews carry, it may help to build a short approved-tools list around your site’s classification rules, then source brass and other non-sparking options from suppliers who clearly document materials and intended use.